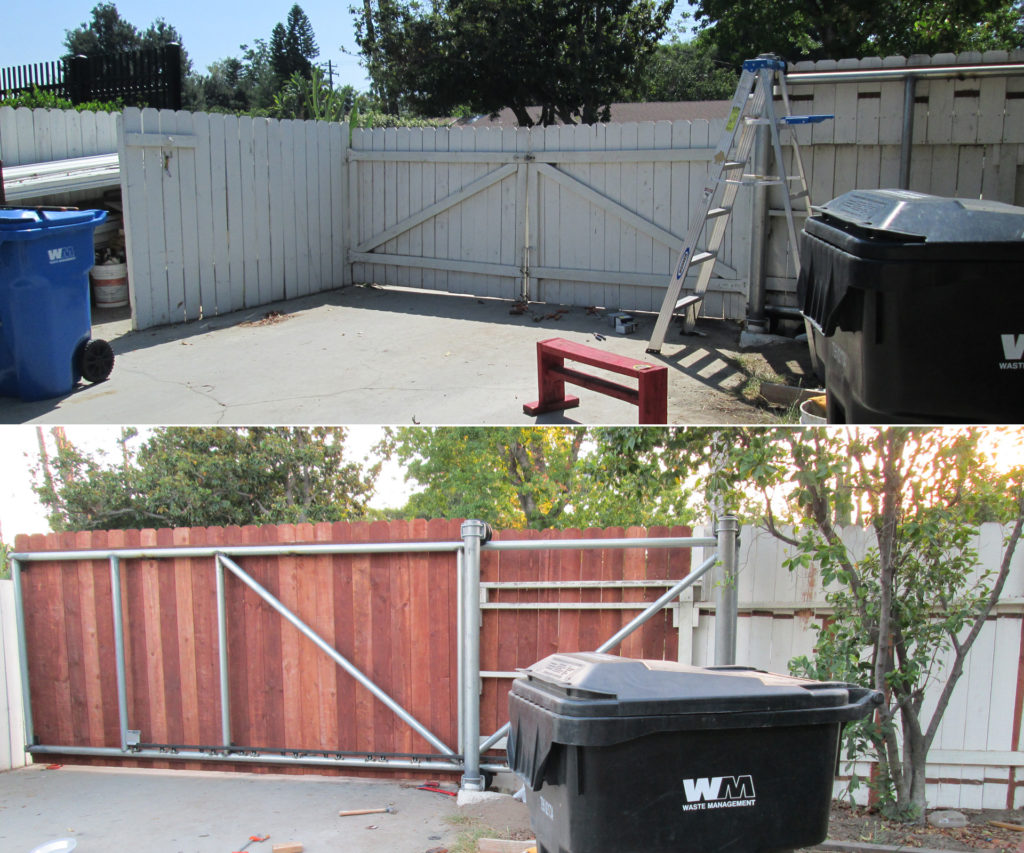
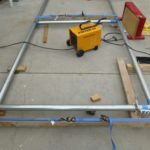
I’ve decided to decorate the sliding gate with fencing board from the very beginning. Now the posts were set, the gate was assembled, and the gate opener was installed and powered. Finally, it’s time to start mounting the fencing boards to finish this project!
There are many different ways to mount fencing boards on round steel pipes. The two most common ways shown in the photo below, however, wouldn’t work for me. I couldn’t mount the boards flush against the frame pipes because the cantilever roller will need to roll on the horizontal pipes. Nor would I cut the boards shorter to avoid protruding the top & bottom frames because I wanted to use full 6 ft length of those boards. This way, I will be able to keep the sliding gate same height as the neighboring fence.
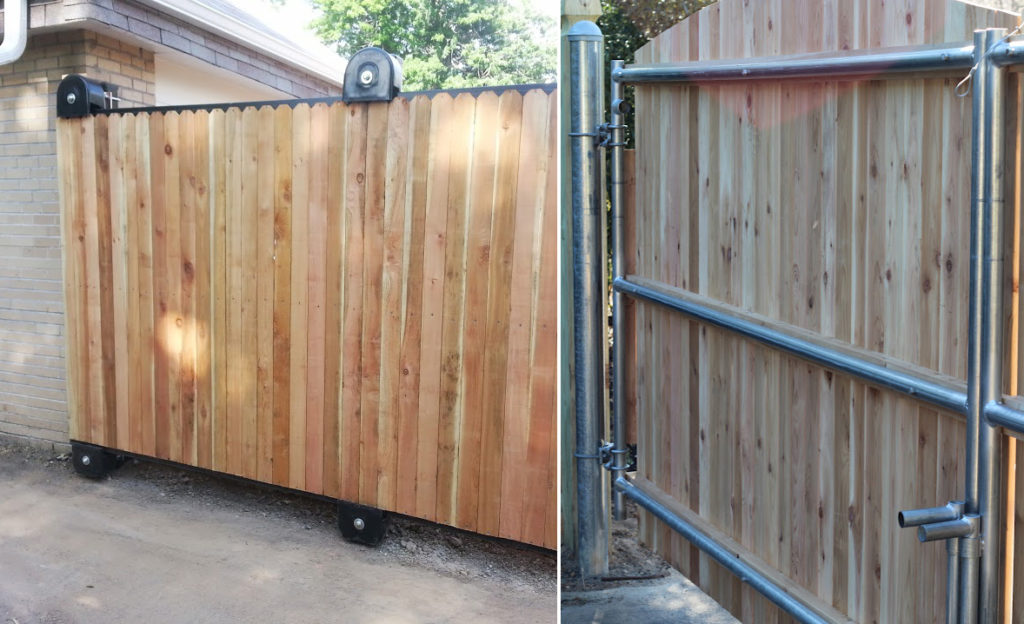
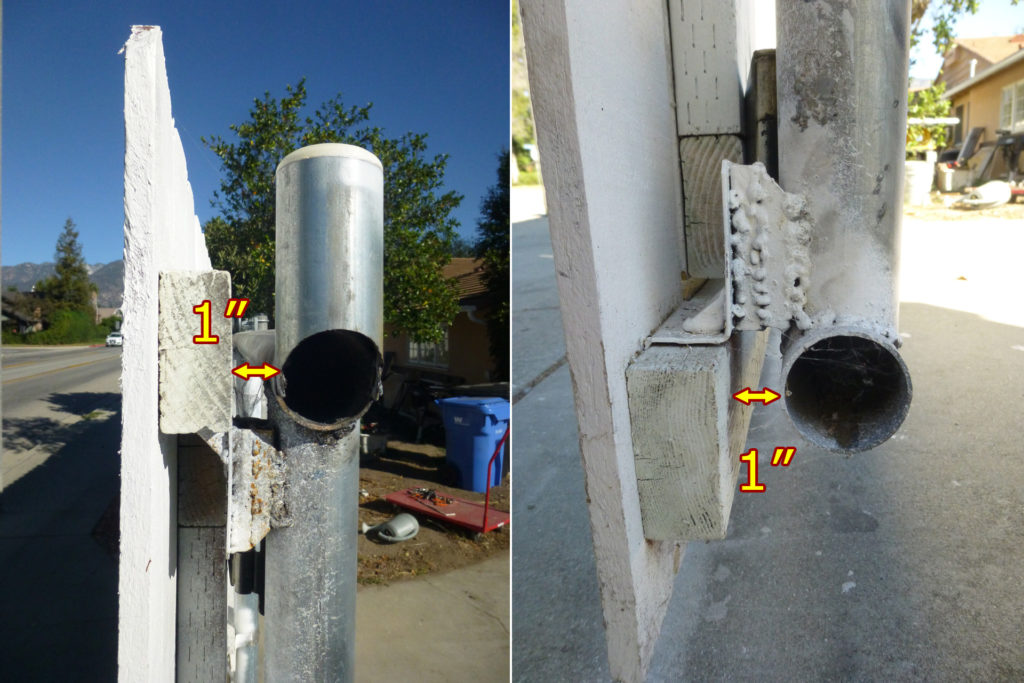
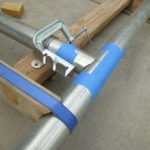
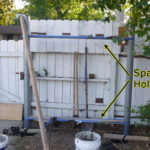
My idea solution would be mounting the boards a few inches away from the gate frame to allow free rotation for the U-groove rollers. The fencing boards, or the top/bottom rails still attach to the frame, but not flush against the it. This will keep the top and bottom pipe clear of any obstacles for rollers. The photo below show how I spaced a few inches between the gate frame and the fencing boards.
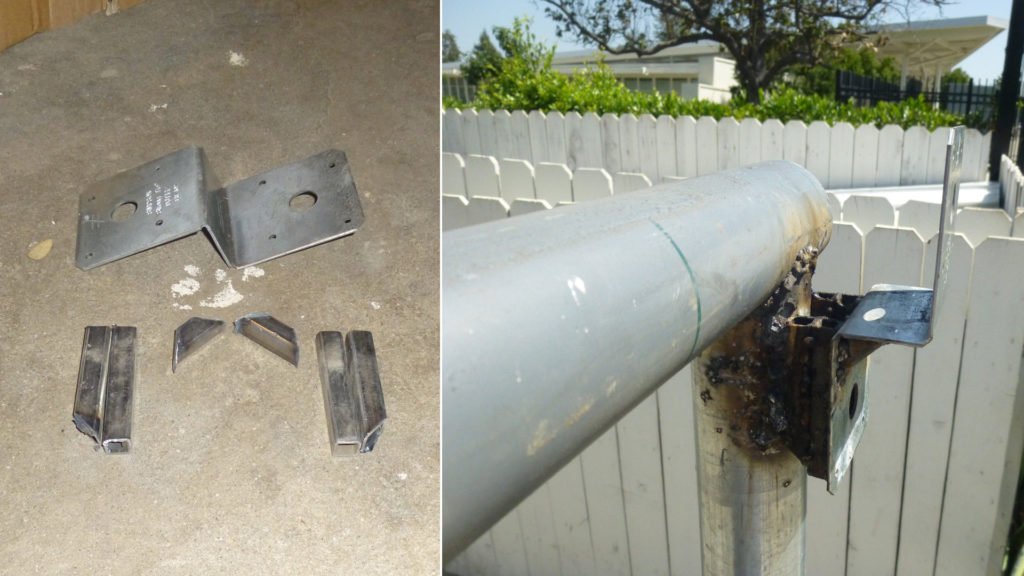
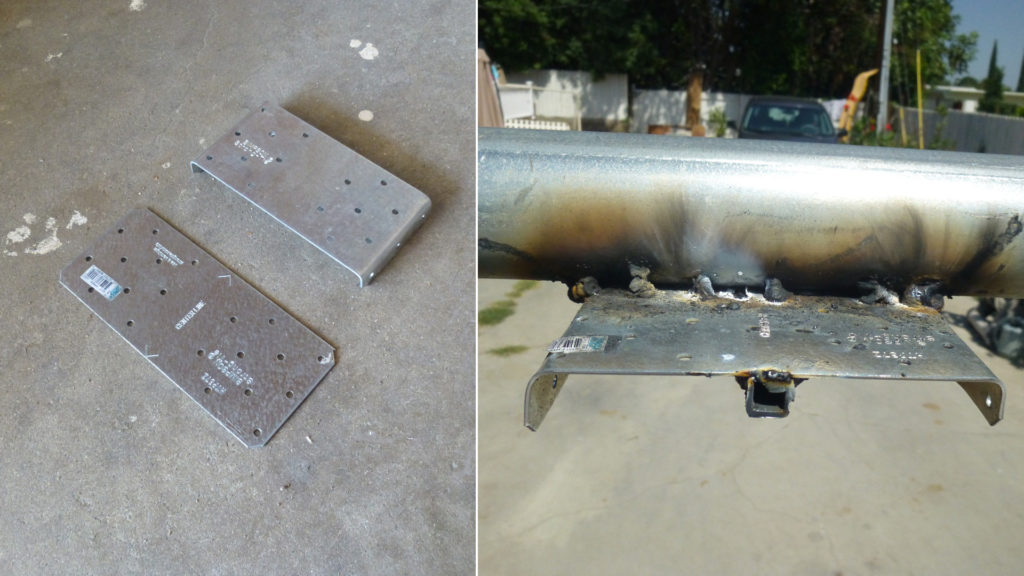
The key elements here are some home-brew brackets that were welded on the gate frame, but not touching any area of the very top or very bottom of the gate frame.
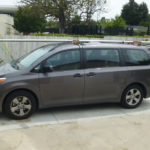
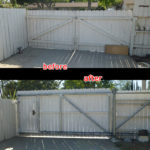
Finally, it’s time so say good bye to the old gate!
Related posts:
- DIY, how to build your own cantilever sliding gate (8) – Mount the fencing board!
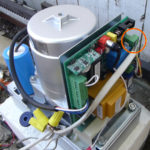
- DIY, how to build your own cantilever sliding gate (7) – Install the gate opener
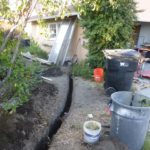
- DIY, how to build your own cantilever sliding gate (6) – Run the power cord through underground conduit
- DIY, how to build your own cantilever sliding gate (5) – Weld the galvanized pipes into a gate frame
- DIY, how to build your own cantilever sliding gate (4) – Notching steel tube / galvanized pipe for cheap!
- DIY, how to build your own cantilever sliding gate (3) – Set the posts using 4″ diameter galvanized pipe by only one man
- DIY, how to build your own cantilever sliding gate (2) – Transport the oversize pipes on a family minivan
- DIY, how to build your own cantilever sliding gate (1) – Make a plan
Leave a Reply