After collecting all the necessary materials for my cantilever sliding gate project, it’s the time to start the real work! Let’s begin with setting the post.
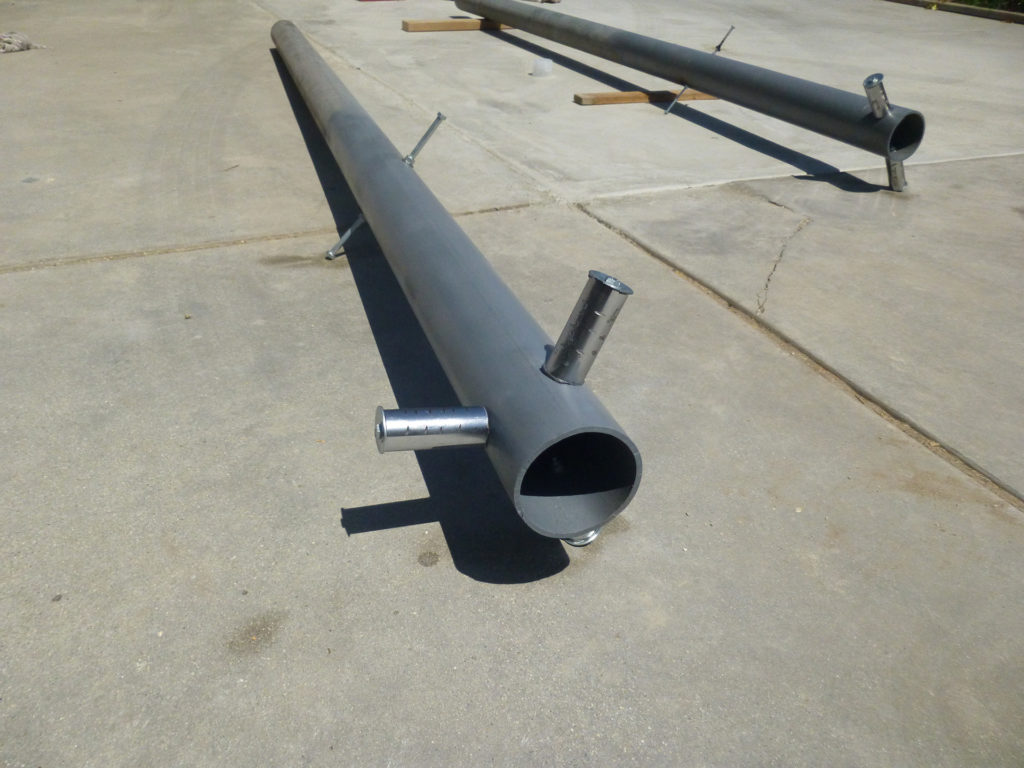
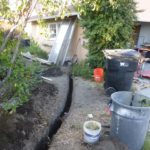
I chose 4 in. diameter galvanized pipe for durability. I was not sure at the beginning whether 4″ is overkill, but it turned out it is a must after you realized that all the weight of the gate was going to be supported by those two posts only, not to mention the center of its gravity is about 6 ft away from the first post. As I mentioned in the “plan” section of this series, the post pipe was 9′ long, of which 3 ft was going to be buried under the ground. So, I dug two holes about 12″ in diameter and 3’6″ deep.
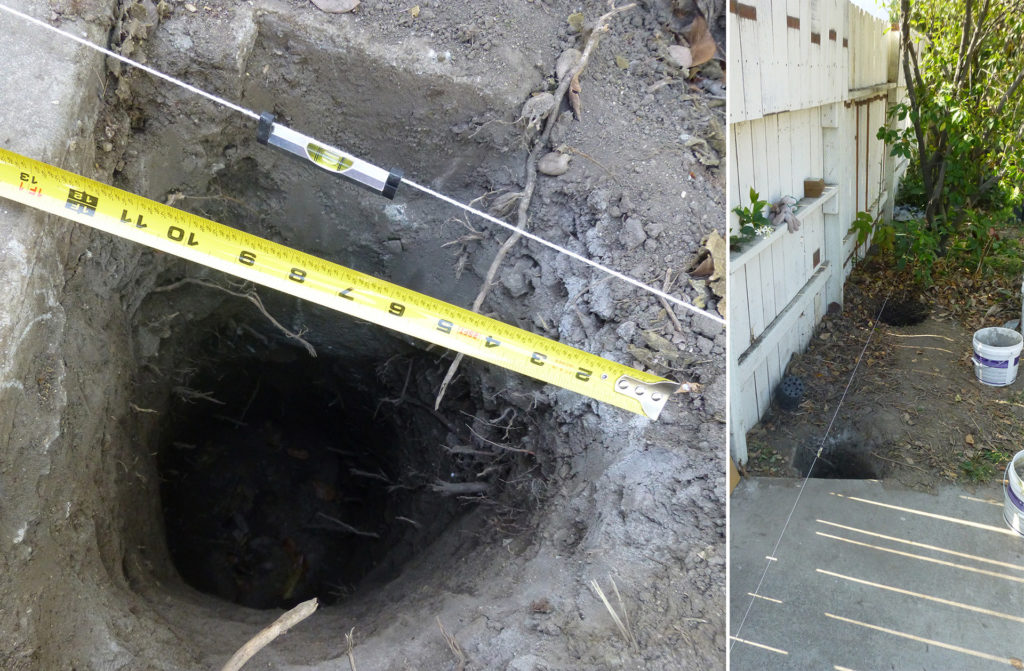
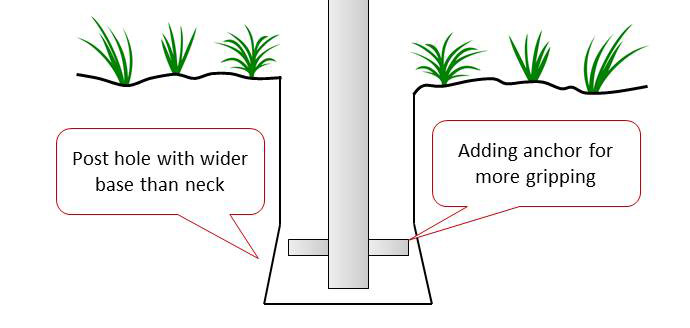
Digging up holes like those was nontrivial task, I only wish I could have dug them bigger and deeper. But it looks it is fine so far. Tips: dig a hole with wider base and add some “anchors” to the post for more gripping.
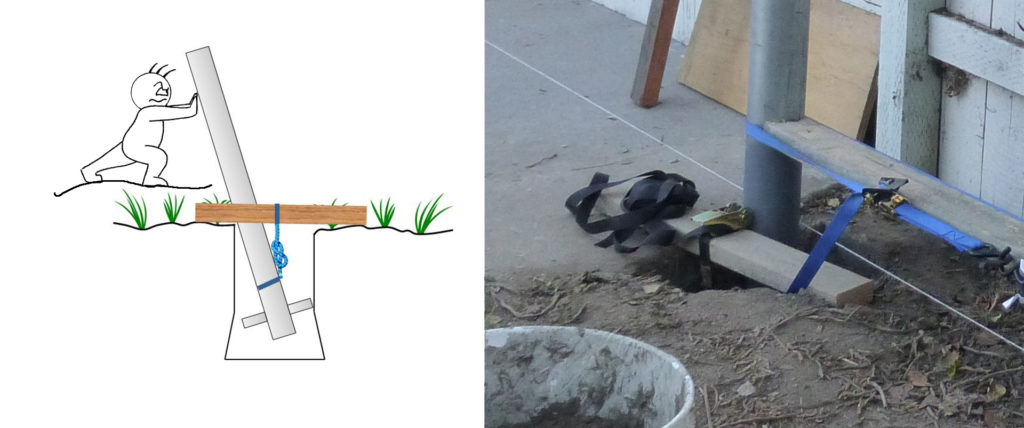
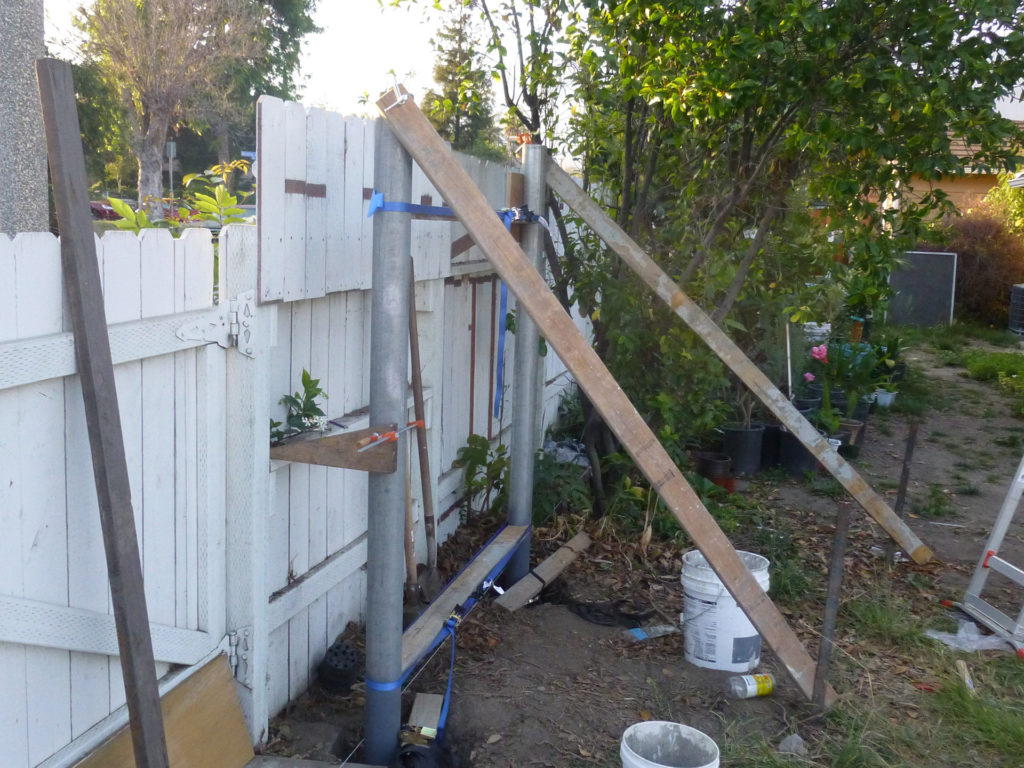
Time to set them up in the holes! It didn’t take long before I found out that the posts are TOO HEAVY (80lbs/pcs)! And unfortunately, I was working all by myself. Usually, you would prefer at least two persons: one to straight the post up while the other could make measurements and do adjustments. I came up with a one-man-only solution in which I hung the post with tie-down strap on a piece of wood that sat across the hole. So, I could easily wiggle the post around and make adjustment before setting up braces to keep it upright.
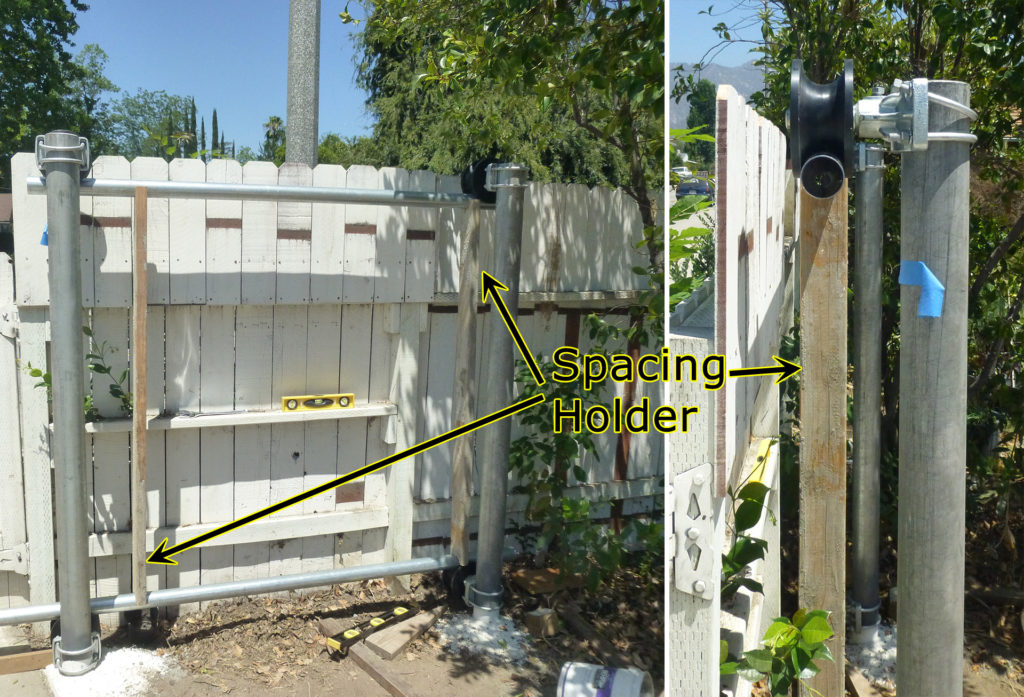
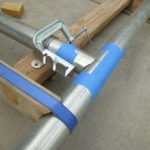
Another point in setting up the cantilever gate posts is that they must be strictly parallel to each other. You might think that individual leveling of each post seems to guarantee the parallelism, but I don’t quite trust my lever manipulation skills. I would feel more comfortable if I had extra physical assurance of that. In order to achieve this, I cut two pieces of spacing wood for exactly same length and fastened them with tie-down strap in lateral direction in the upper and lower positions. A “rectangular” structure was formed this way to make sure posts are vertical and parallel to each other.
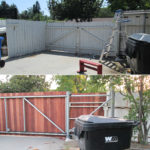
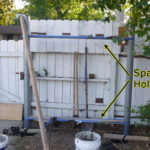
Now the posts are set, and it’s time for pouring the concrete. Here is the photo after the concrete was cured, and I put some wall sealant for protection.
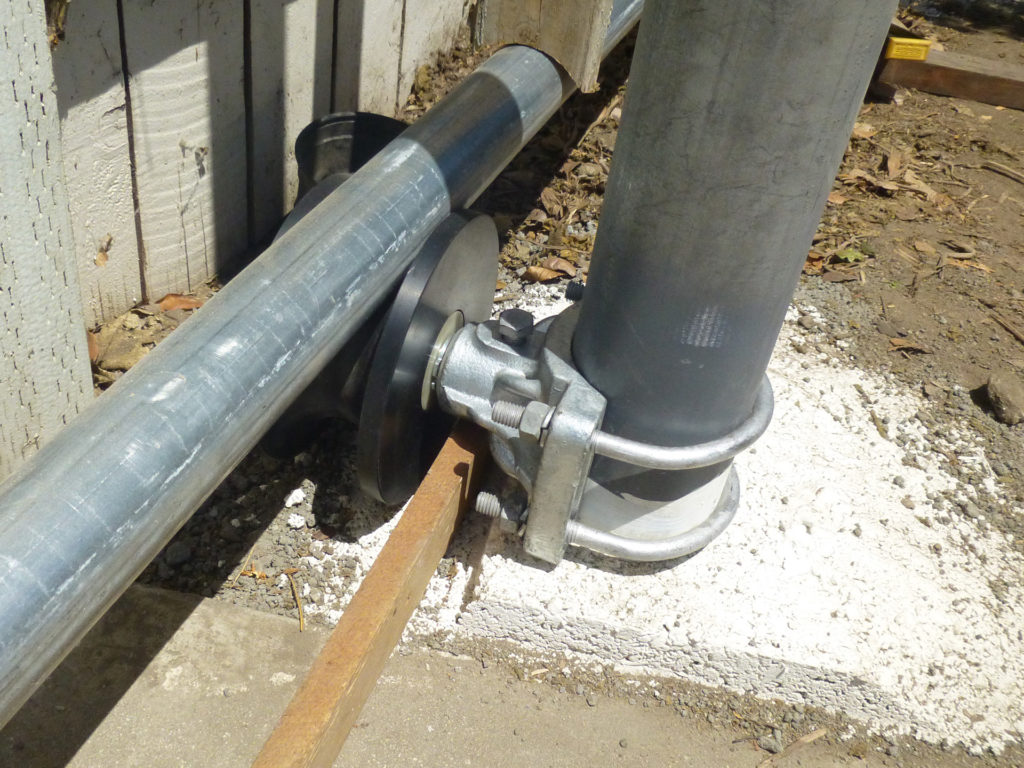
Post concrete is cured and applied with wall sealant.
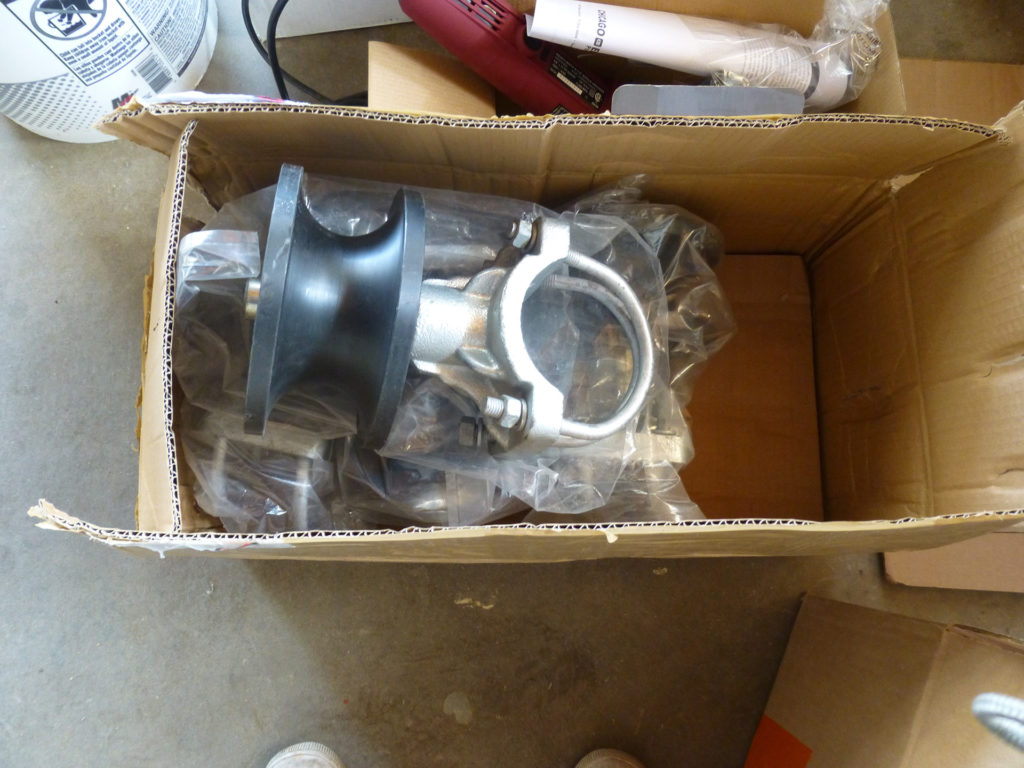
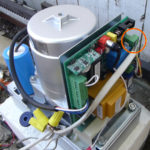
As you can tell from the photo that I couldn’t wait to see how the other parts are going to work together. I bought those nylon roller wheels from Hoover Fencing Co., they came in a box of four, and they are really heavy!
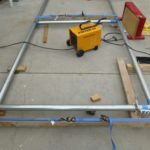
Before setting my hands on to the gate framing, I temporarily set up the frame pipes for a quick test to make sure all the measurements are right. So I followed the same idea of the “spacing holder” by cutting another two 2 by 4’s of exactly the same length, and temporarily assembled the gate frames.
Related posts:
- DIY, how to build your own cantilever sliding gate (8) – Mount the fencing board!
- DIY, how to build your own cantilever sliding gate (7) – Install the gate opener
- DIY, how to build your own cantilever sliding gate (6) – Run the power cord through underground conduit
- DIY, how to build your own cantilever sliding gate (5) – Weld the galvanized pipes into a gate frame
- DIY, how to build your own cantilever sliding gate (4) – Notching steel tube / galvanized pipe for cheap!
- DIY, how to build your own cantilever sliding gate (3) – Set the posts using 4″ diameter galvanized pipe by only one man
- DIY, how to build your own cantilever sliding gate (2) – Transport the oversize pipes on a family minivan

- DIY, how to build your own cantilever sliding gate (1) – Make a plan
Leave a Reply