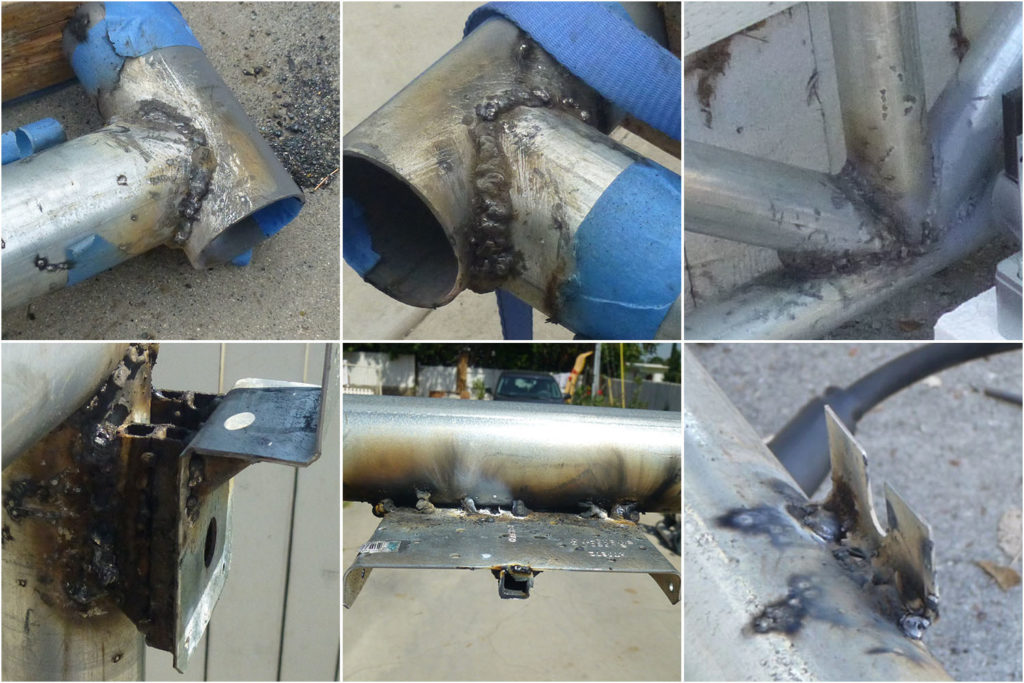
Welding was the only worrisome part of this project when I decided to build this cantilever gate because I never welded before, nor do I own a welding machine. And I had no idea of the difference between MIG welding and ARC welding. Fortunately I made a wise decision to buy a ARC welding machine, which plugs into your outlet just like other appliances, and most importantly, it did a great job. Forget about MIG welding if you don’t want to keep a gas tank in your garage….Negative side of the ARC welding is that the learning curve is steeper. But once you overcome all the difficulty as a beginner welder, ARC welding turns out to be a lot of fun!
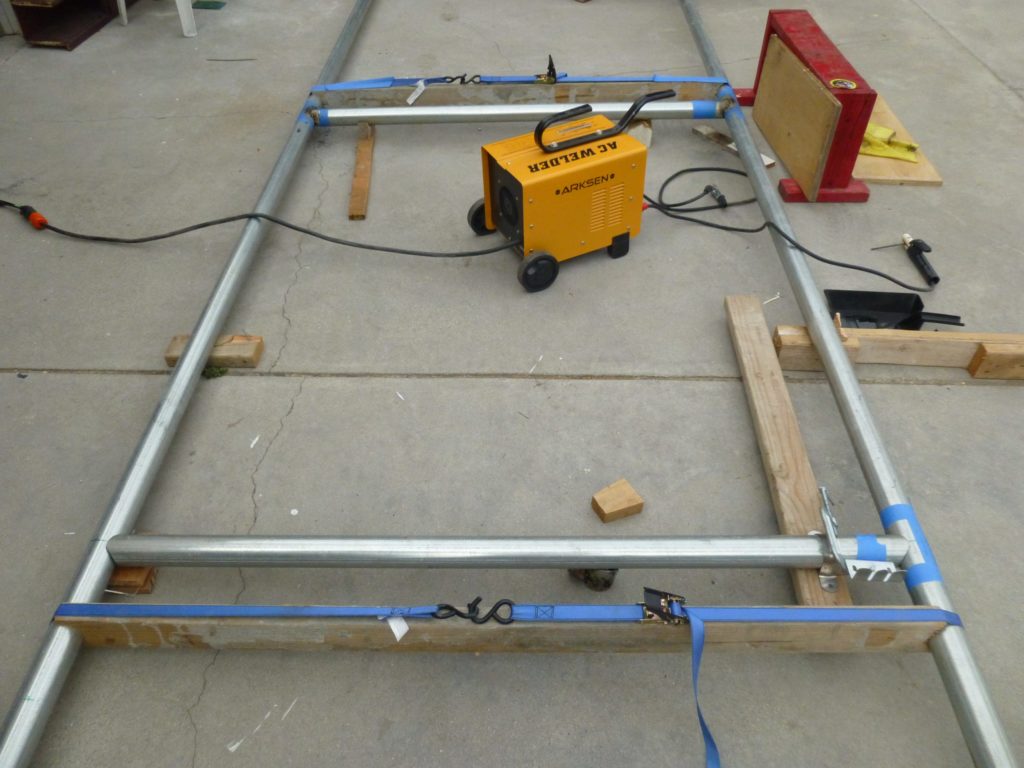
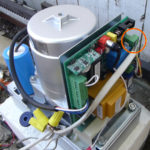
I purchased a 200AMP ARC welding machine from eBay, model BX1-200C1 for about $100. It is a simple, heavy and “analog” machine – no fancy LED indicators or digit display, all it has inside its steel case are sets of beefy coils, which, I believe, is to transform AC to low voltage DC for ARC welding. Electrical current could be adjusted through a knob, which actually is just pushing / pulling a metal core in / out of the coils to achieve various transformer turn ratio.

The BX1-200C1 welding machine comes with a unfinished power cord, so you will need to wire a plug on the power cord. The color code on the power code is probably the Europe/China standard, in which brown stand for live, blue for neutral and green strip for ground. Since I was going to source the power from a standard 110VAC outlet from garage, I wired the cord onto a U.S. NEMA 5-15P plug. Having a 25-amp circuit breaker for the garage, I was a little worried in the beginning whether my garage circuit is beefy enough to handle power consumption. Amazingly, the breaker only tripped very few times when my washing machine was also spinning at full speed in the garage. When the welding machine is the sole electricity user, it worked perfectly fine without any glitches.

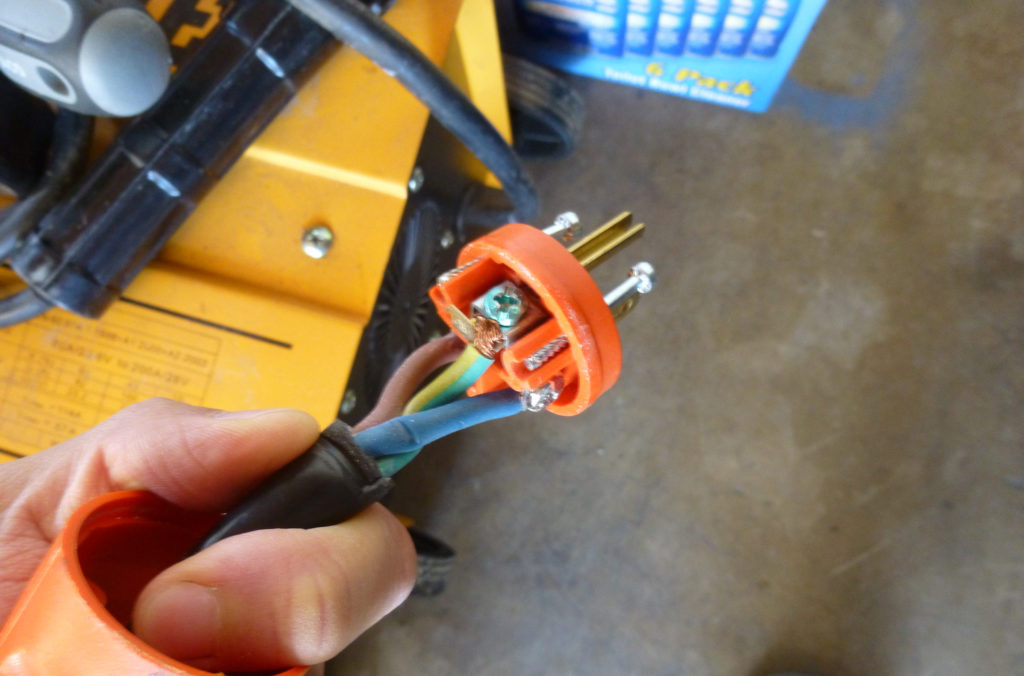
I didn’t get to try the 220VAC mode yet, as 110VAC already gave me more than enough power to finish my gate project with 1/8″ welding electrodes. I guess 220VAC will be necessary when thicker than 1/8″ electrodes are required for heavier-duty jobs.
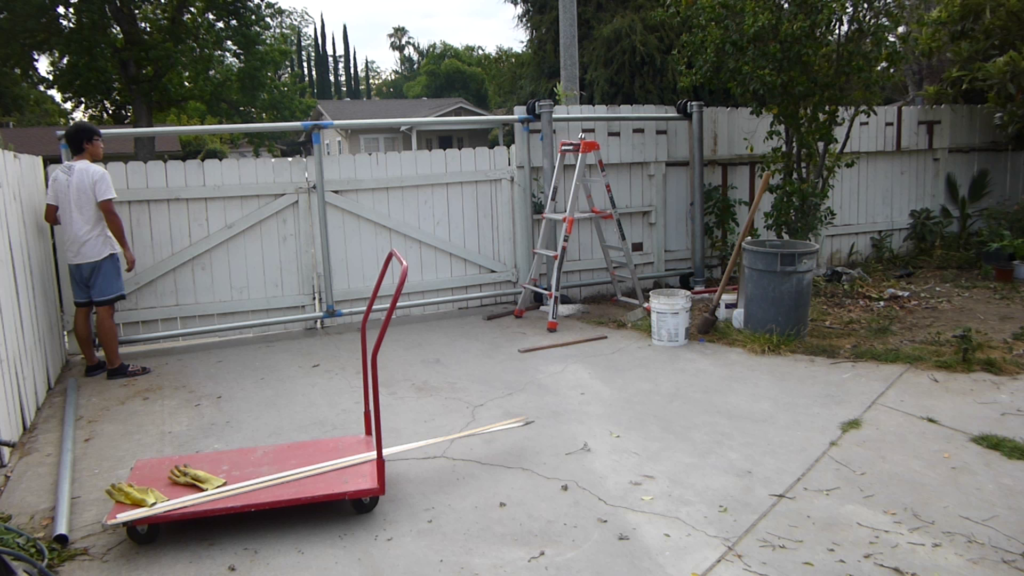
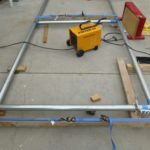
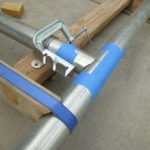
Properly fastening/clamping your metal parts is another critical step to yield a successful weld. Parts to be welded together must stay solidly together during the welding process. I used the same “parallel clamping” idea as I did to set the post, in which I set up two pieces of wood stud of exactly same length perpendicularly to ensure same distance between the galvanized pipes. In order to fasten everything together before welding, I used the same tie-down straps during the transportation step. The following picture shows my work setup during the welding process.
Check out the video for the actual welding process.
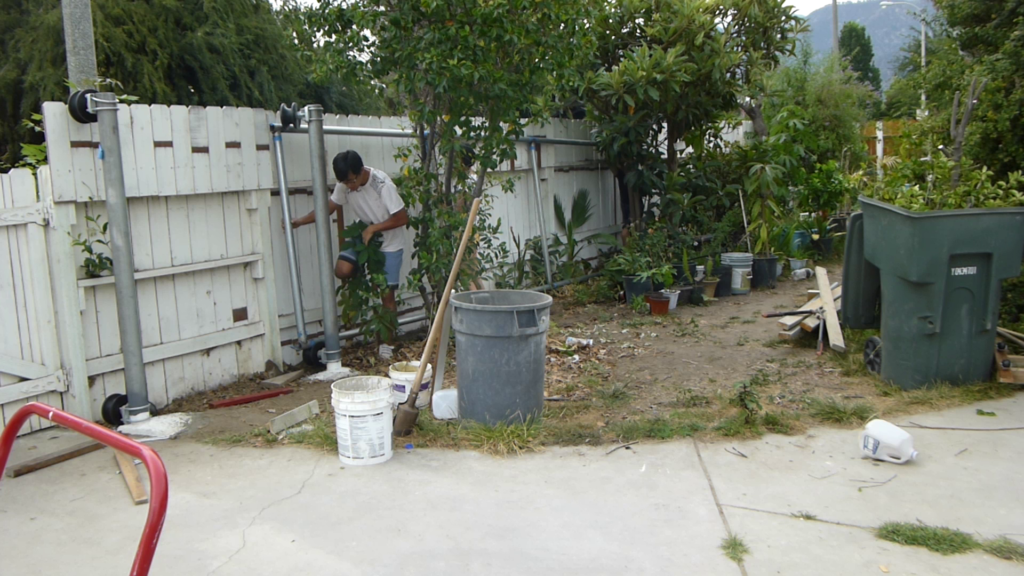
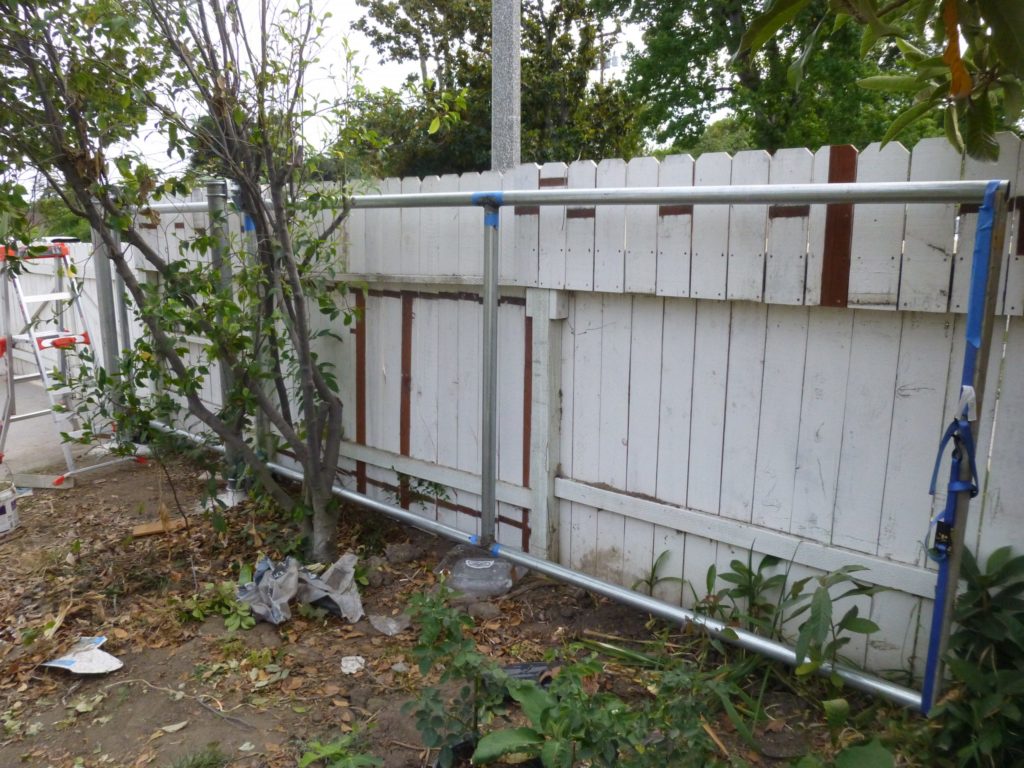
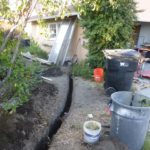
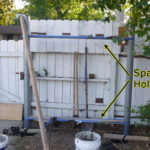
Once the frame is mostly welded together, it is time to hang the whole thing onto the post. The 18ft gate was really long, I had to cut down vegetables to make some room. The weight of the gate frame is still manageable at this point, but definitely I needed help from others. I continued to weld more pipes (diagonal direction) on to make the frame more structurally sound. It was actually easier to weld when the frame was up.
Related topics:
- DIY, how to build your own cantilever sliding gate (8) – Mount the fencing board!
- DIY, how to build your own cantilever sliding gate (7) – Install the gate opener
- DIY, how to build your own cantilever sliding gate (6) – Run the power cord through underground conduit
- DIY, how to build your own cantilever sliding gate (5) – Weld the galvanized pipes into a gate frame
- DIY, how to build your own cantilever sliding gate (4) – Notching steel tube / galvanized pipe for cheap!
- DIY, how to build your own cantilever sliding gate (3) – Set the posts using 4″ diameter galvanized pipe by only one man
- DIY, how to build your own cantilever sliding gate (2) – Transport the oversize pipes on a family minivan

- DIY, how to build your own cantilever sliding gate (1) – Make a plan
Leave a Reply