In my last post, I talked about manually assembling a small-scale PCB project at home with my reflow oven. I’m happy to report that a lot of the boards are already performing their jobs at this moment. And I haven’t found a single defective one so far.


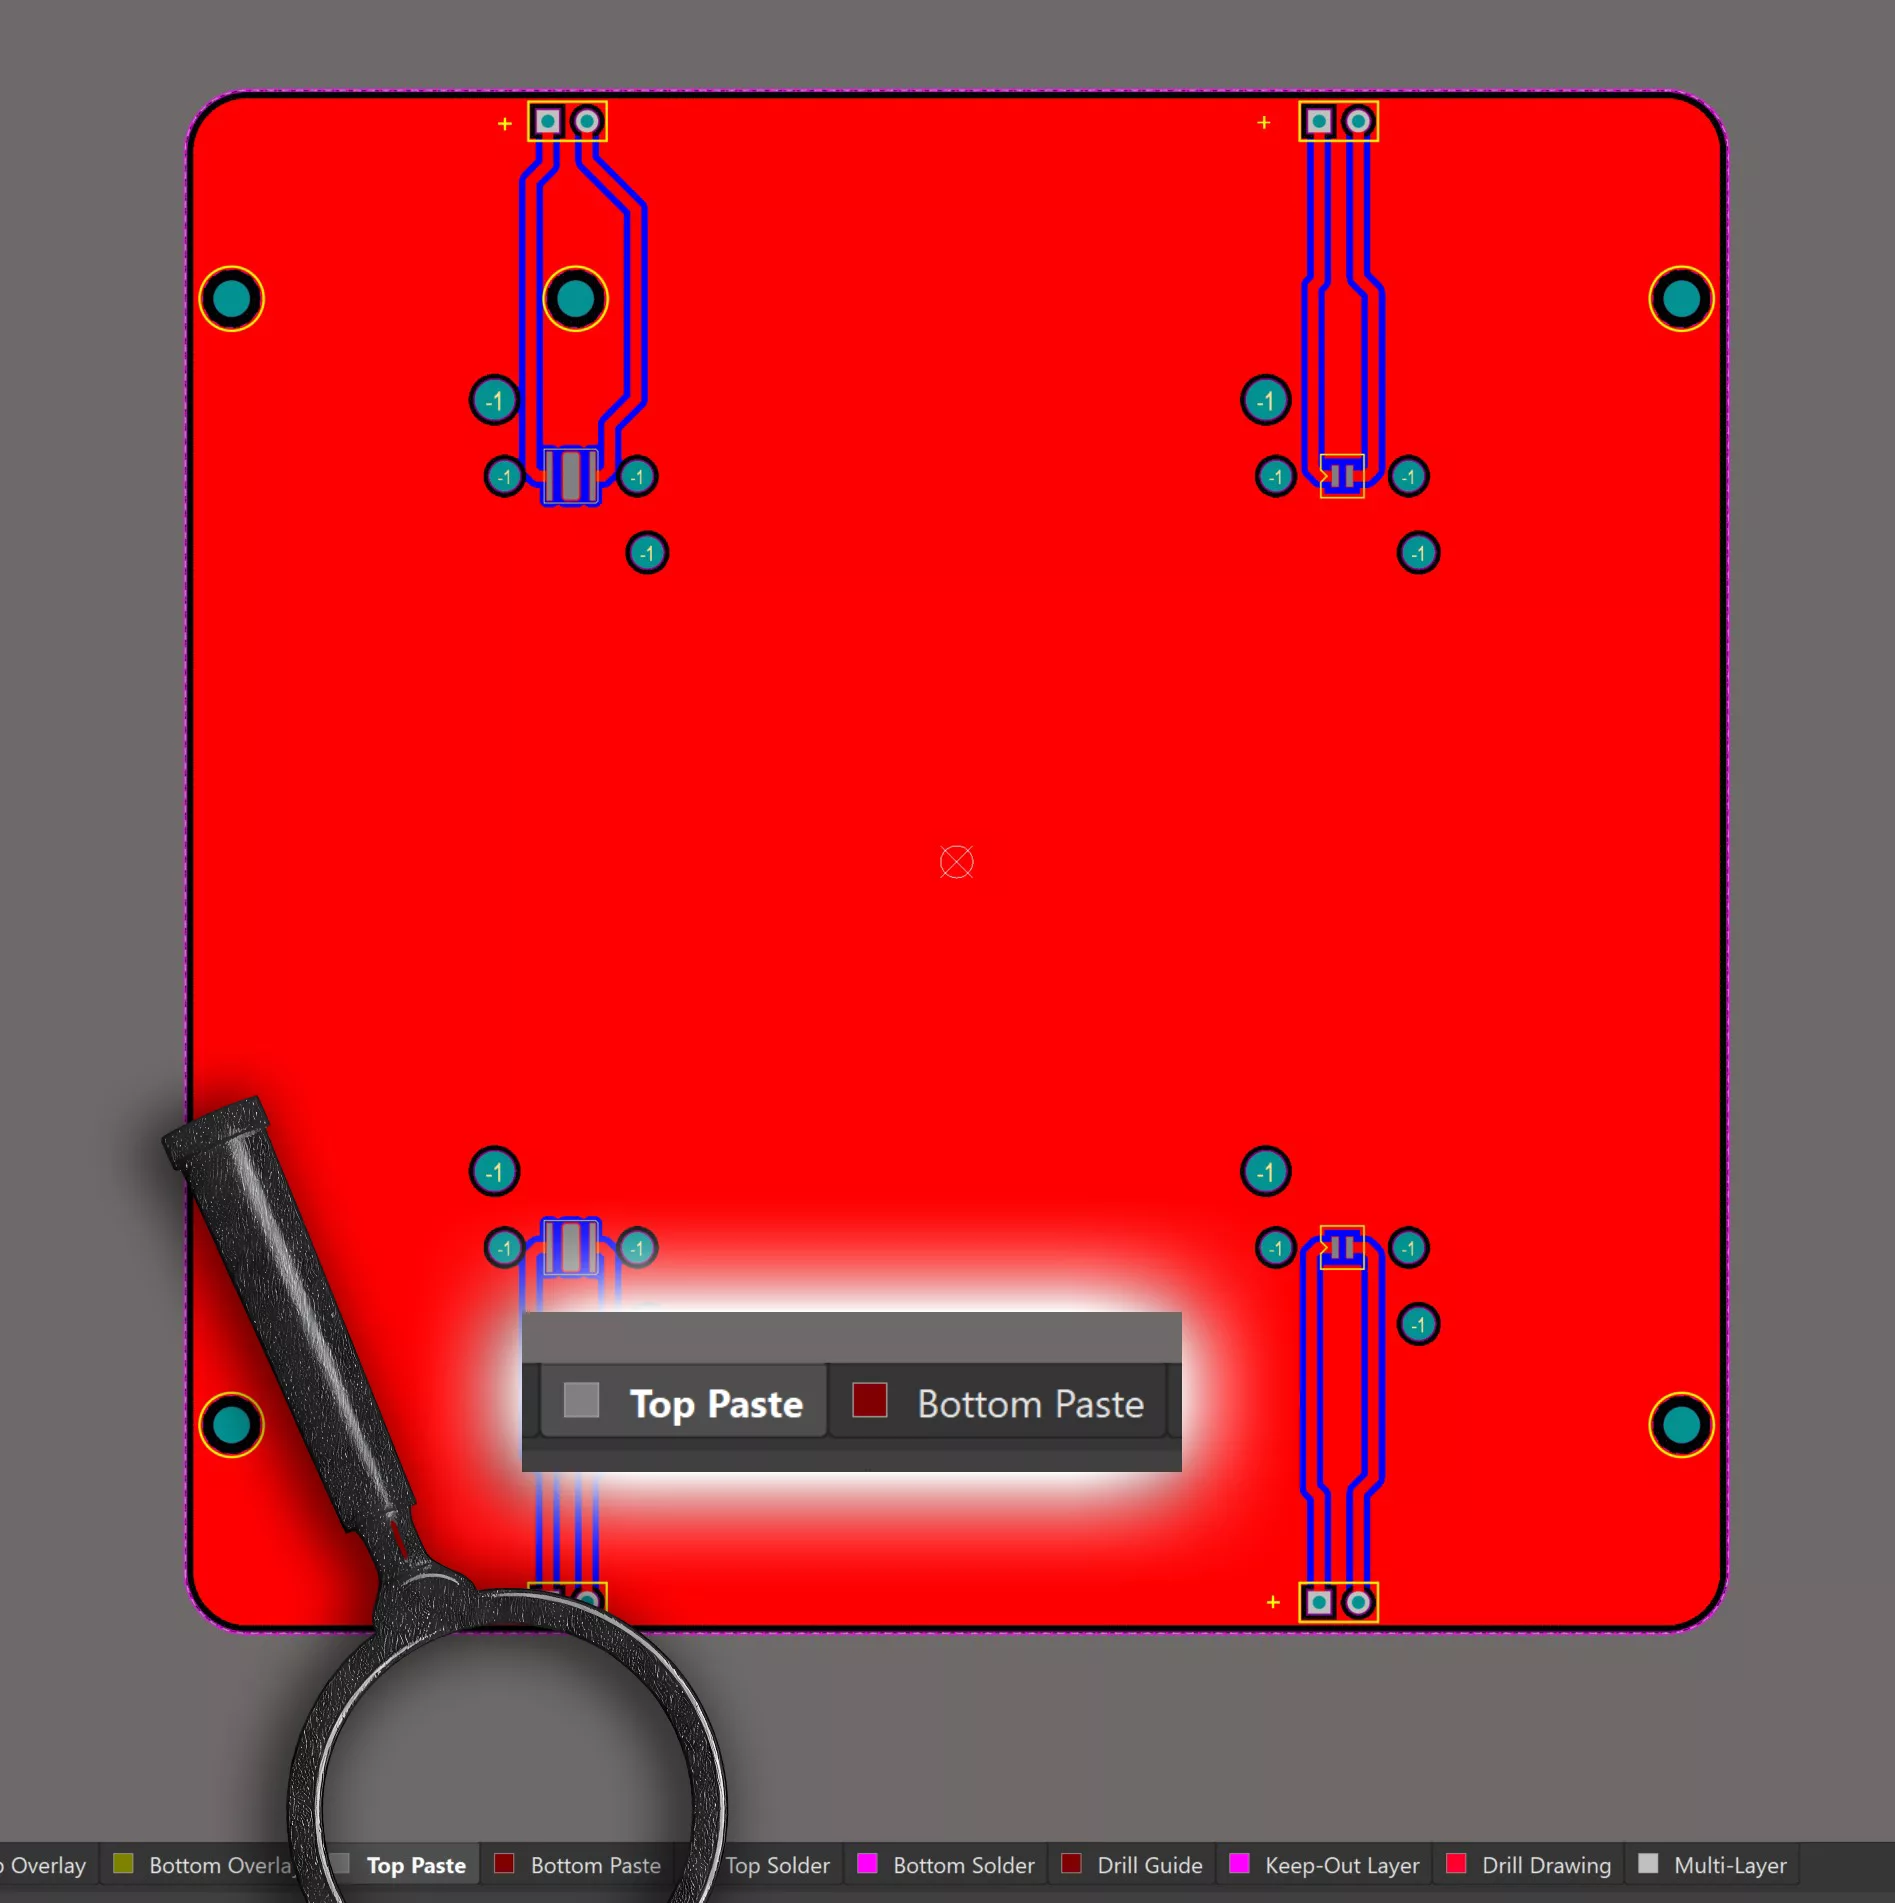
I didn’t use a stencil during the assembly process because the components are big enough to tolerate my free-style solder paste application. Now, the next challenge will be – how to deal with the small, fine-pitch components? In this post, I would like to show you the way of doing it with a stencil. The stencil is fabricated off the image of the top and bottom paste layers in your CAD software.
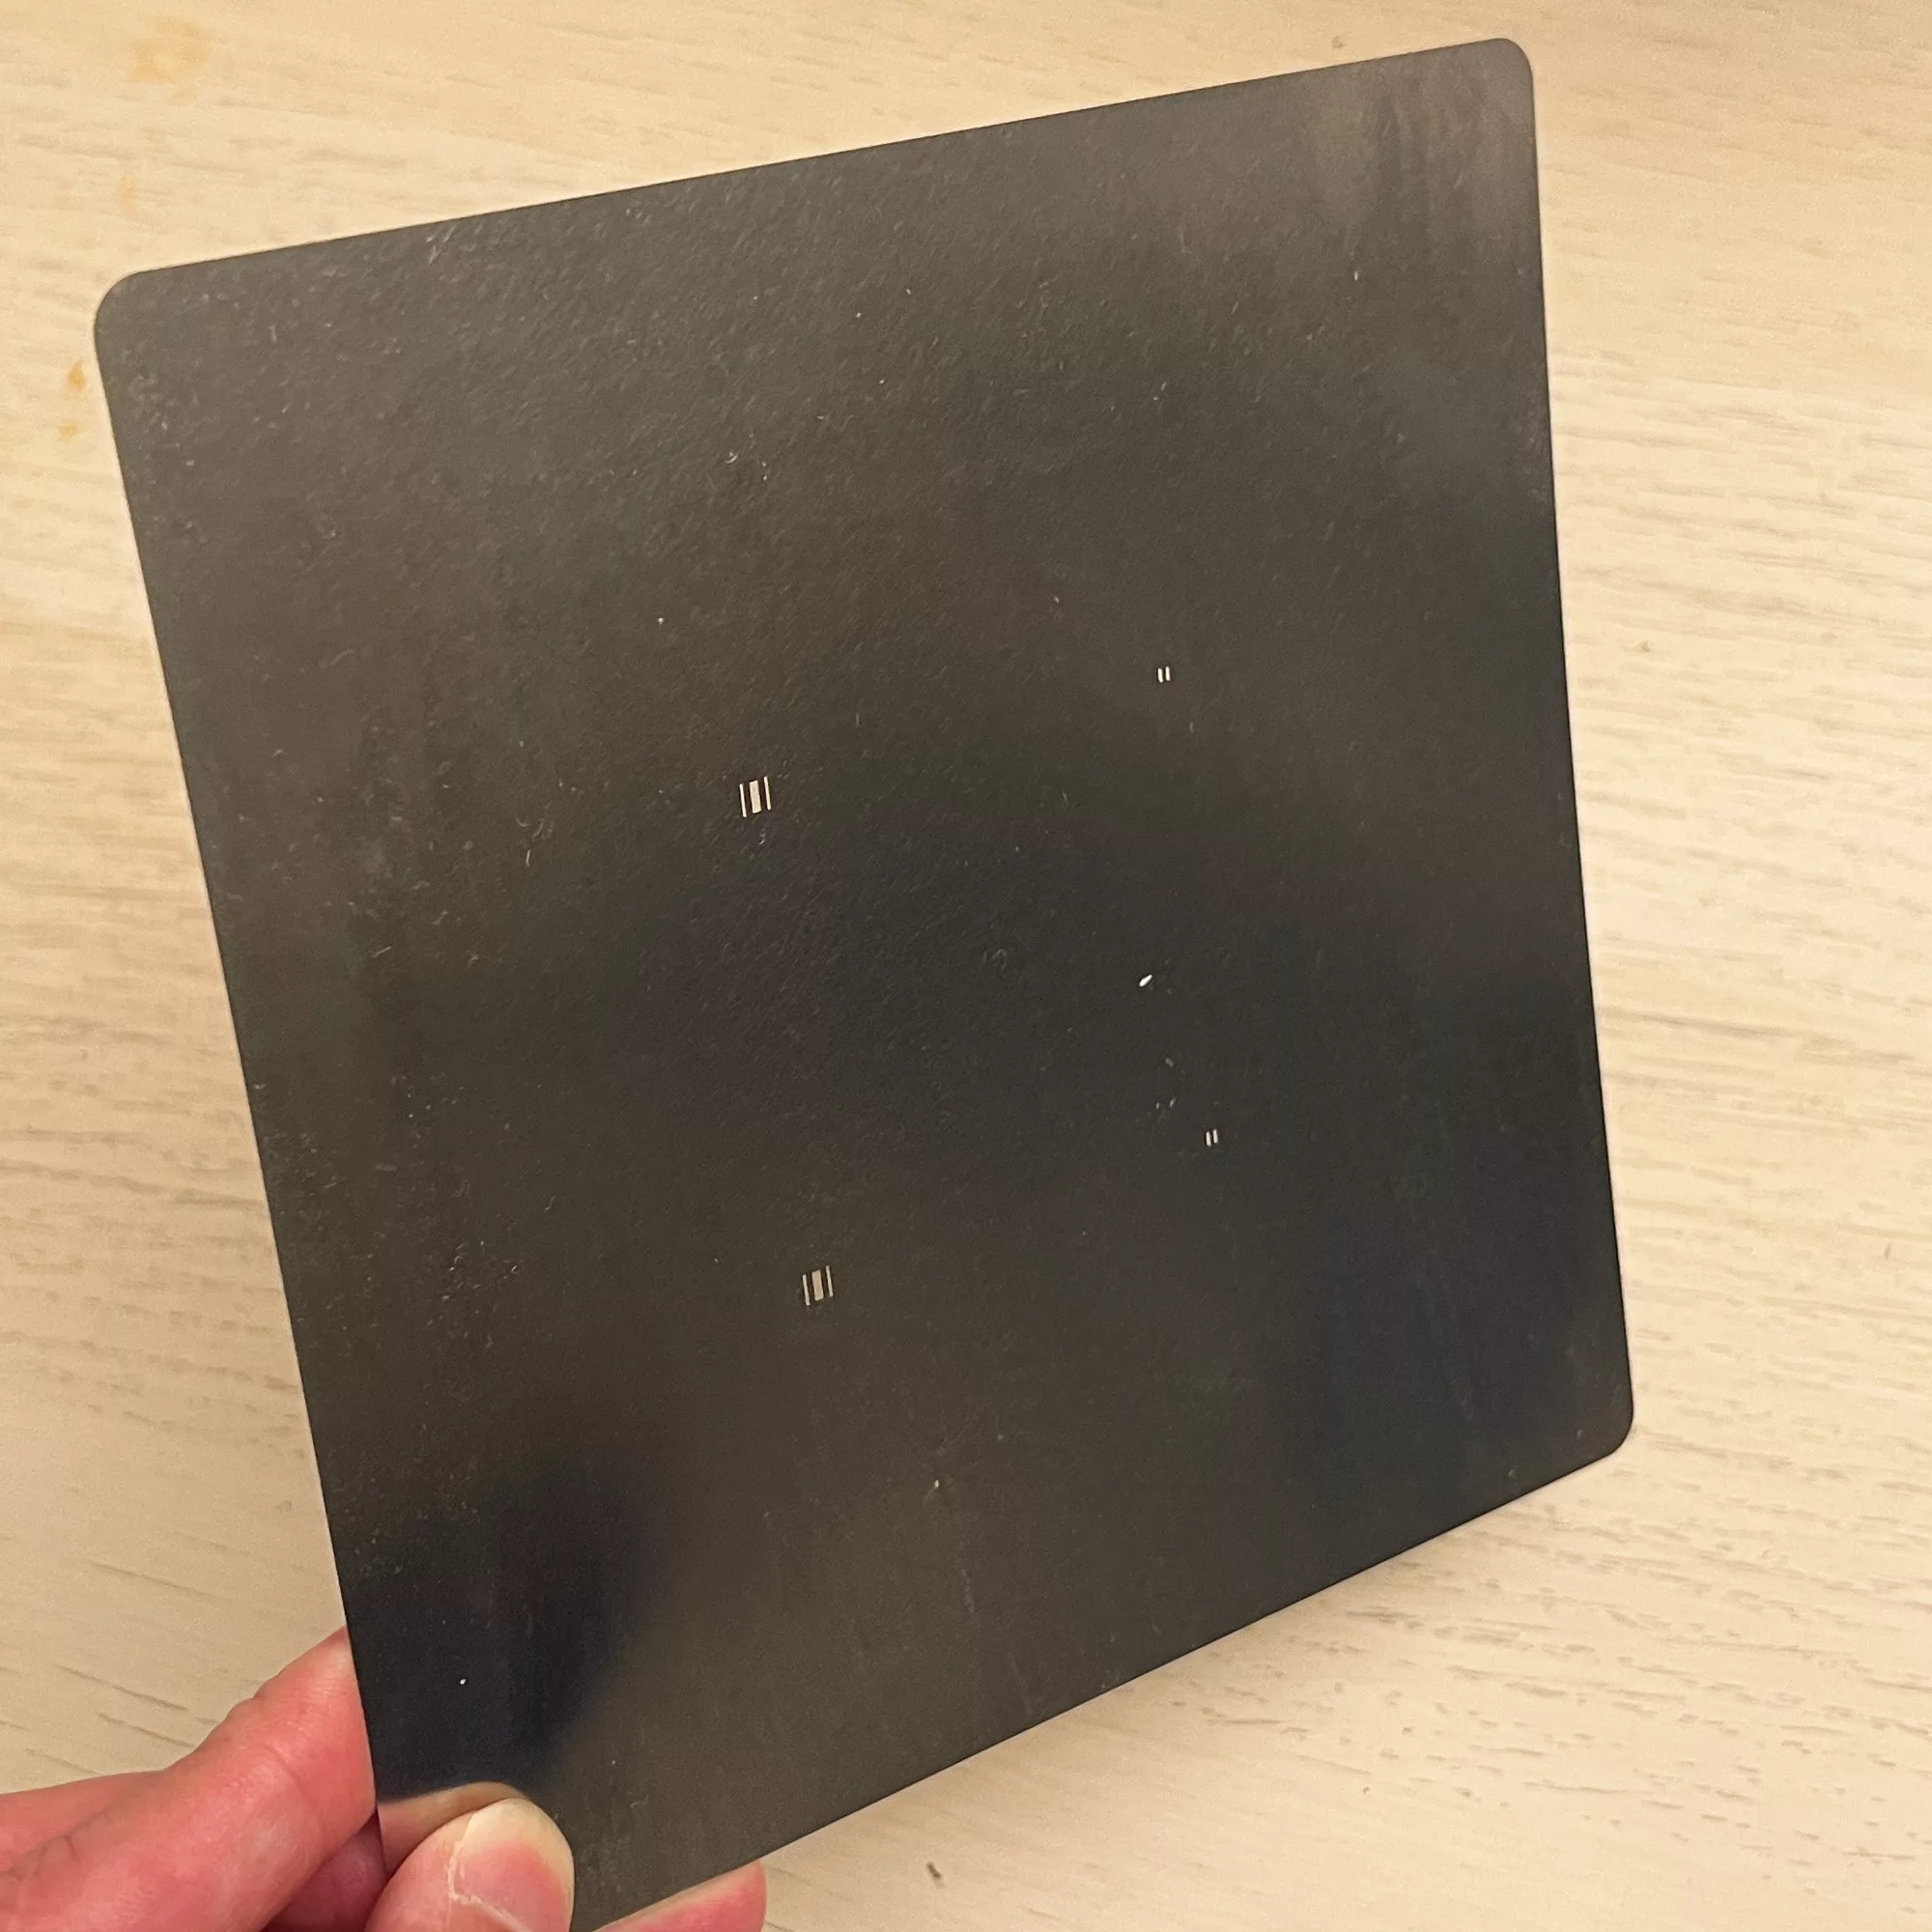
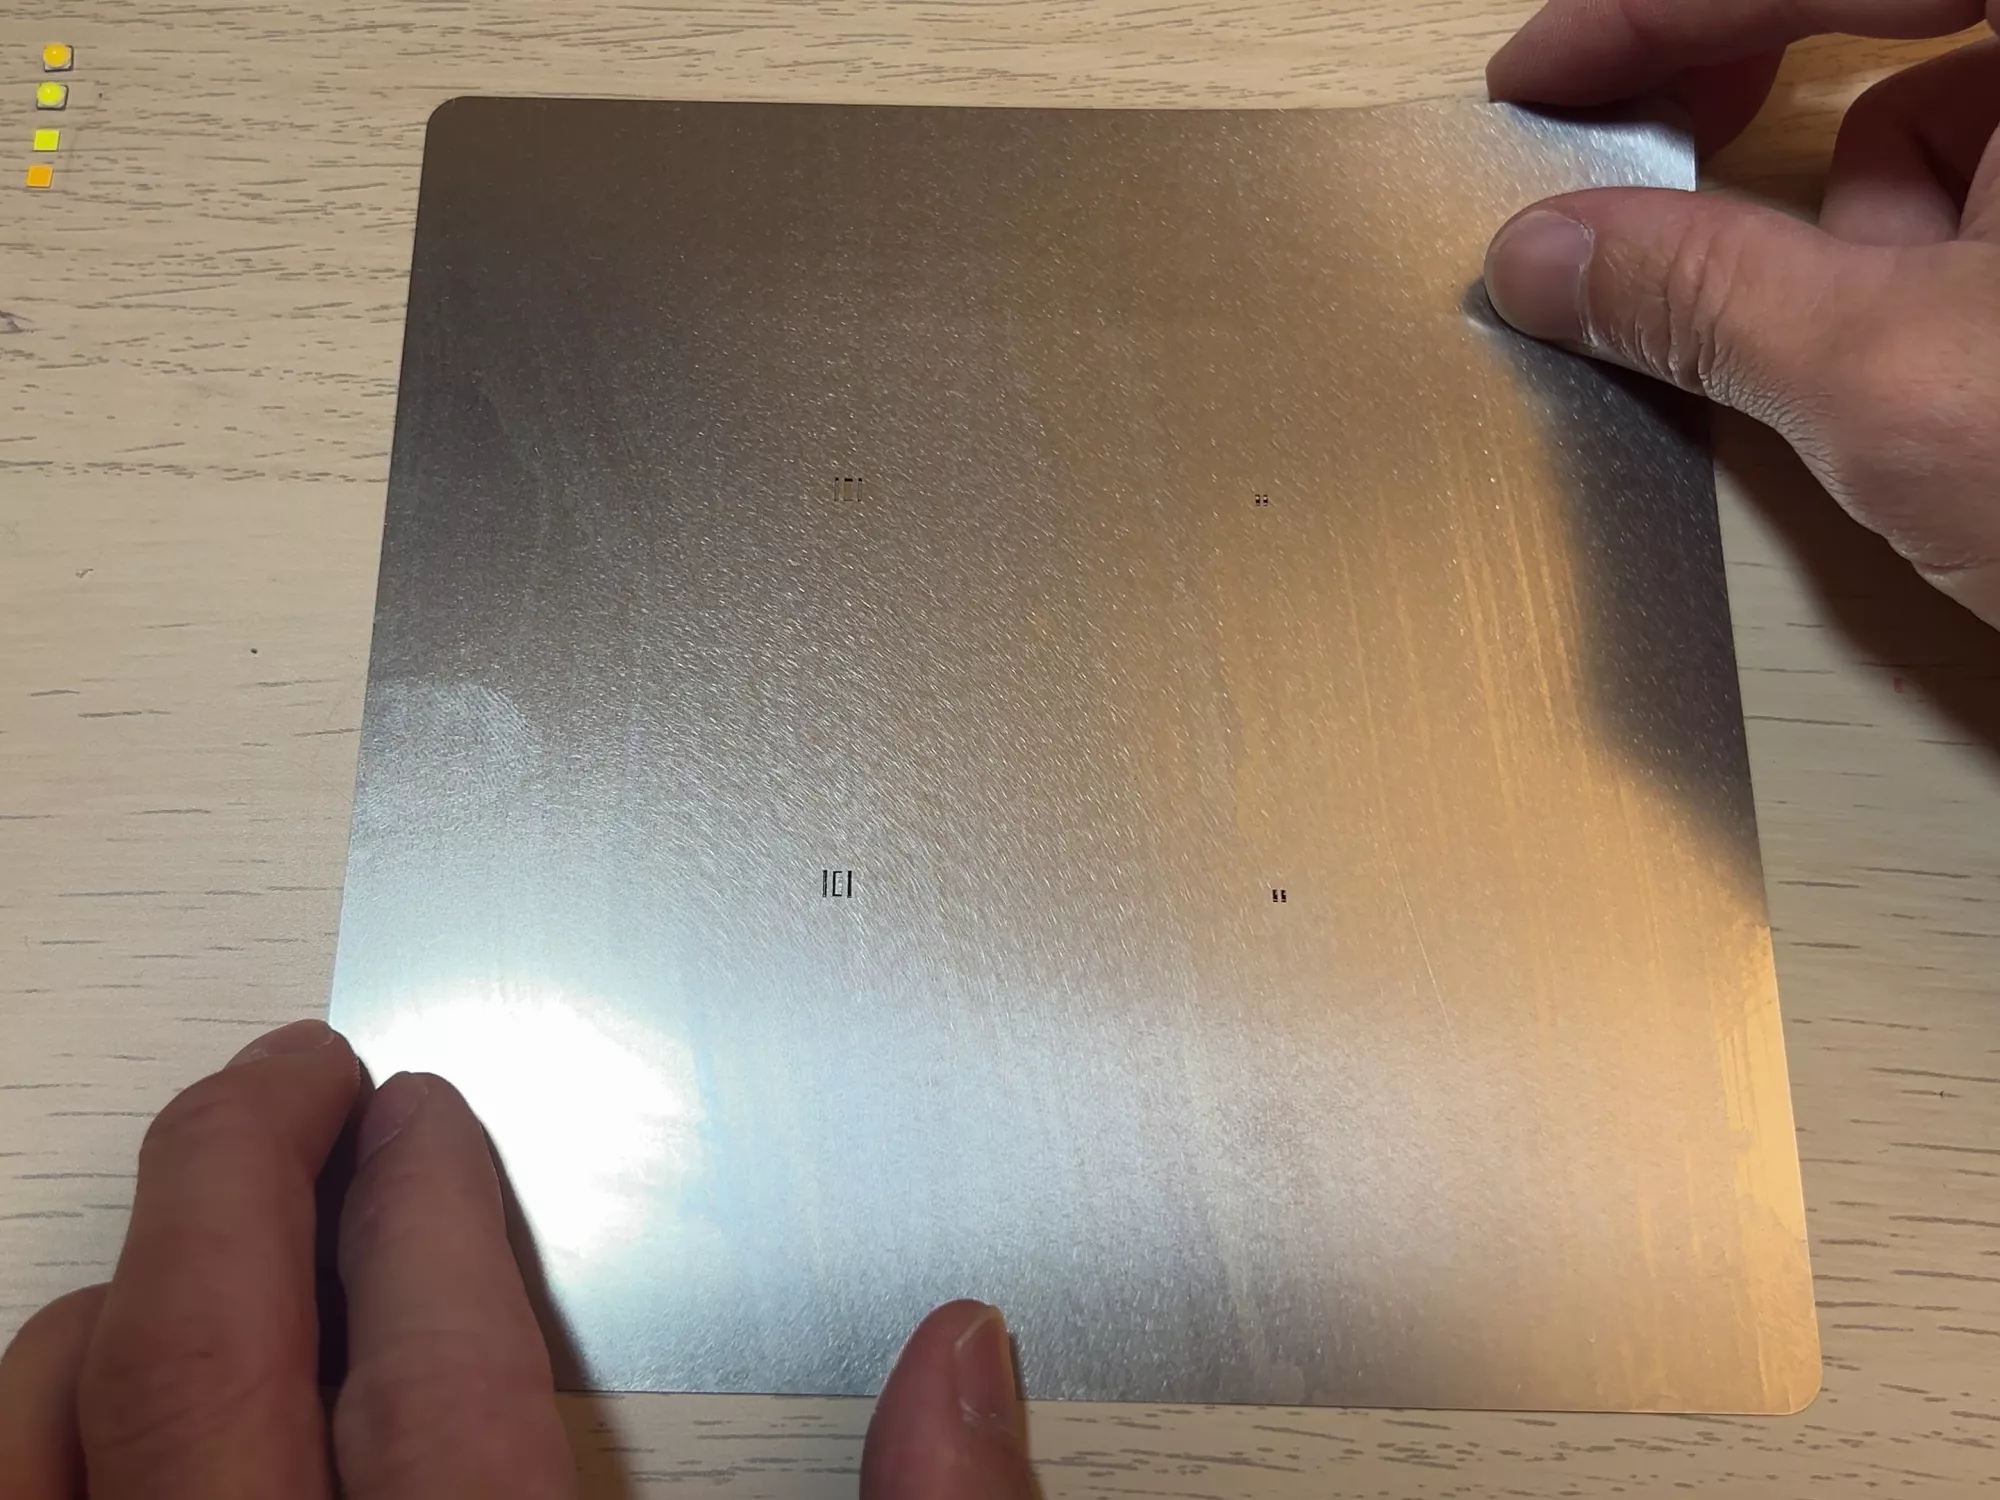
The material of the stencil could be thin plastic polymer sheet or stainless-steel sheet. The thickness of the thin material is best to be around 0.1mm. Some PCB manufacturers charge a small fee for creating a stencil along with the PCB order. I paid 15 bucks for the stencil I will use and demonstrate today. If you are a hard-core DIYer, and you happen to have access to a laser cutter, you can totally make one yourself by cutting a plastic polymer sheet.
Step 1. I first taped the PCB to my desk. Look, here is an important tip here: make sure you fold the tape on one end to make the removal easier. I learned this through a hard lesson. Just imagine how frustrating it would be if you accidentally pushed the components off their location while struggling to find the edge of the tapes for removal. It did happen during one of my previous projects after I spent almost an hour placing all the components in place.
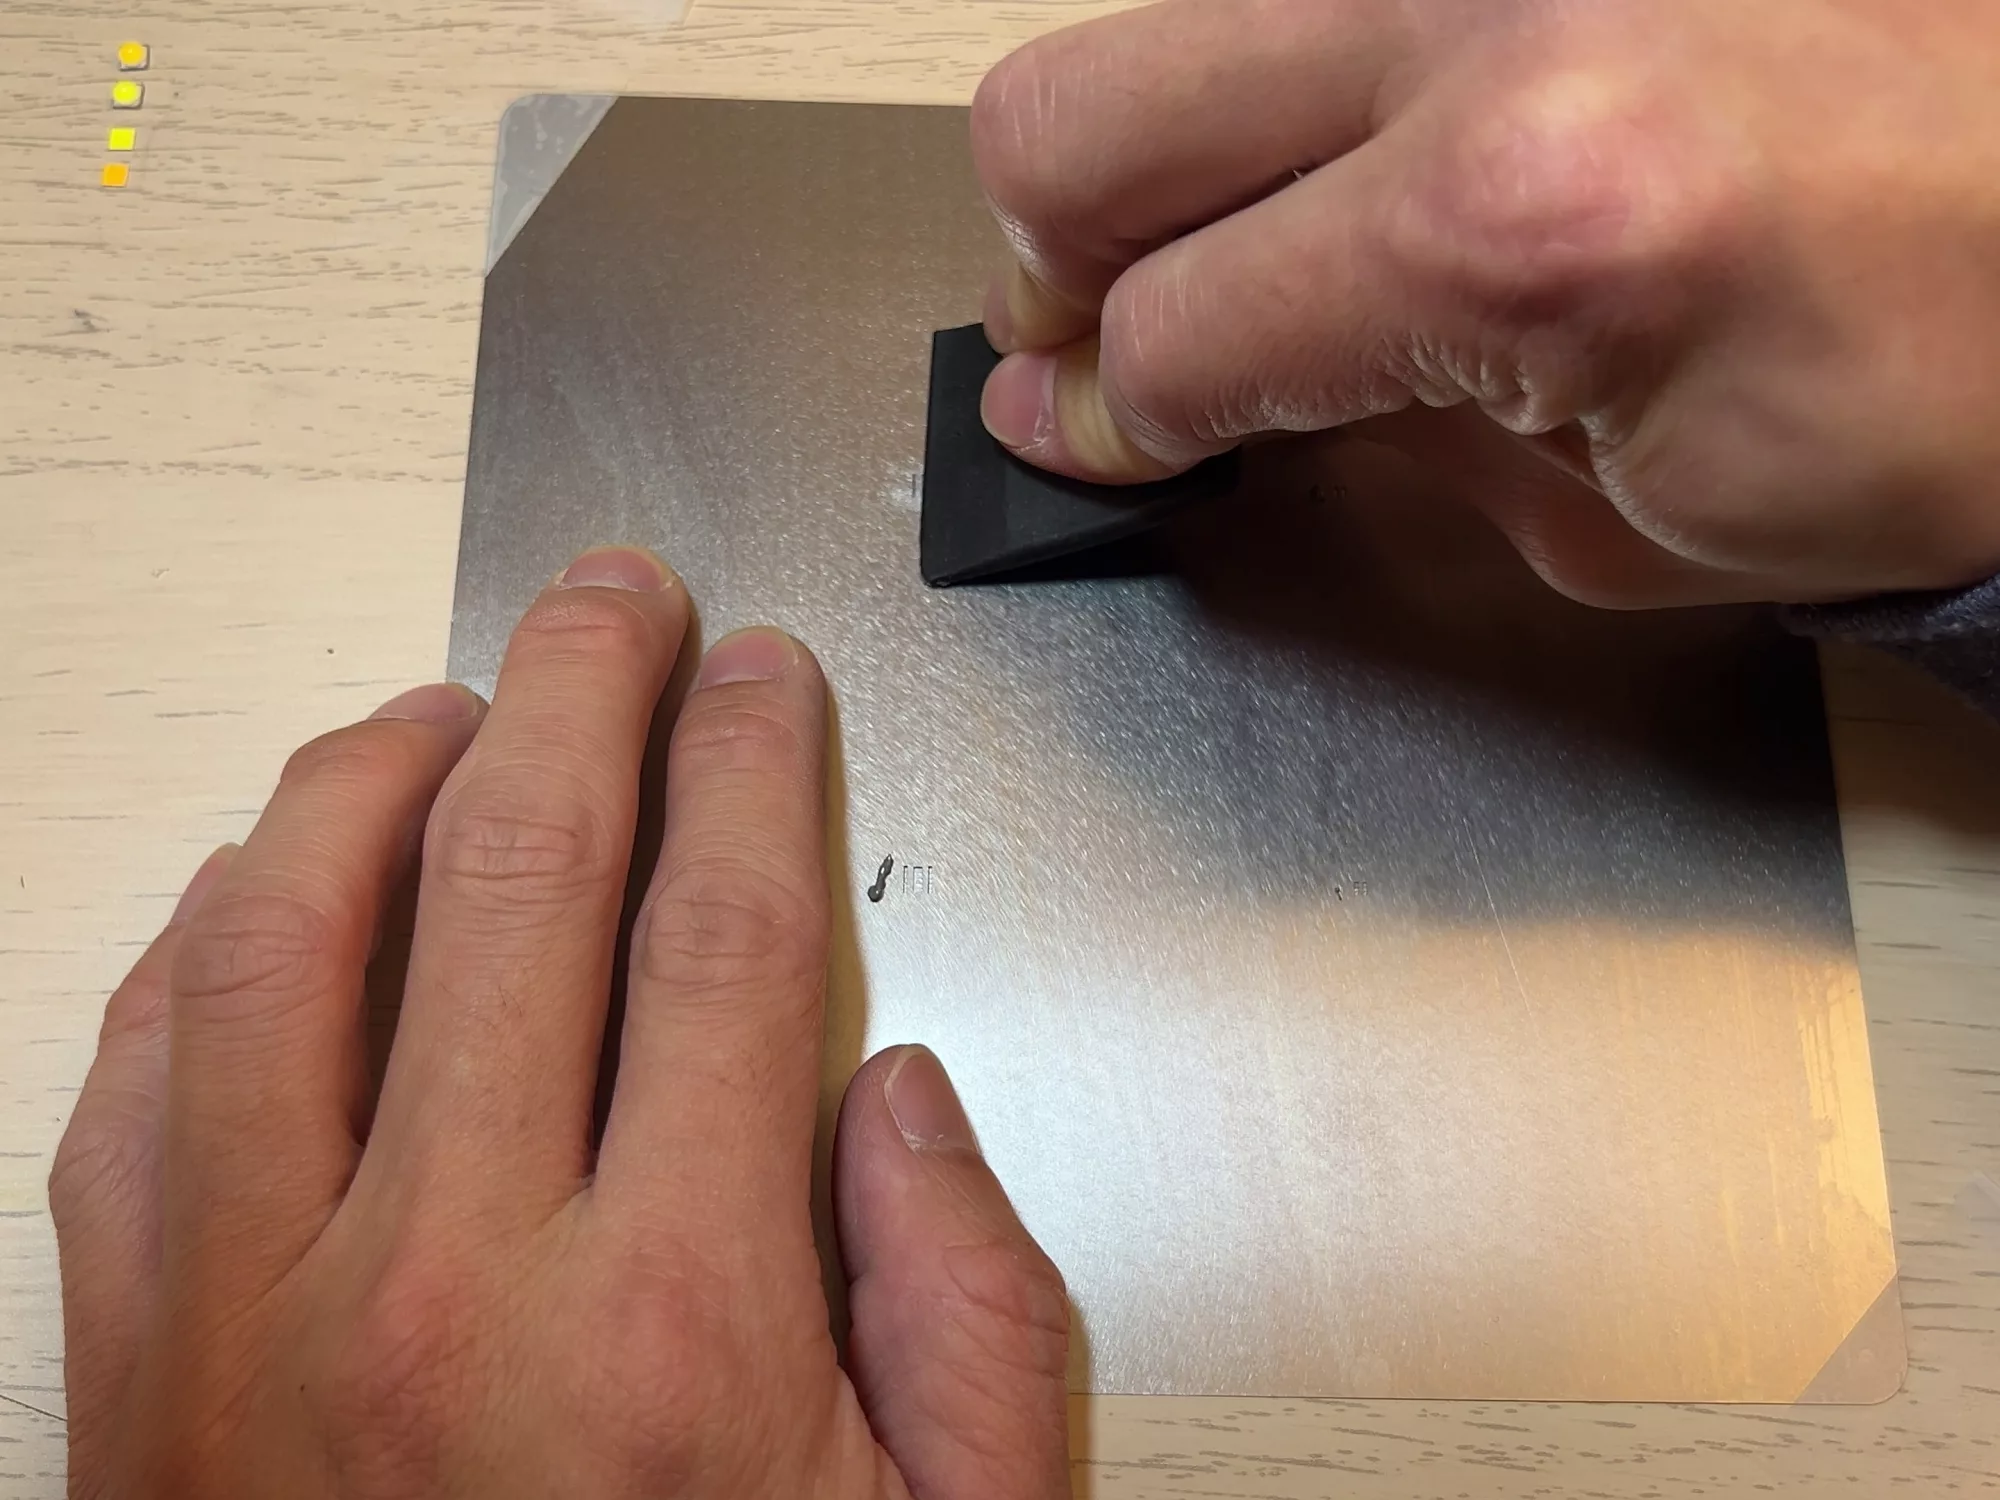
Step 2. I carefully aligned the stencil opening with the pads, and again, use tapes to lock the stencil in place.
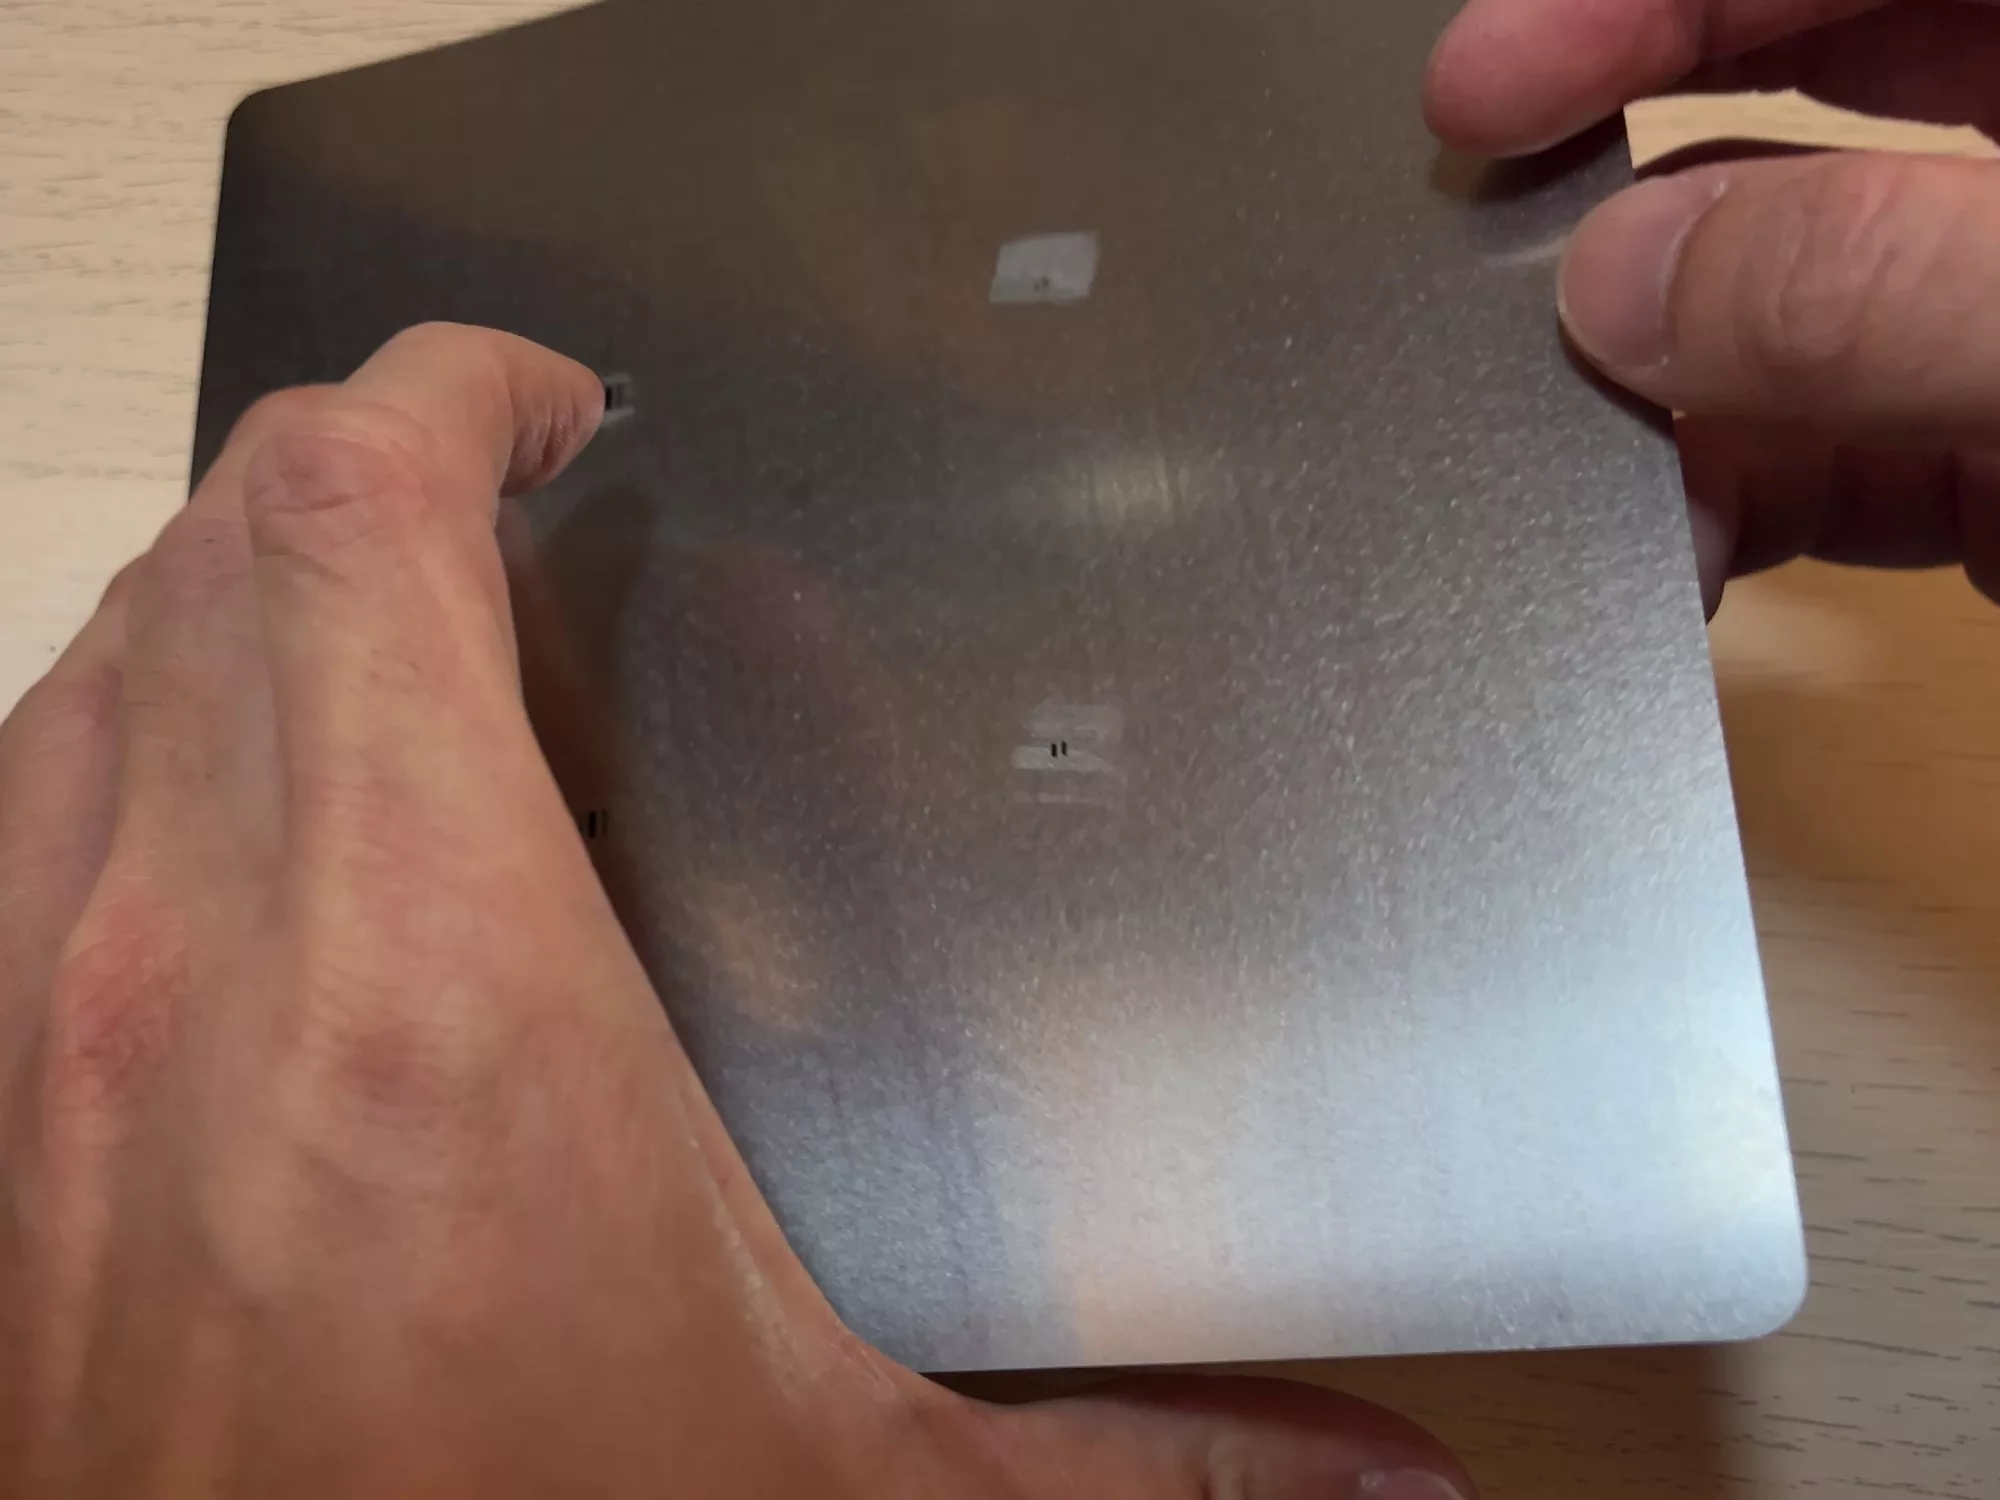
Step 3. it’s time to do the fun part, squeegee the solder paste. Make sure you firmly press the squeegee to spread the paste into the stencil’s openings. Multiple passes, or passes through different directions are ok as long as you press firmly on the stencil. Once it’s done, lift the stencil straight up to remove it. Going the straight up direction is important because it prevents ruining the shape of the applied paste. Examine the paste and make sure all pads are well covered with a decent layer of paste.
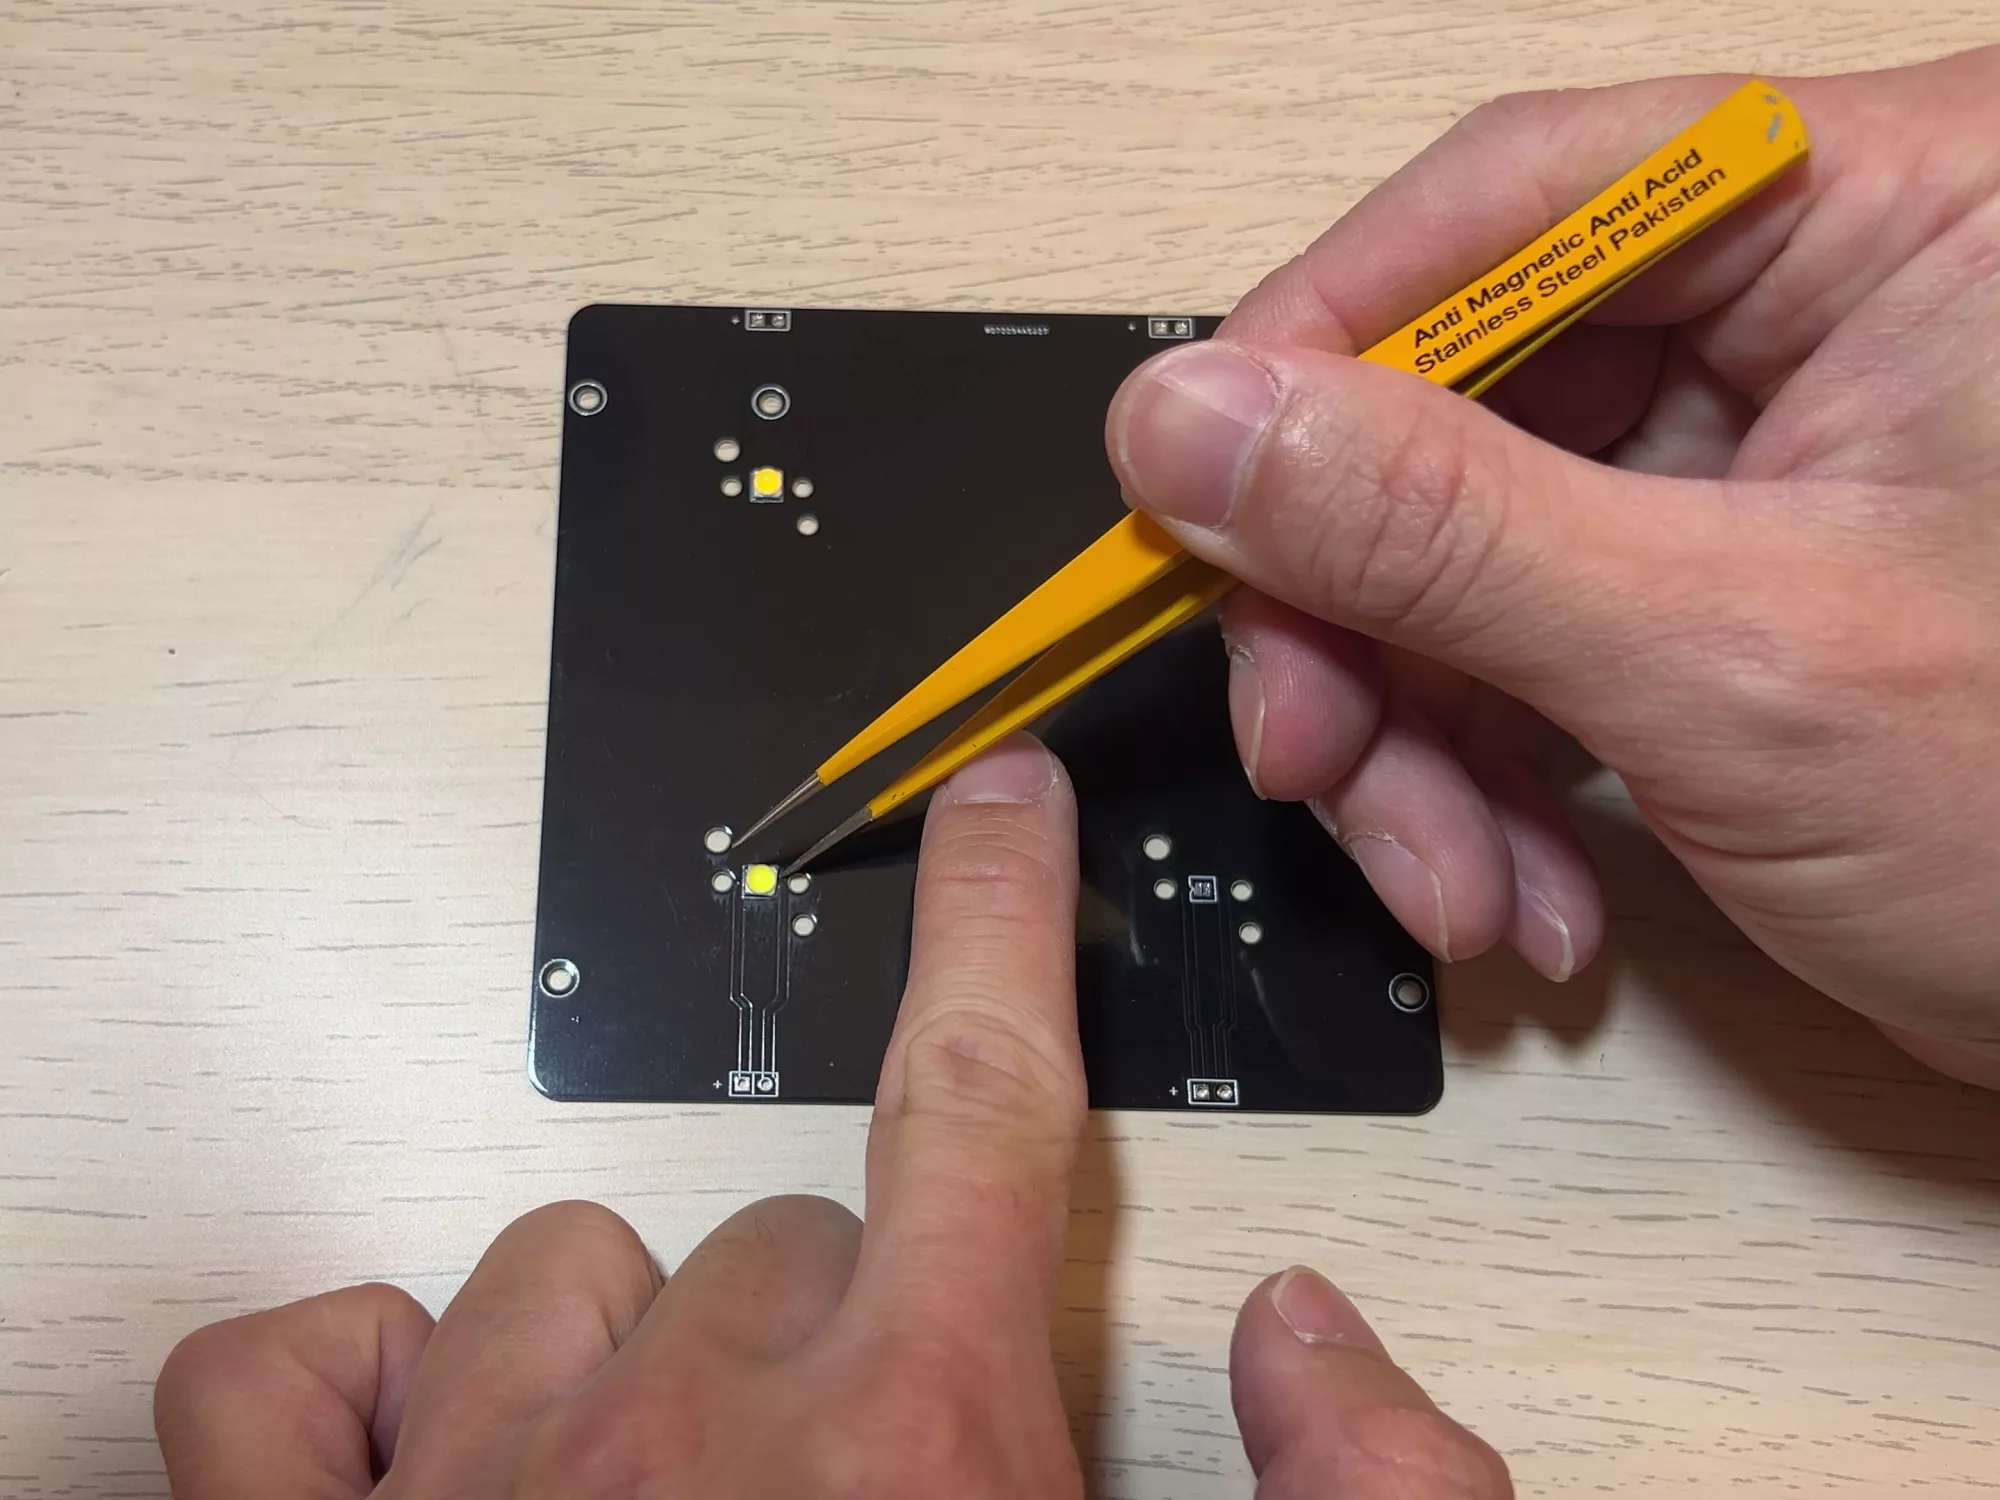
Step 4. Then comes the most important and somewhat tedious step – placing the components. Be patient, using a steady hand and sometimes even to hold your breath is likely to help yield a good final placement of all components.
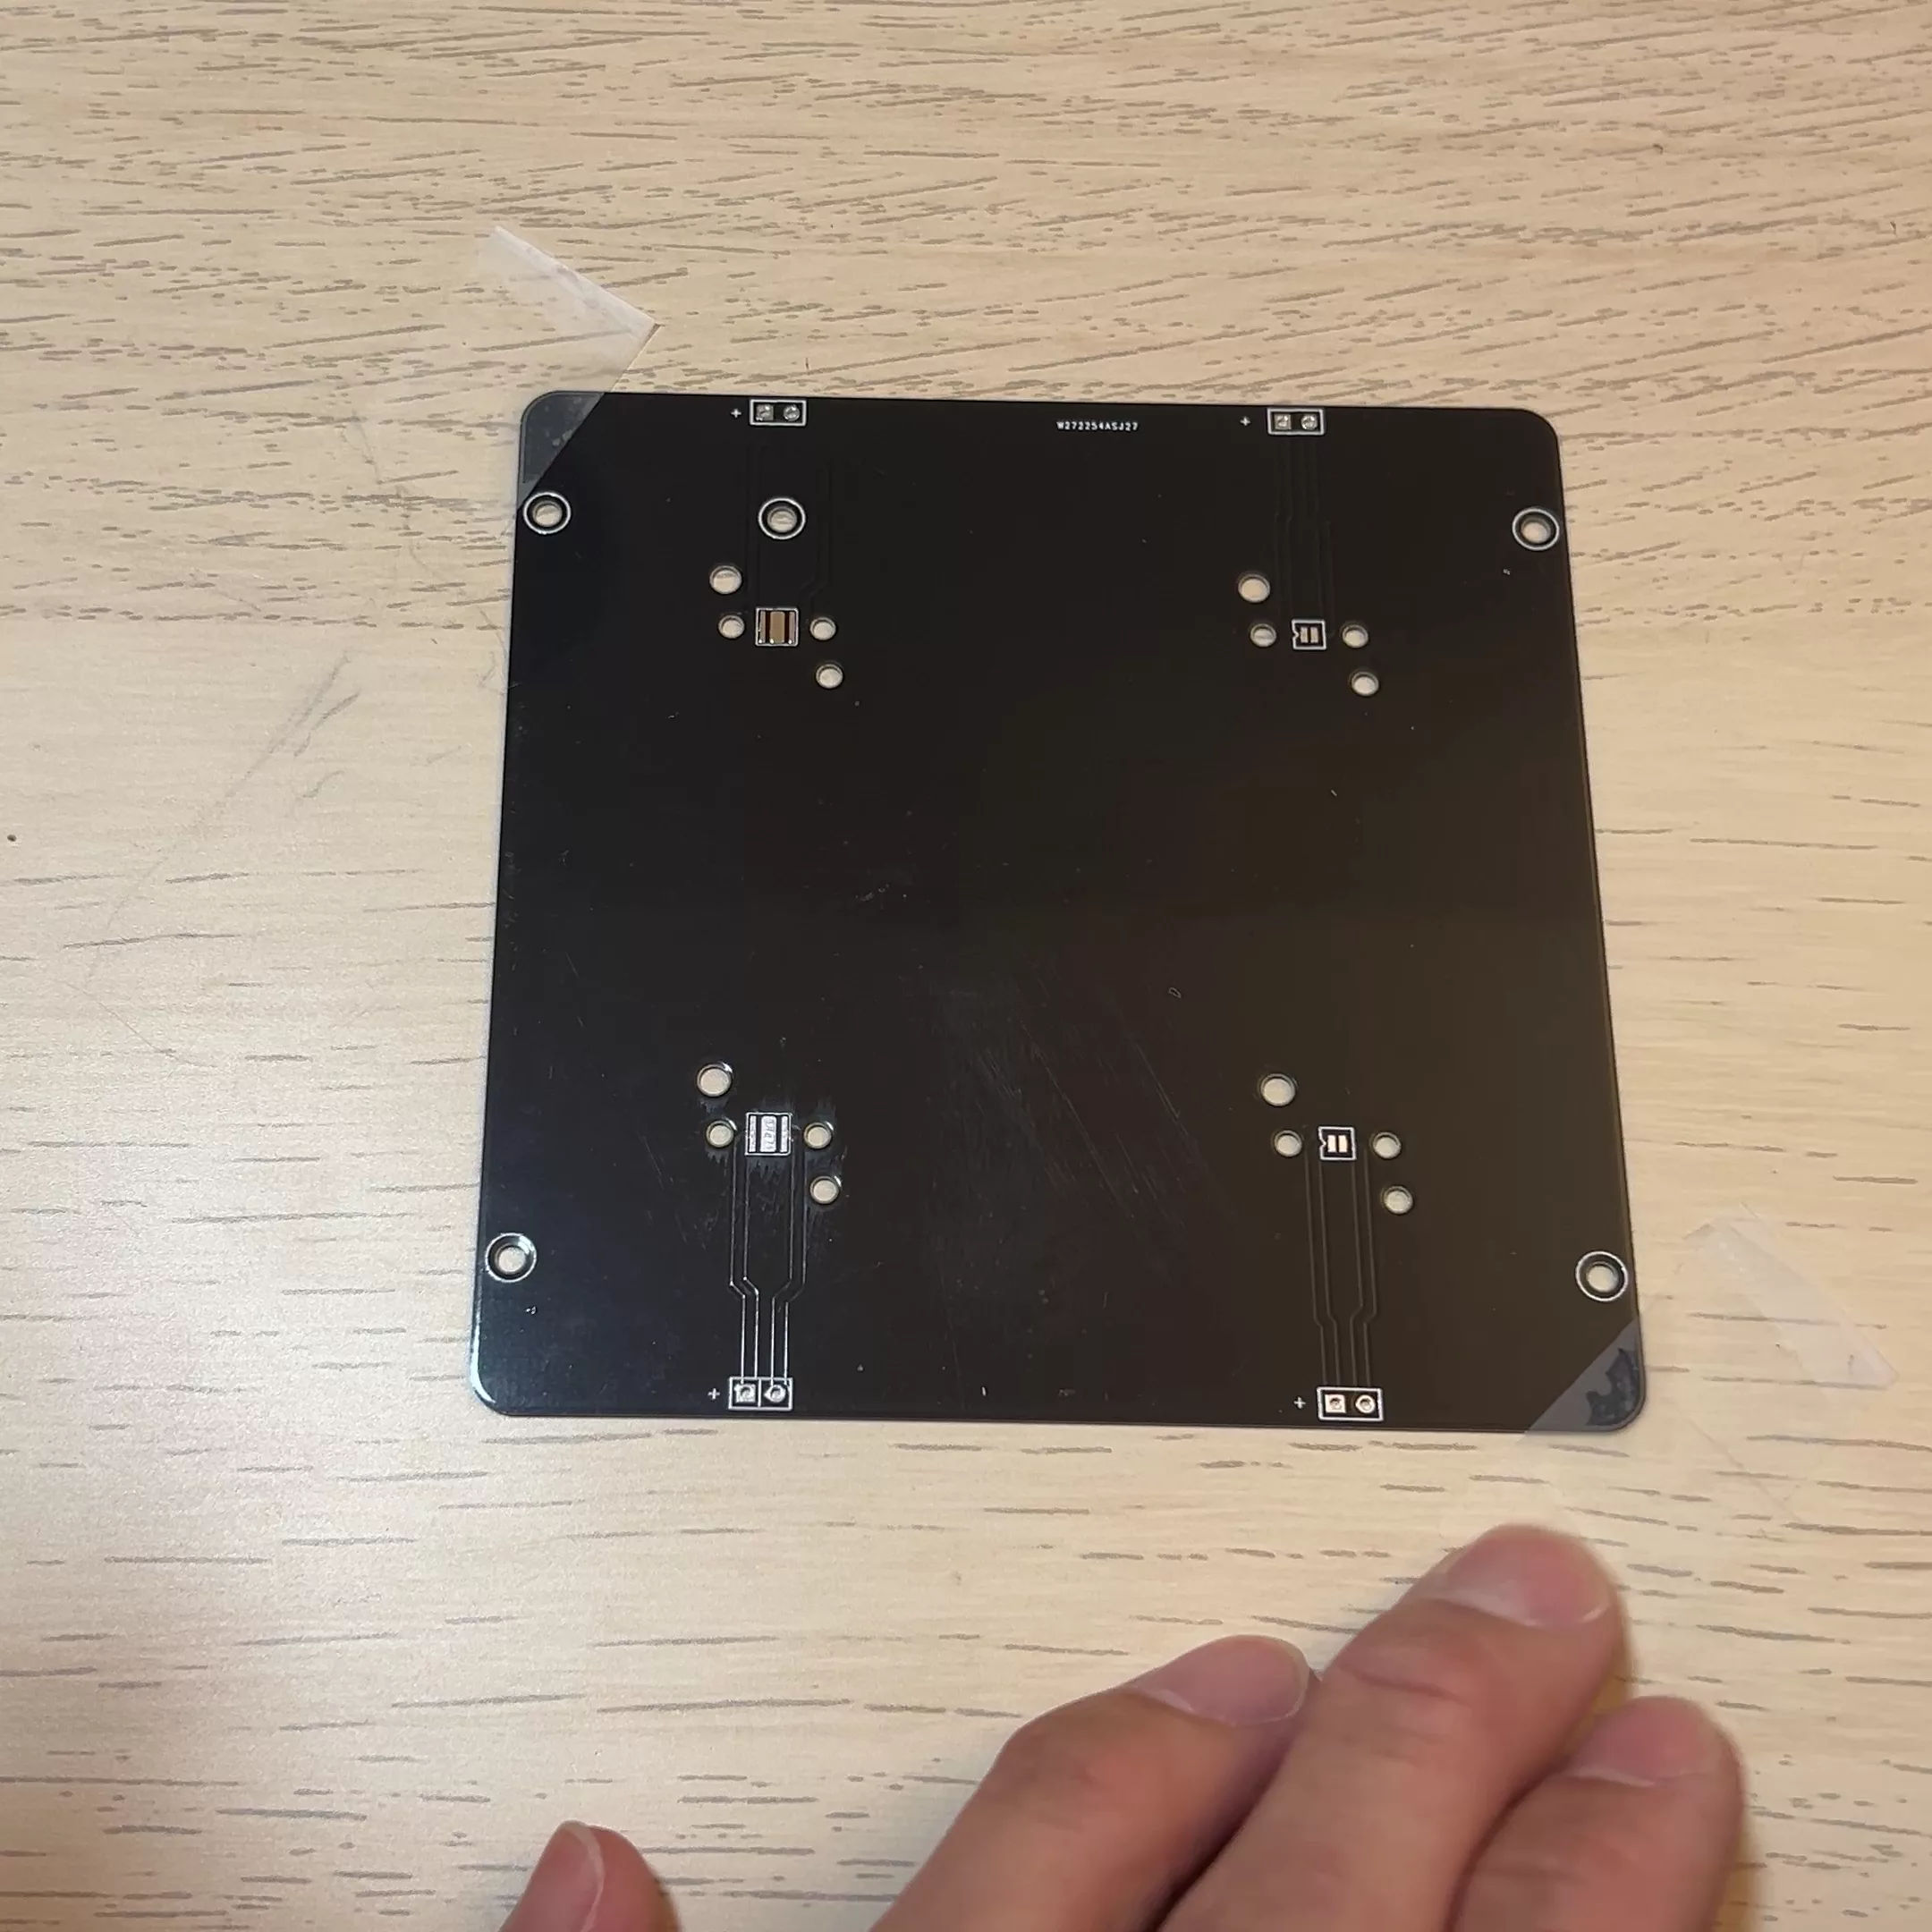
Step 5. All done, let’s remove the tapes and transport the board to the oven.
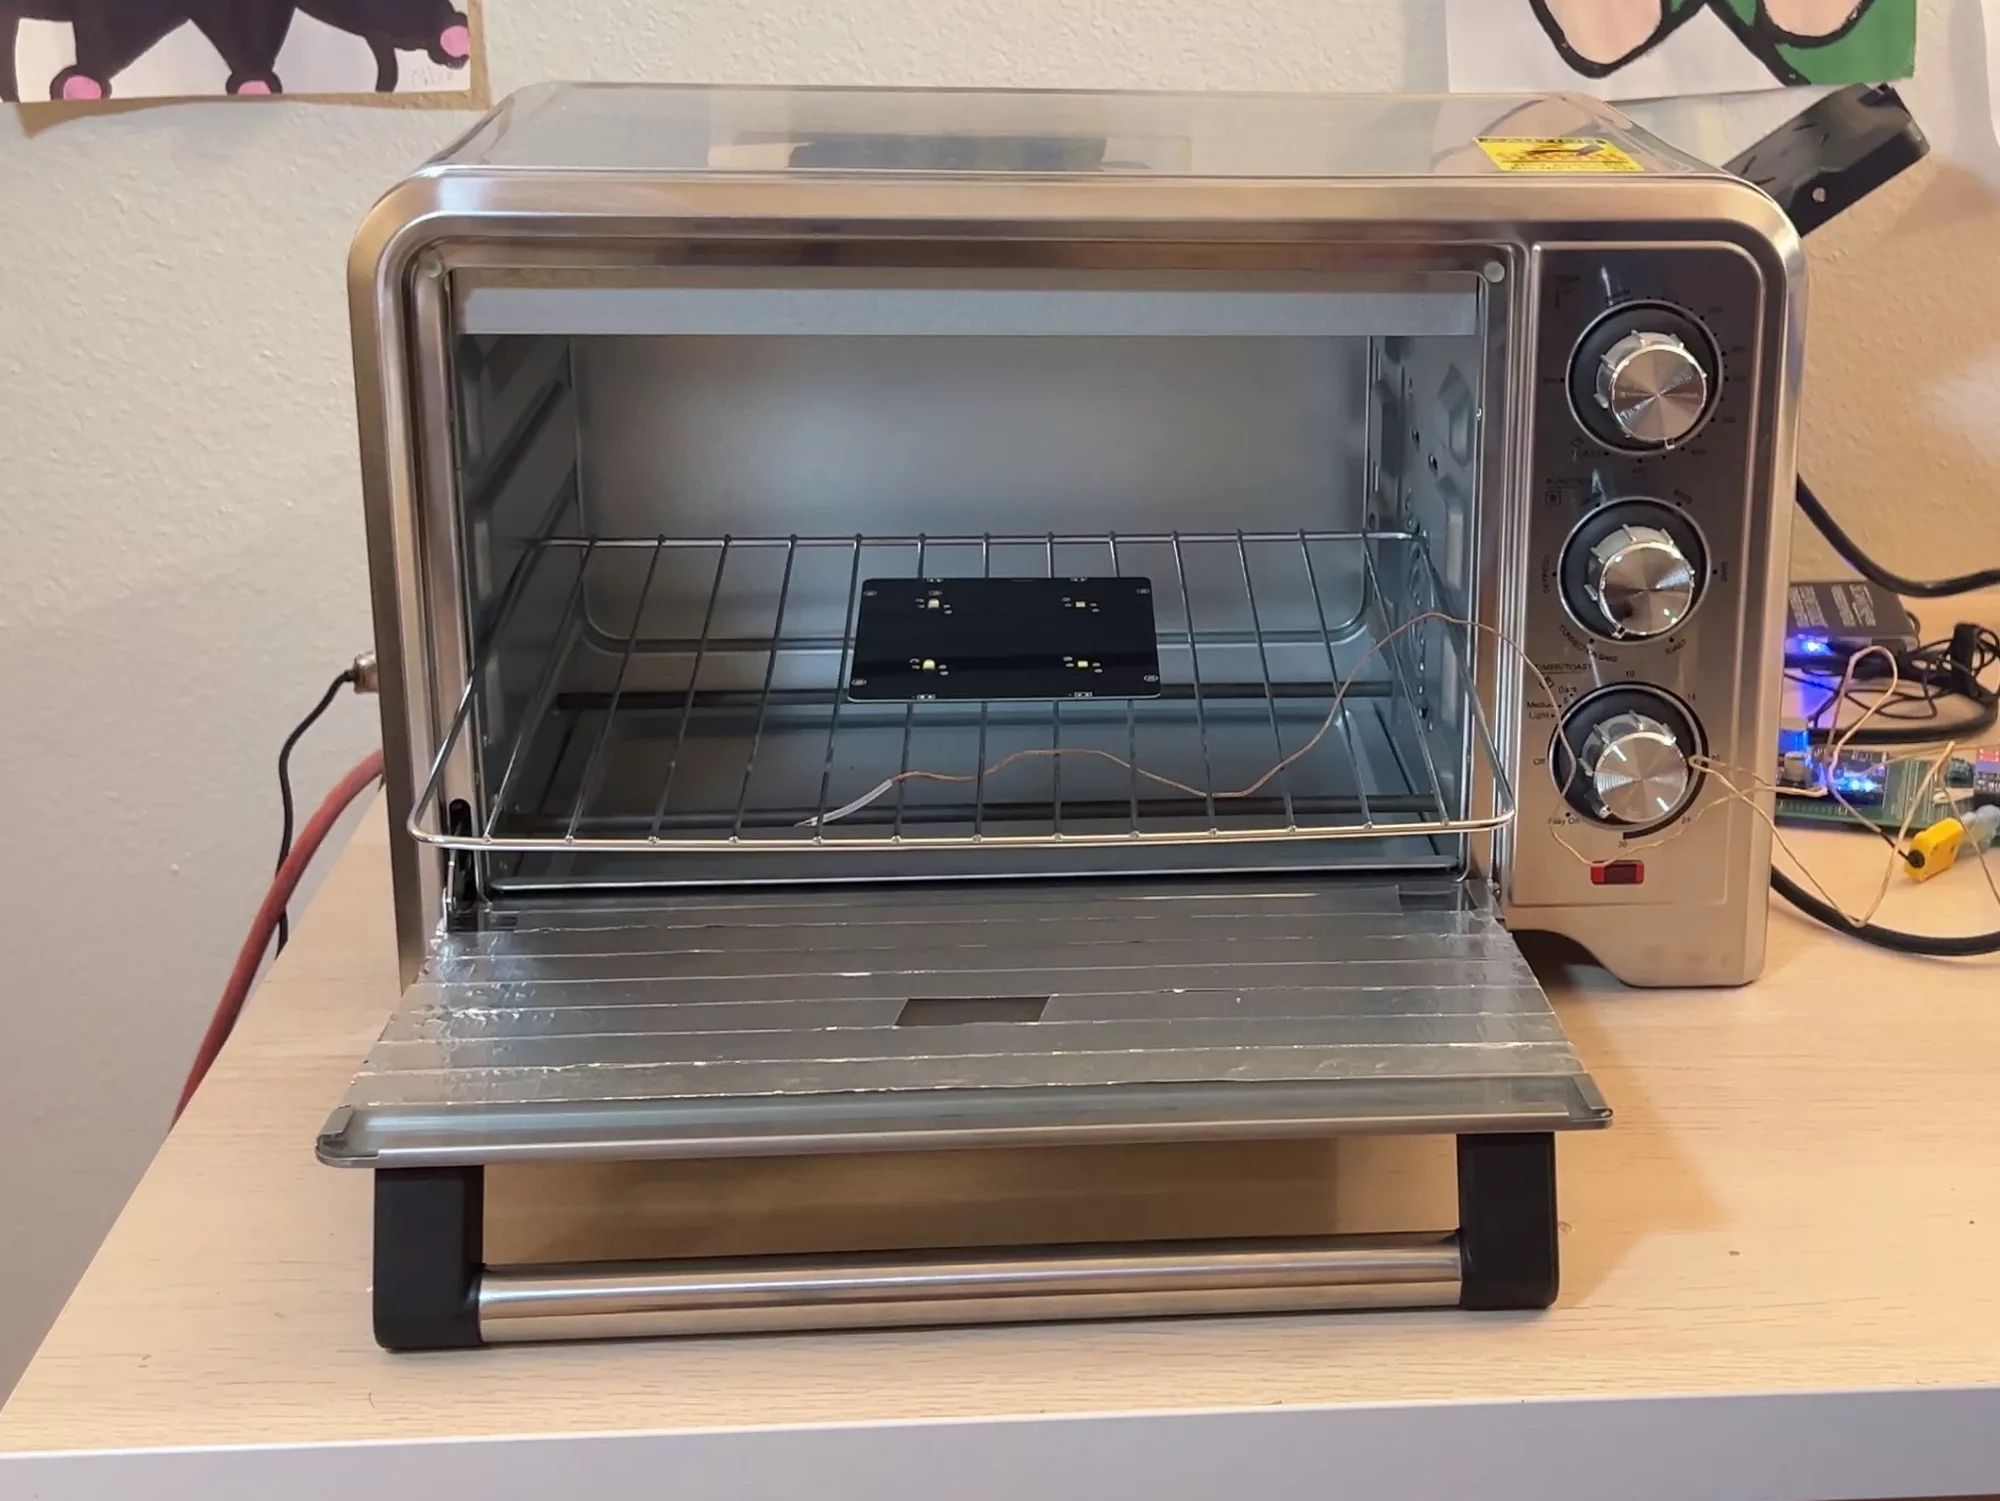
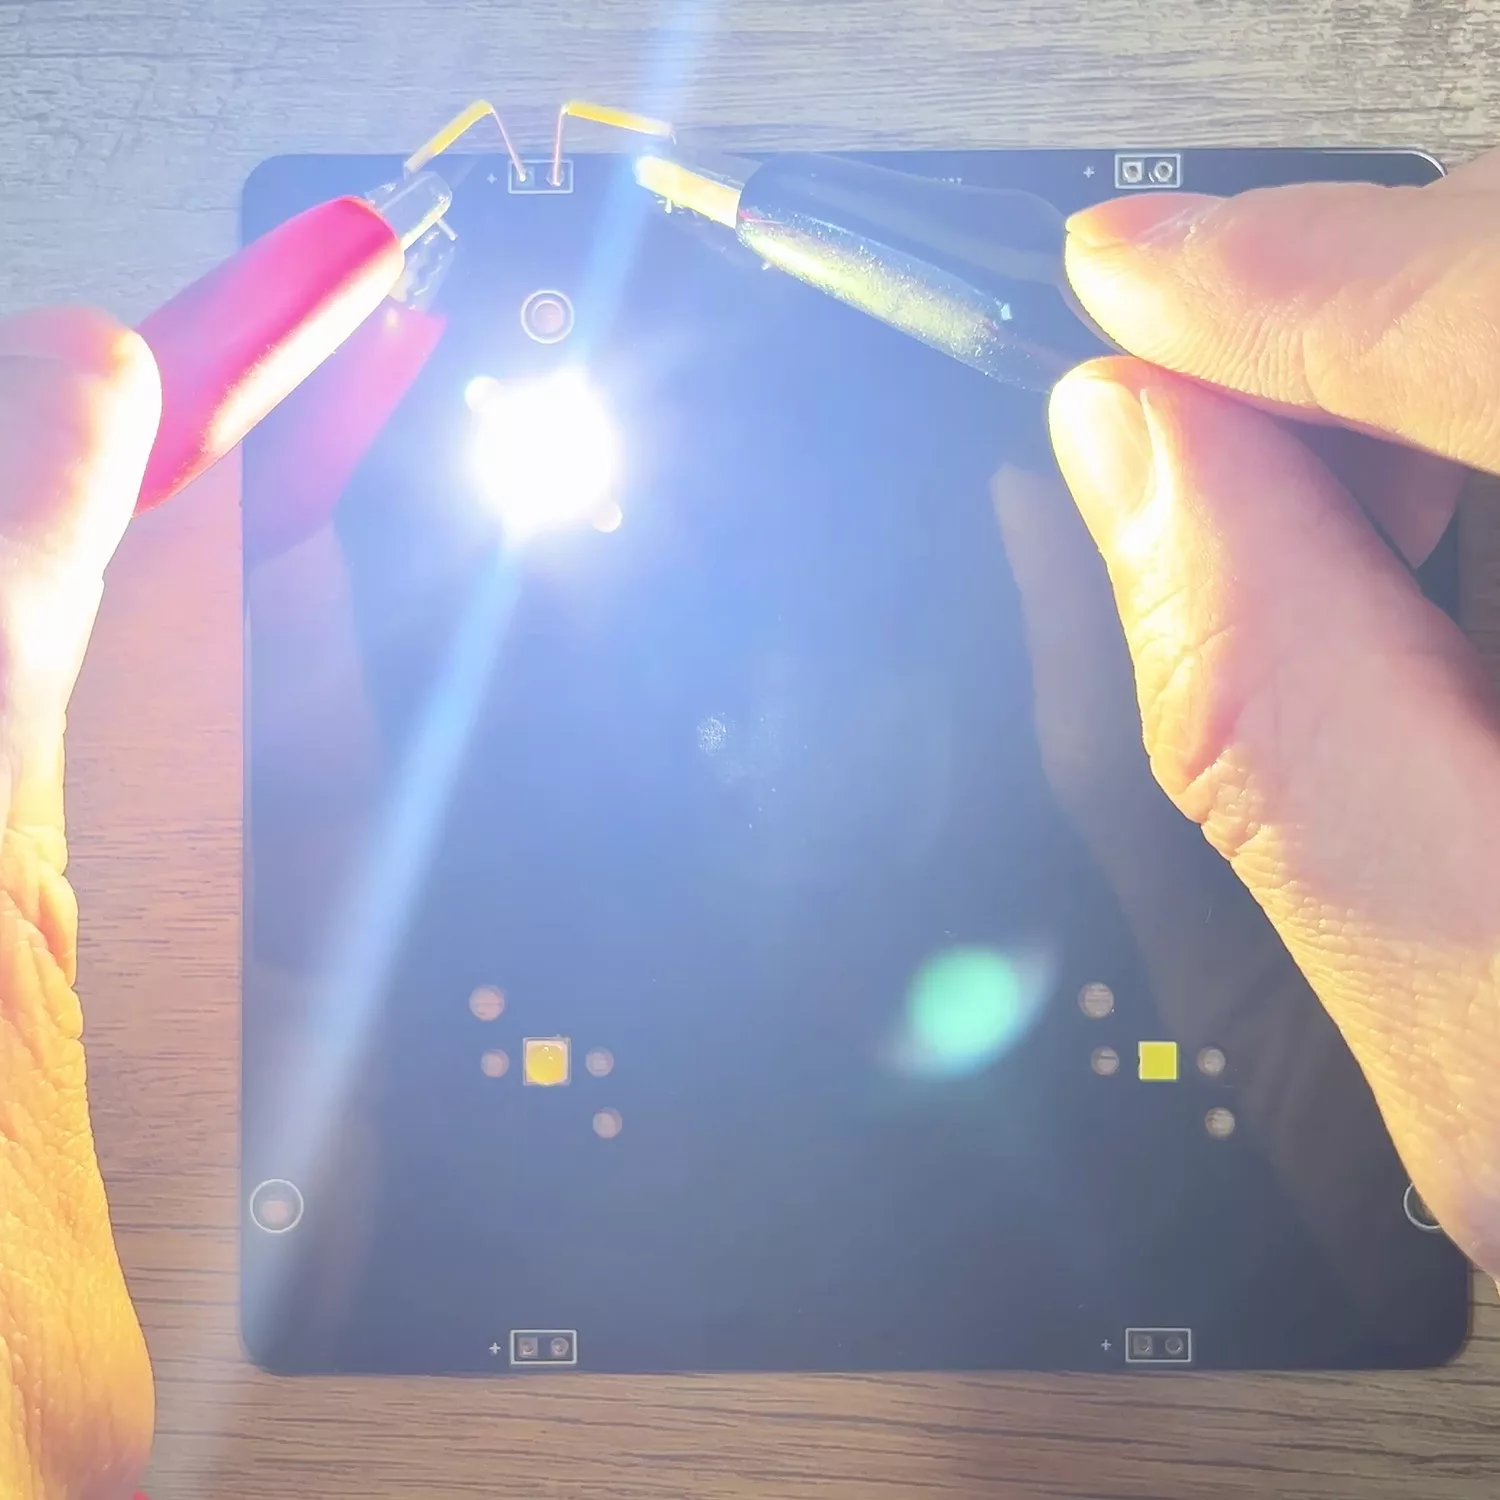
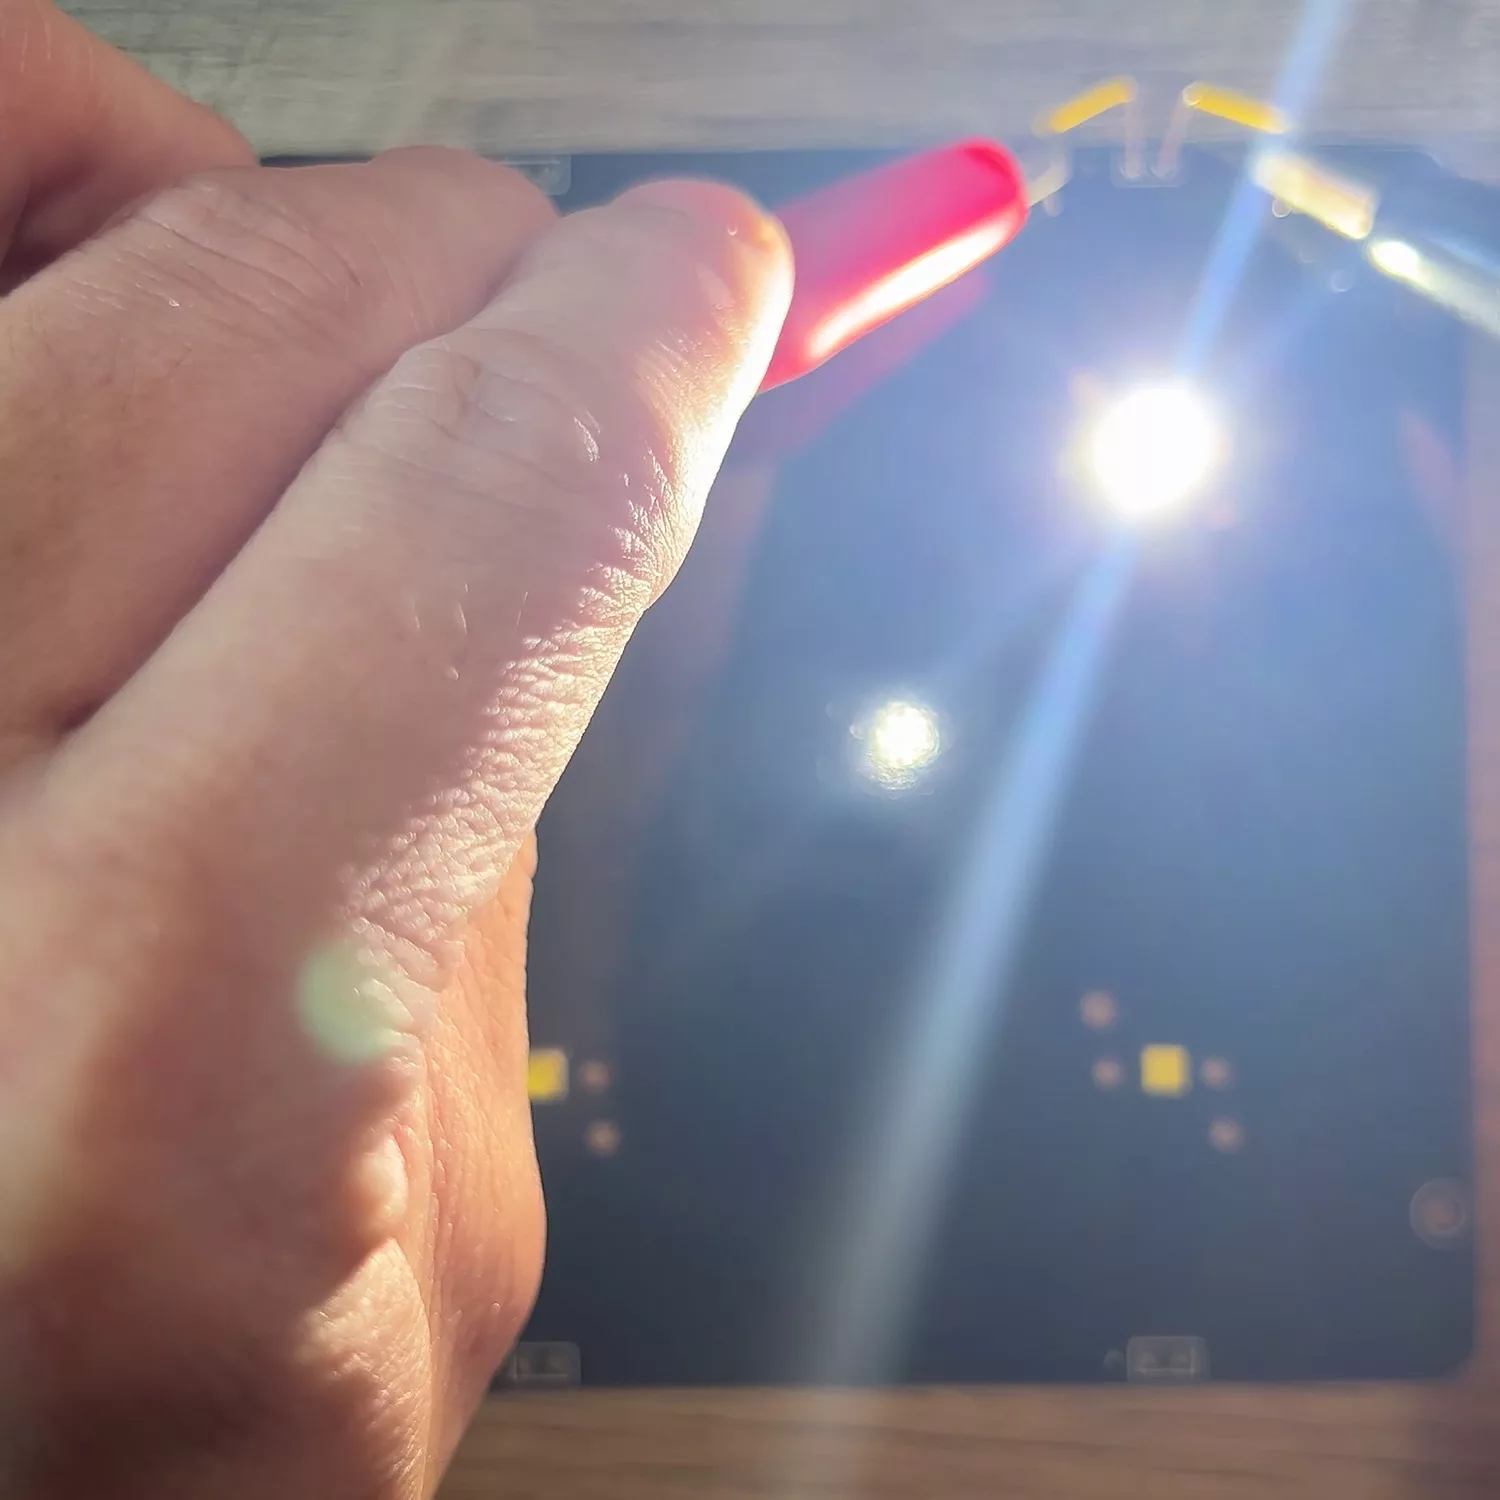
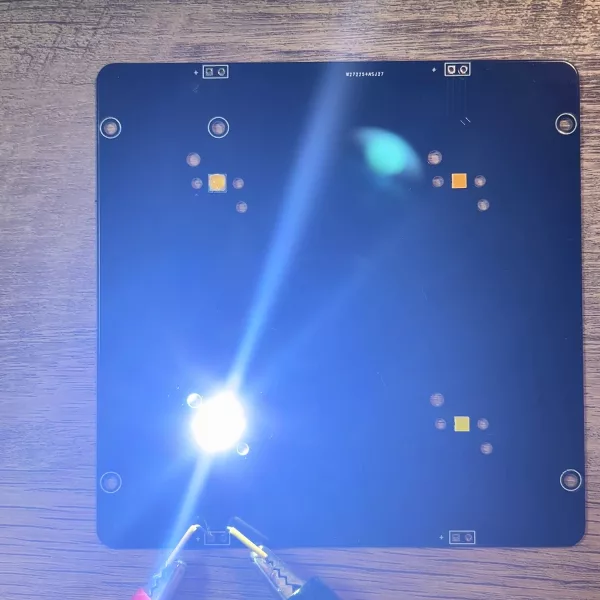
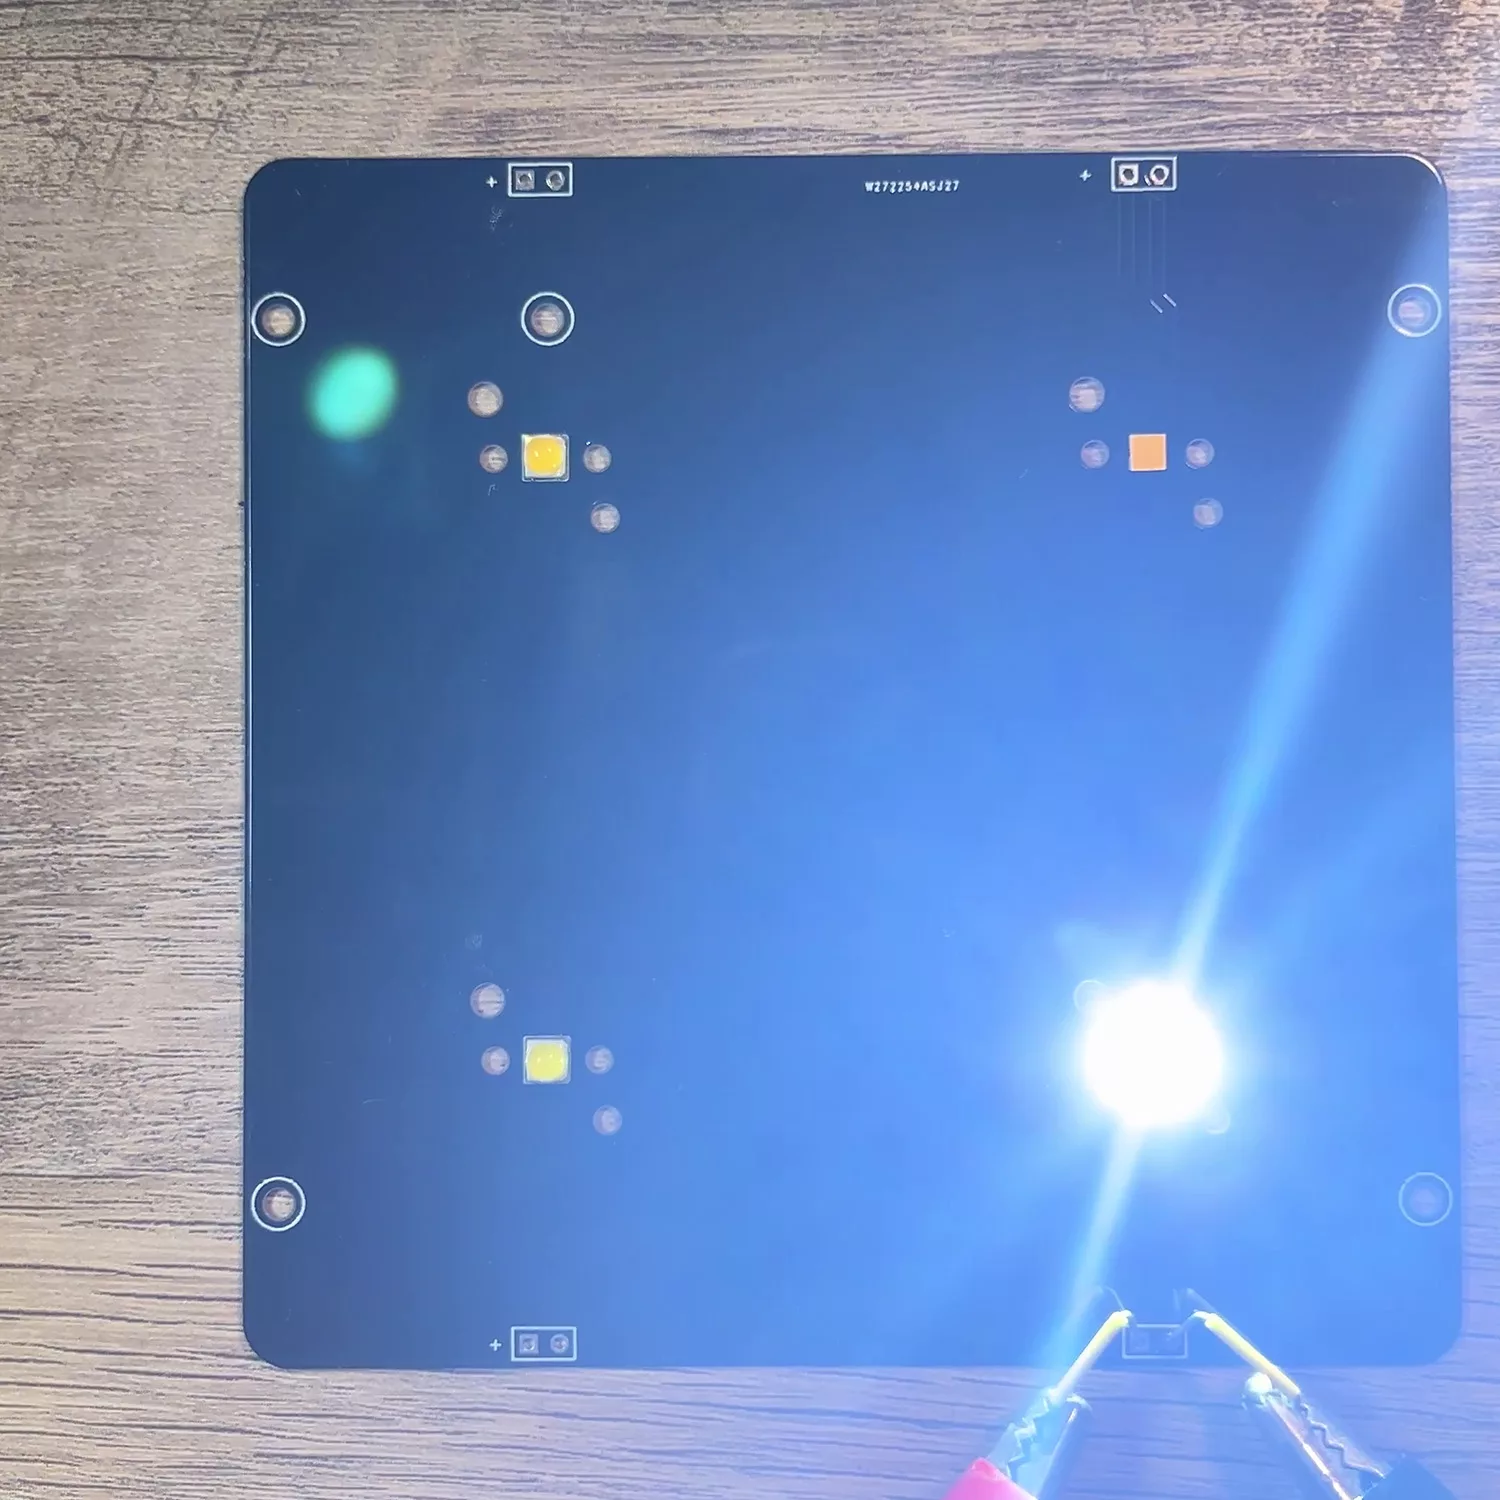
Check out the results!
Leave a Reply