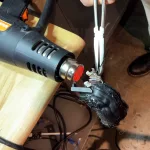
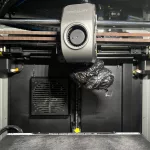
Have you ever seen your 3D printer in a “catastrophic failure” like this? The filament did not stick to the build bed but accumulated into a giant “beehive” blob underneath the nozzle. This blob grew large enough to pump the casing off, leading to overheating warnings because the fan could no longer blow onto the nozzle.
Don’t freak out when your 3D printer is facing the blob of death. DO NOT attempt to snap off the entire blob — most likely the blob has already been fused to your printer’s head. Forcing if off is only going to cause damage to the rest of your printer. What I’m going to try here is to remove the fused part only, usually it’s only going to be the nozzle or the heating element that you will have to expense.
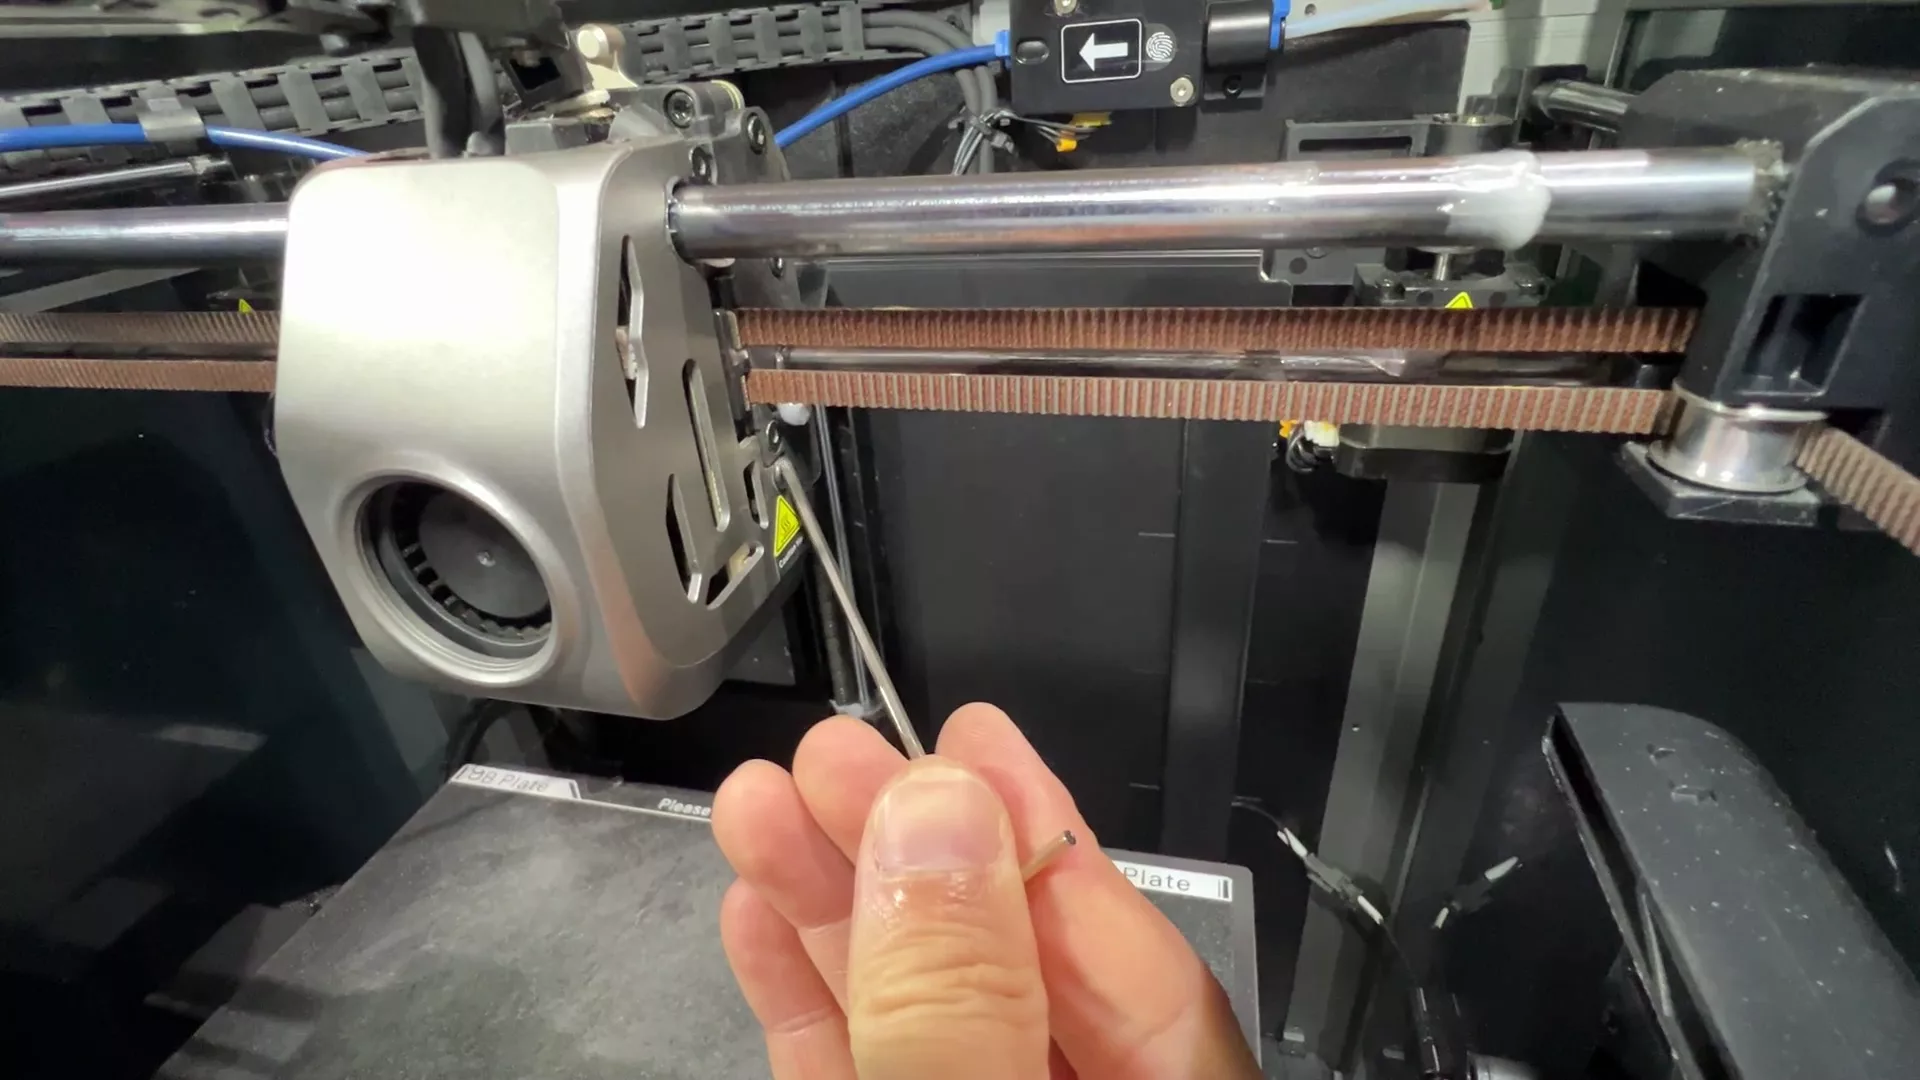
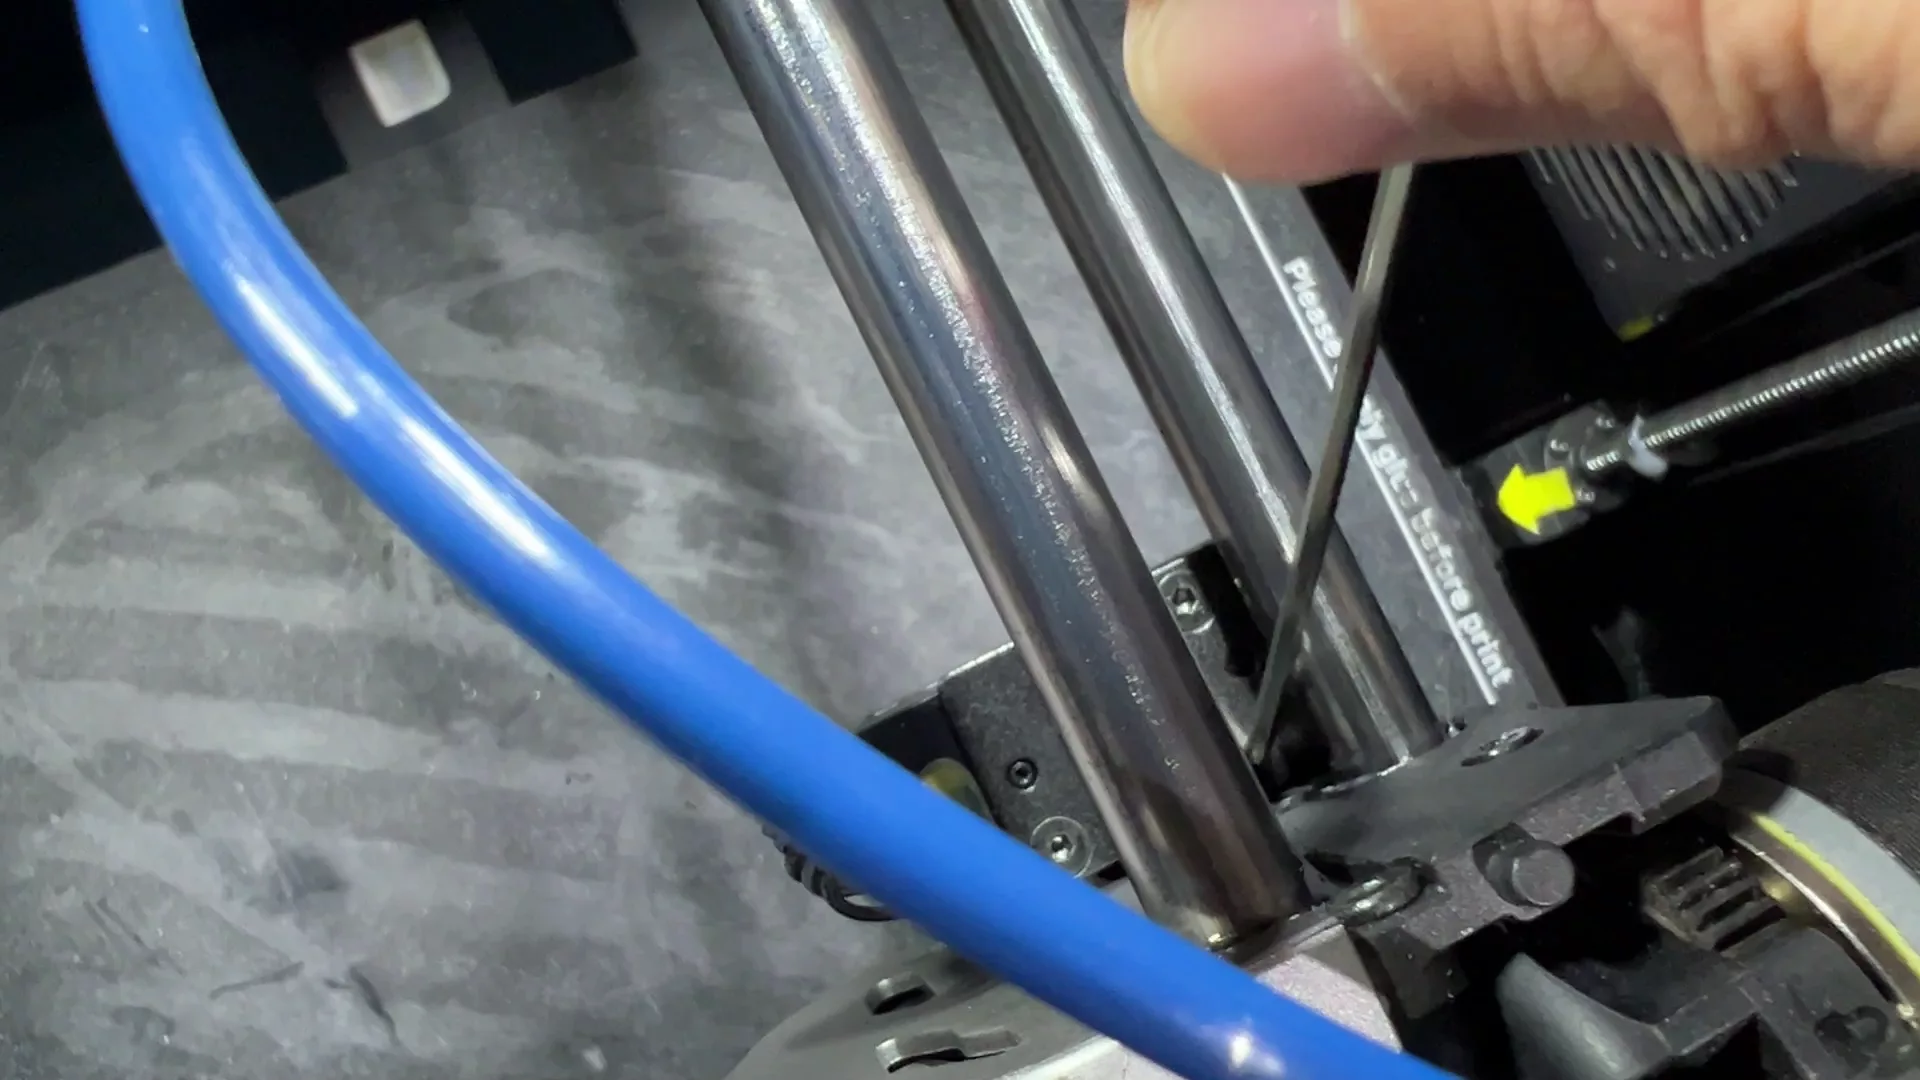
- Begin the disassembly process by loosening the two main screws on the casing cover. The screw on the right-hand side is accessible; however the left-hand side screw is not. Refer to the next step for how to access the left screw.
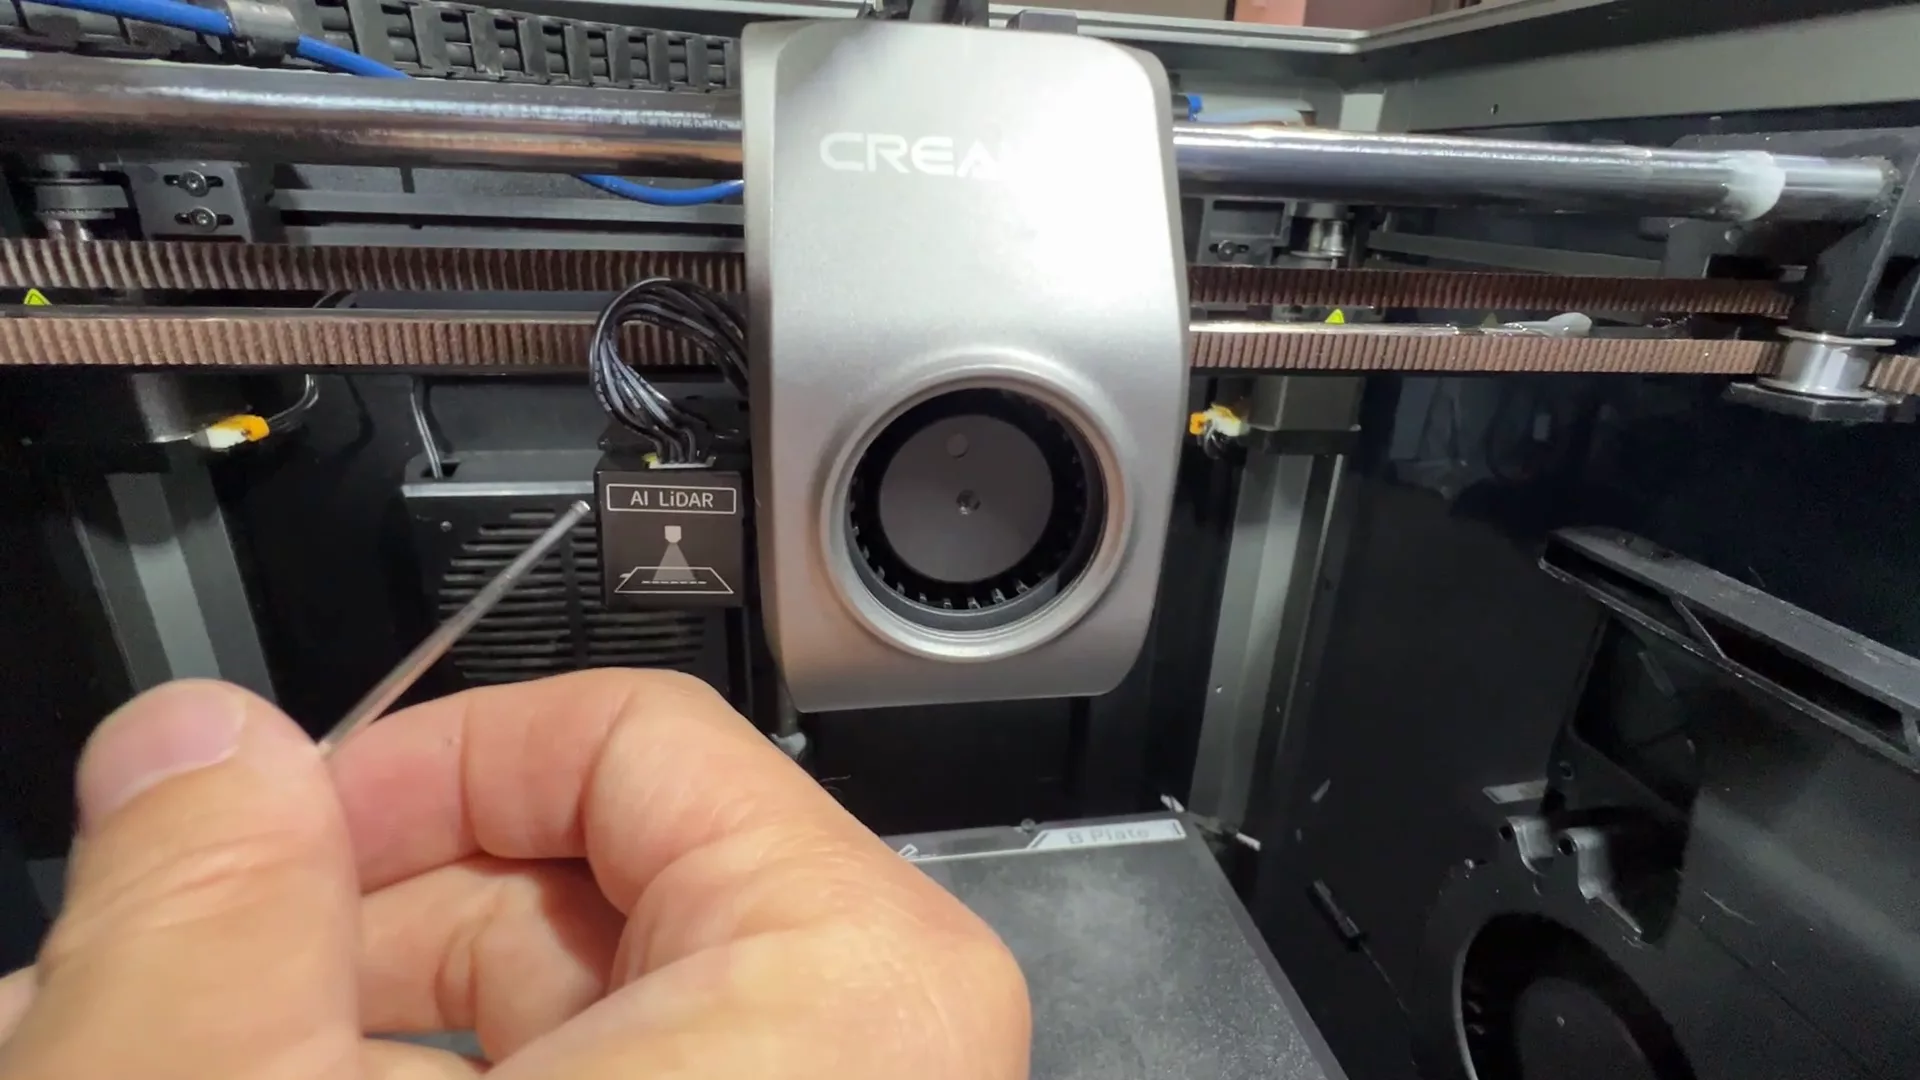
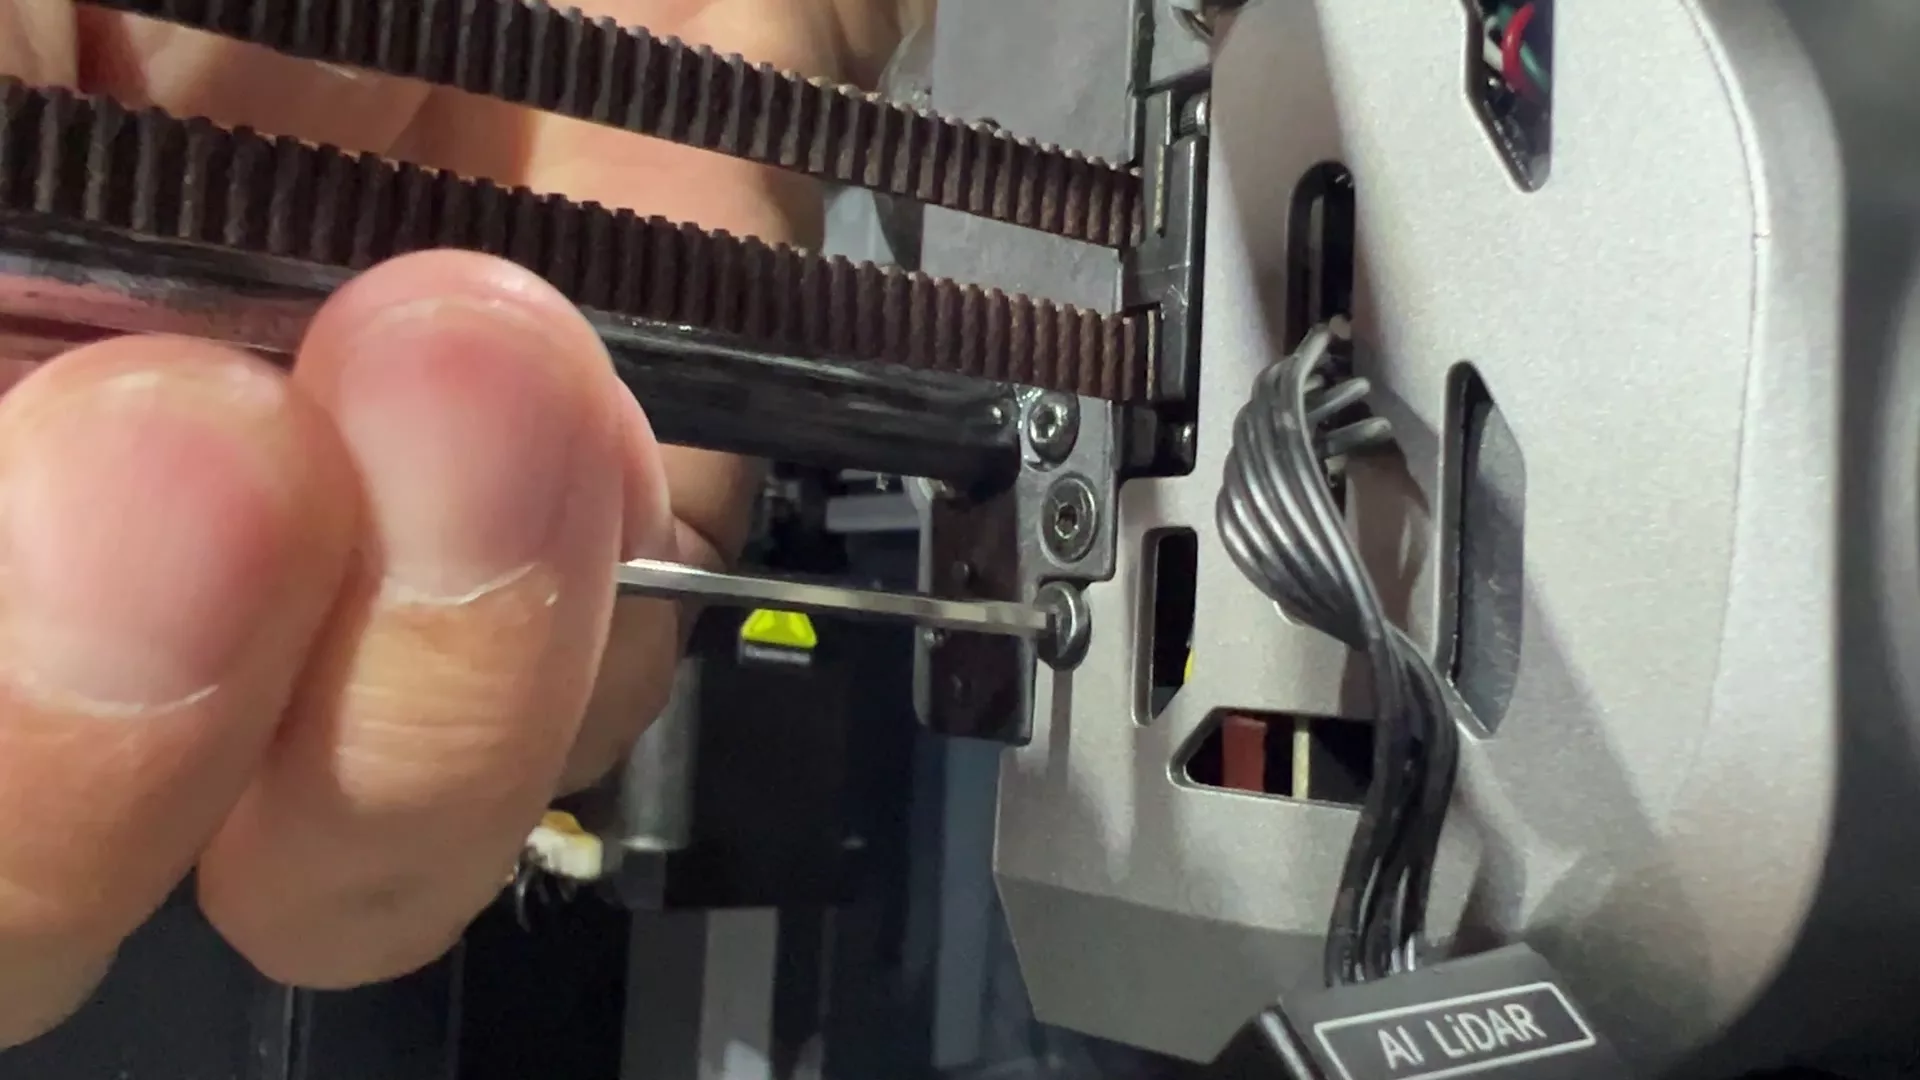
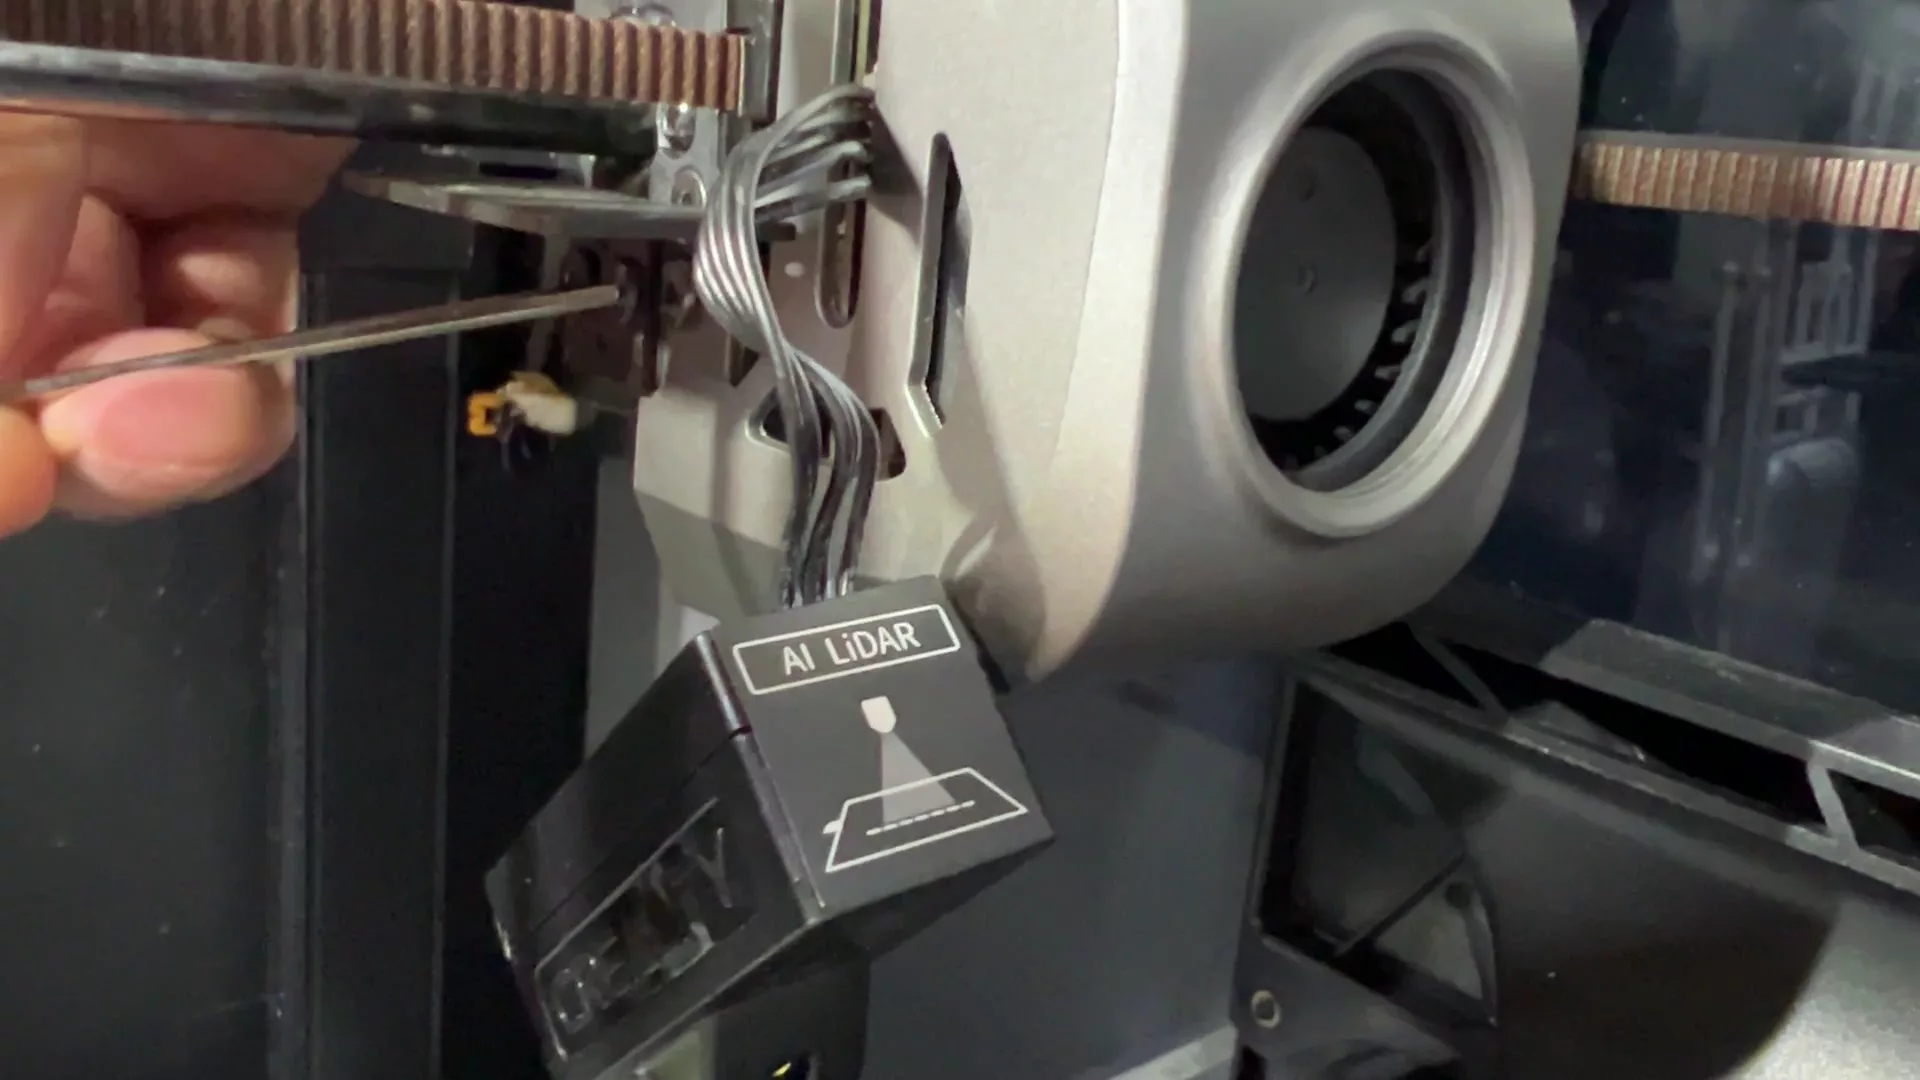
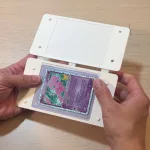
- Remove the IR Lighter/AI Lighter Unit, which is obstructing access to one of the cover screws. First, unscrew the two screws holding the lighter unit to allow it to detach. Next, remove the underlying metal bracket to fully expose the cover screws.
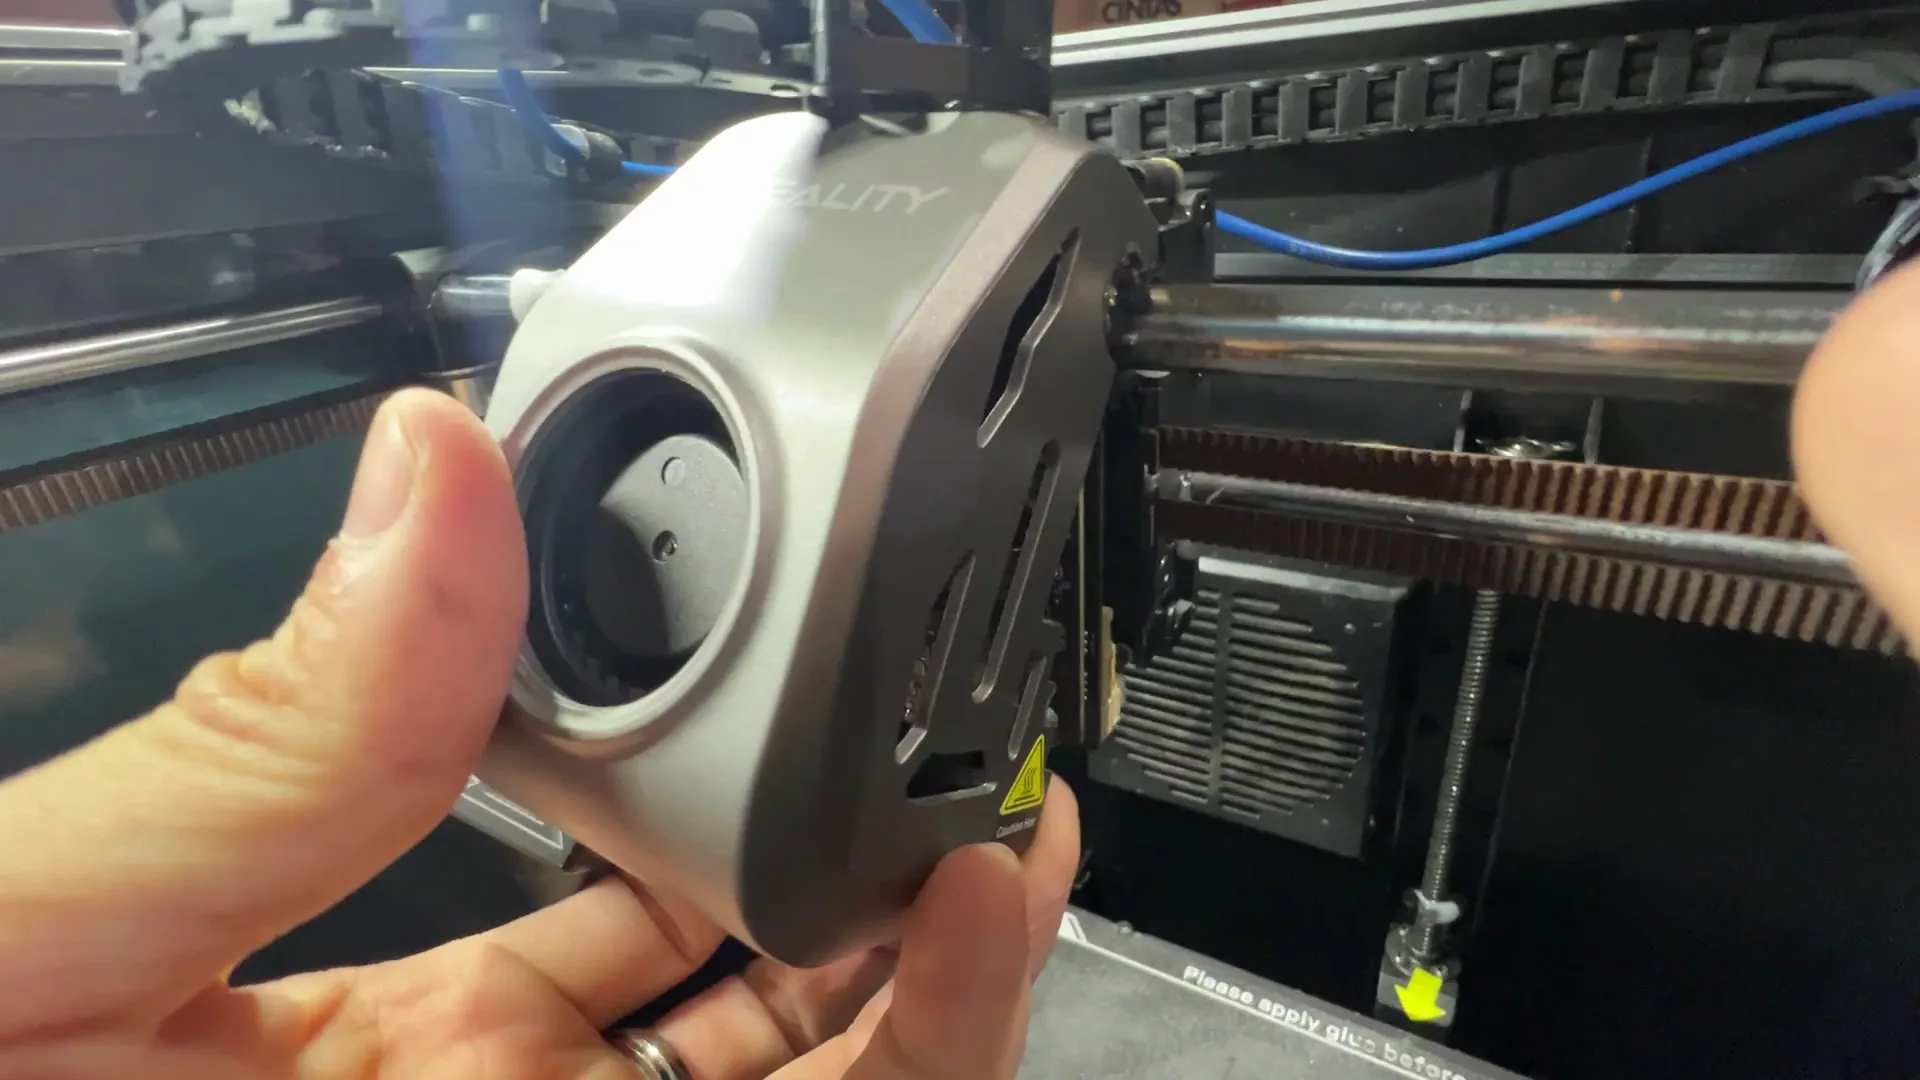
- Once the main casing screws are loose, flip the cover outwards (like a hinge) to expose the internal circuits and wiring for next steps.
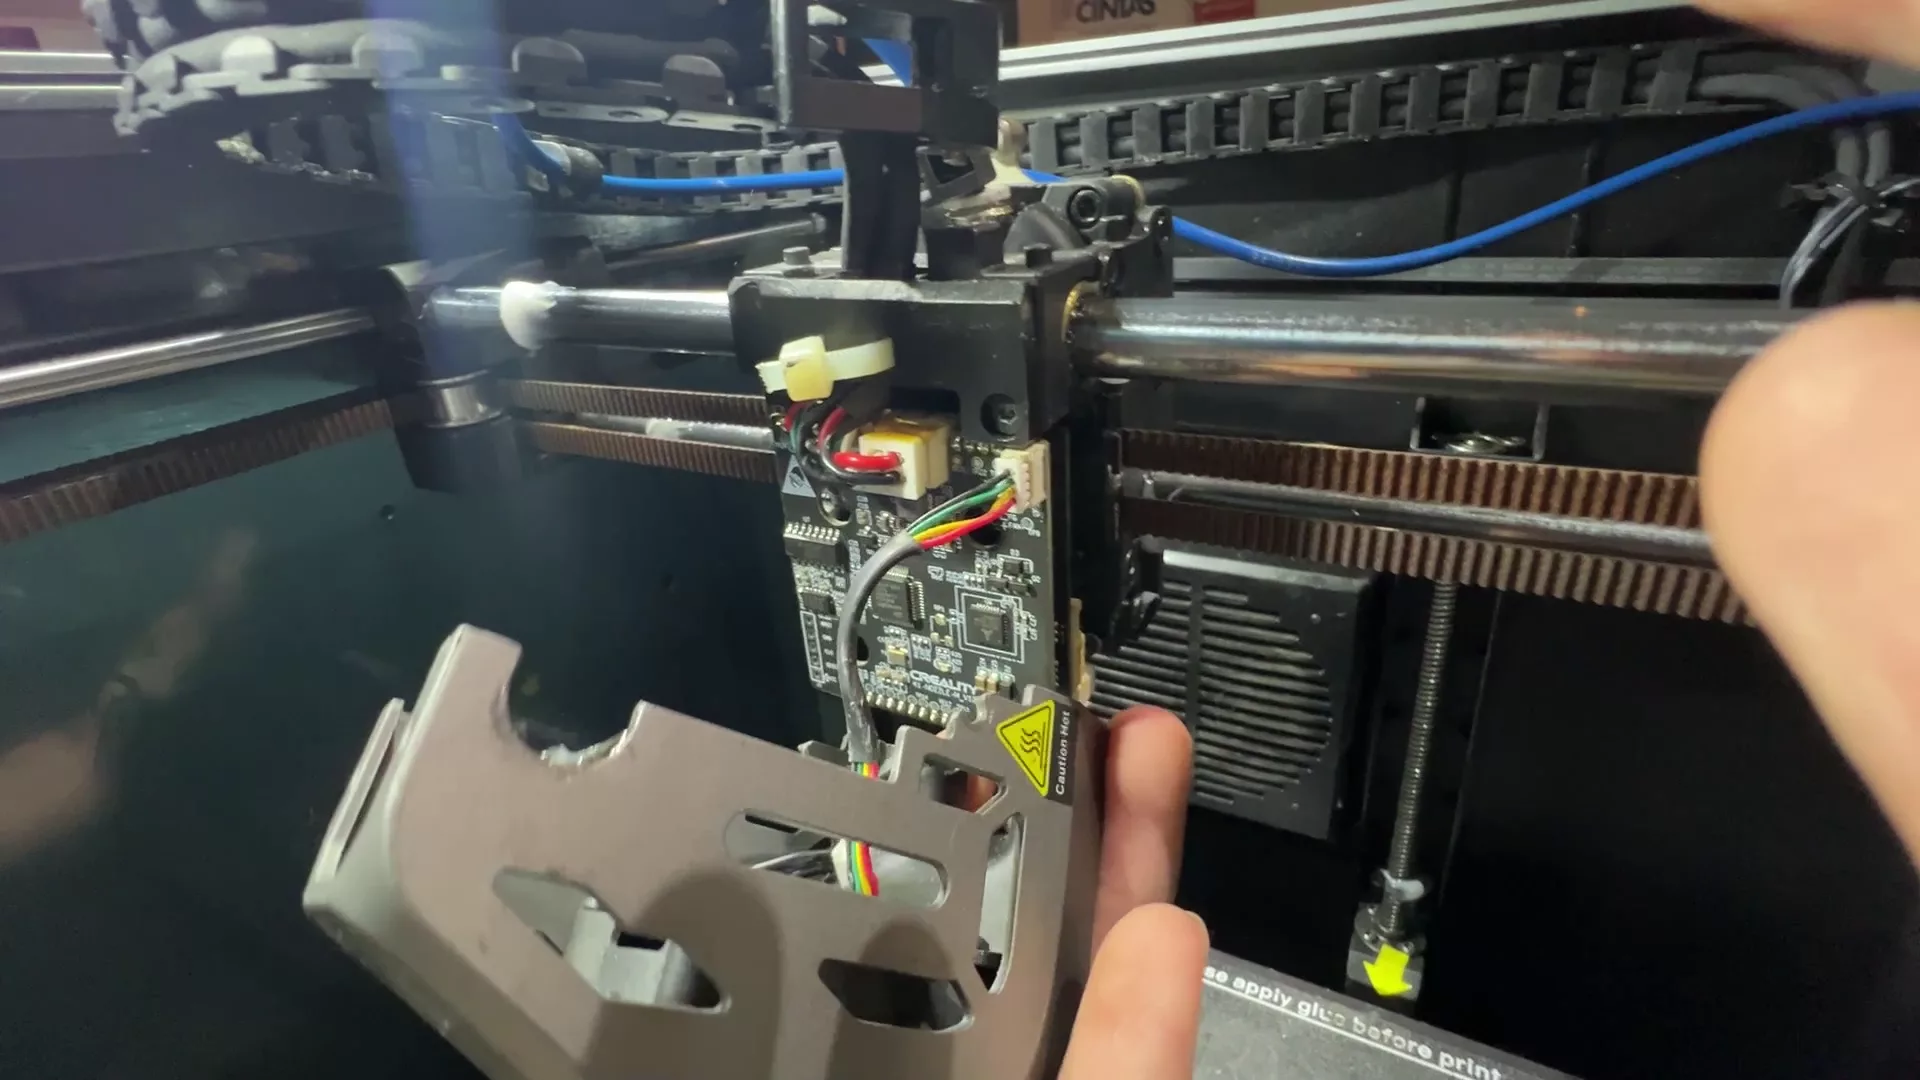
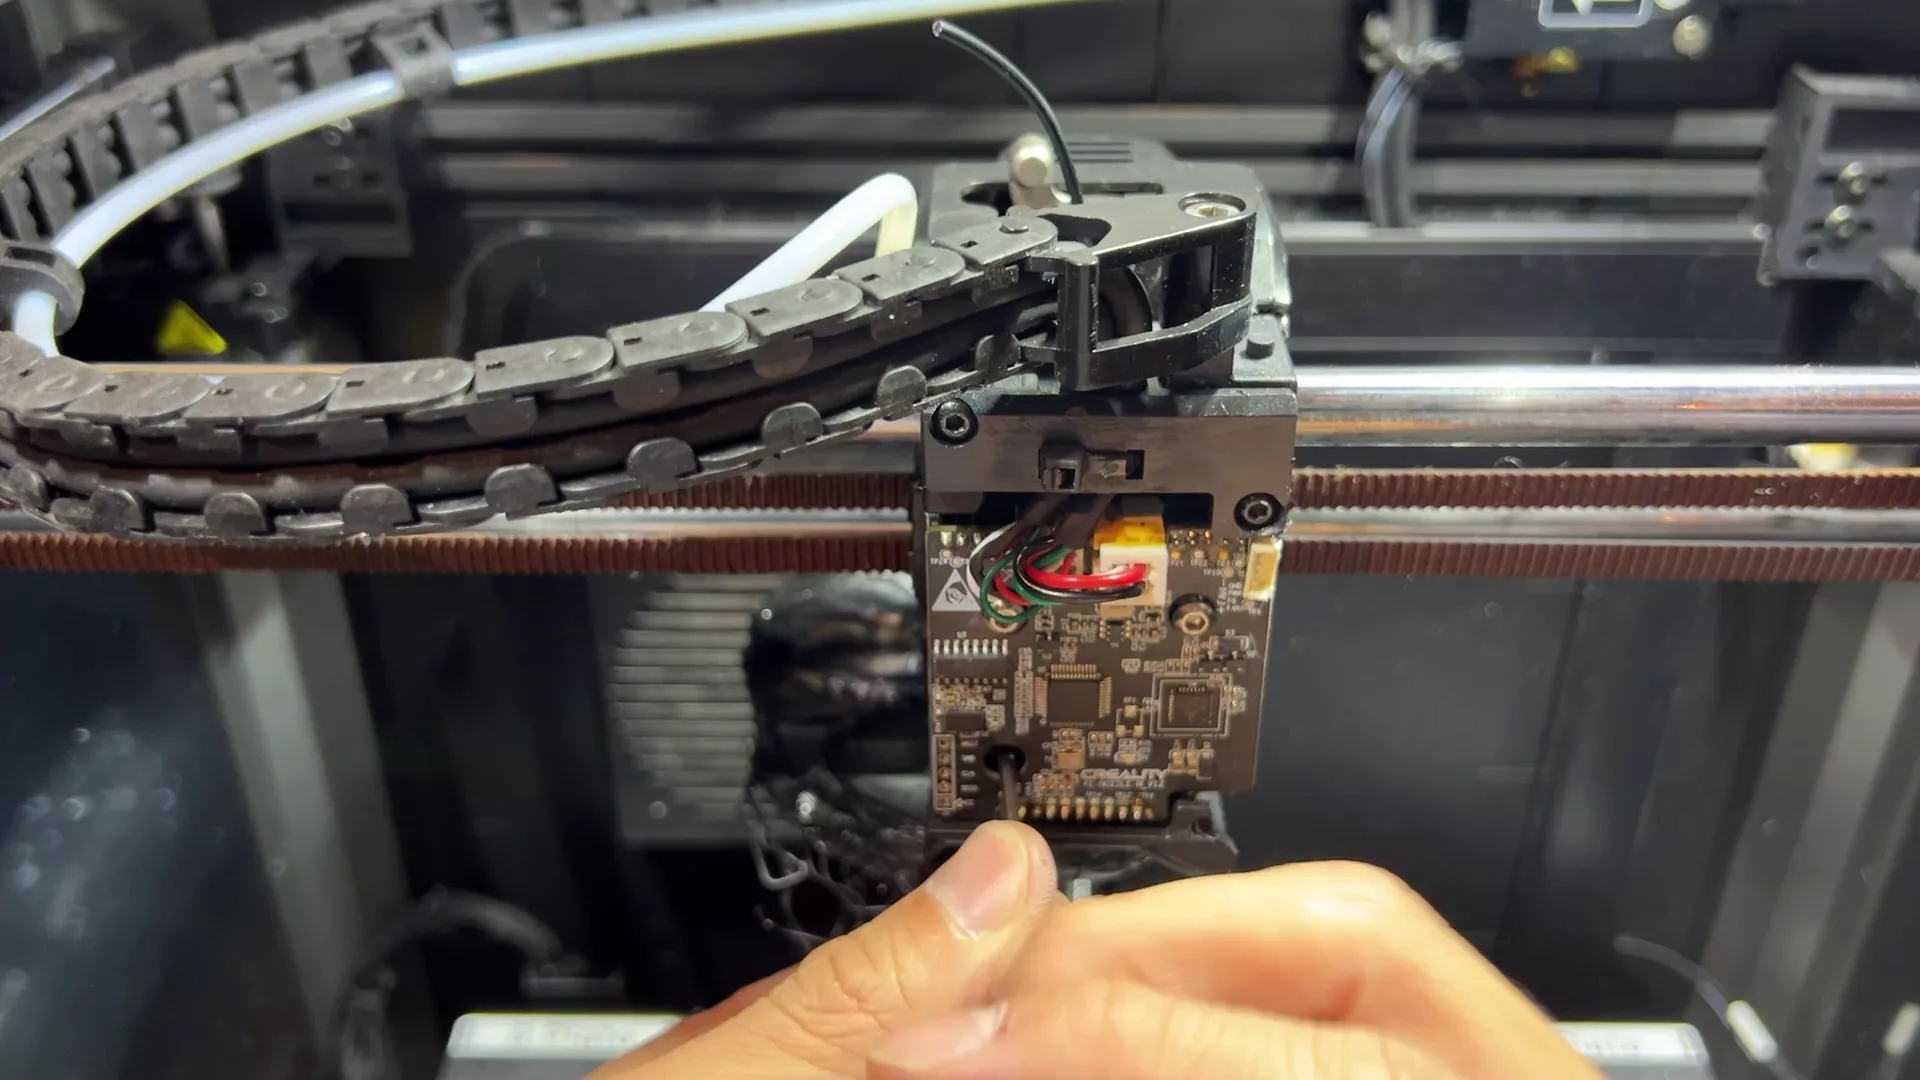
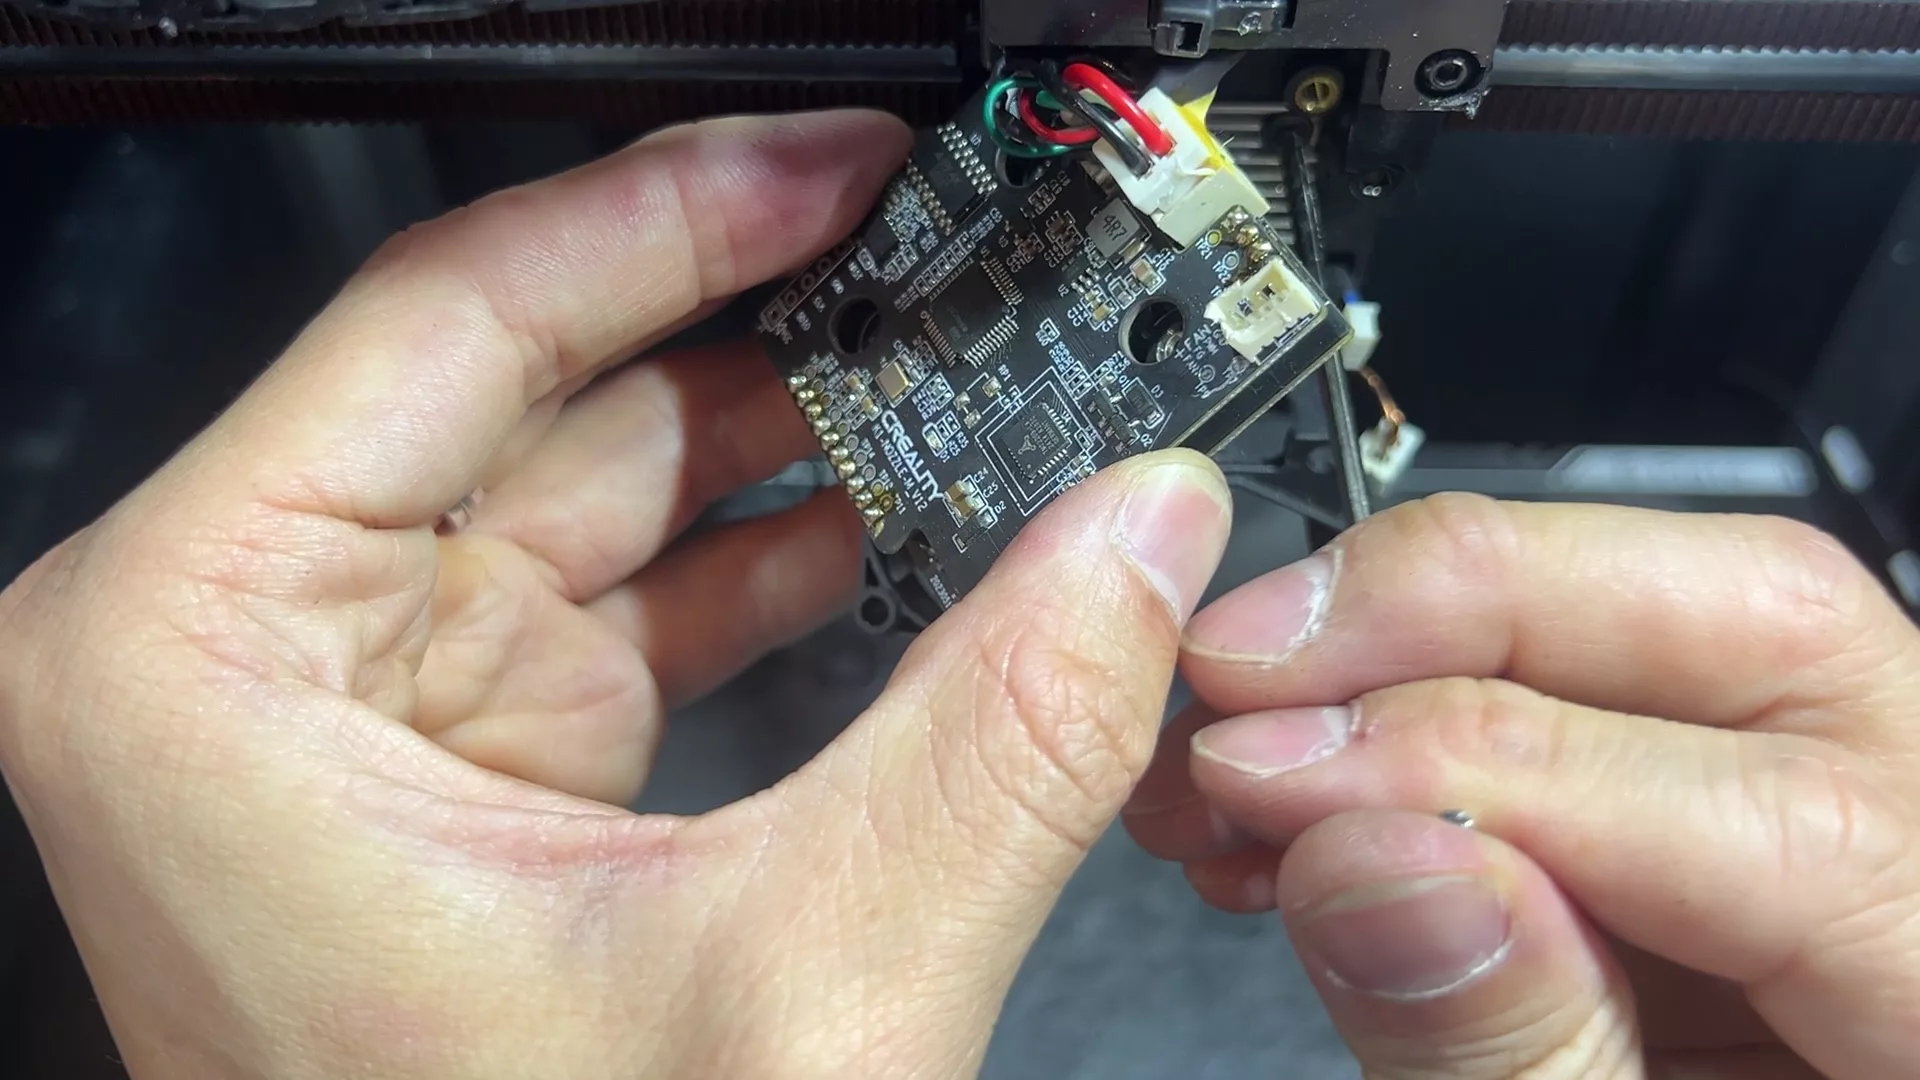
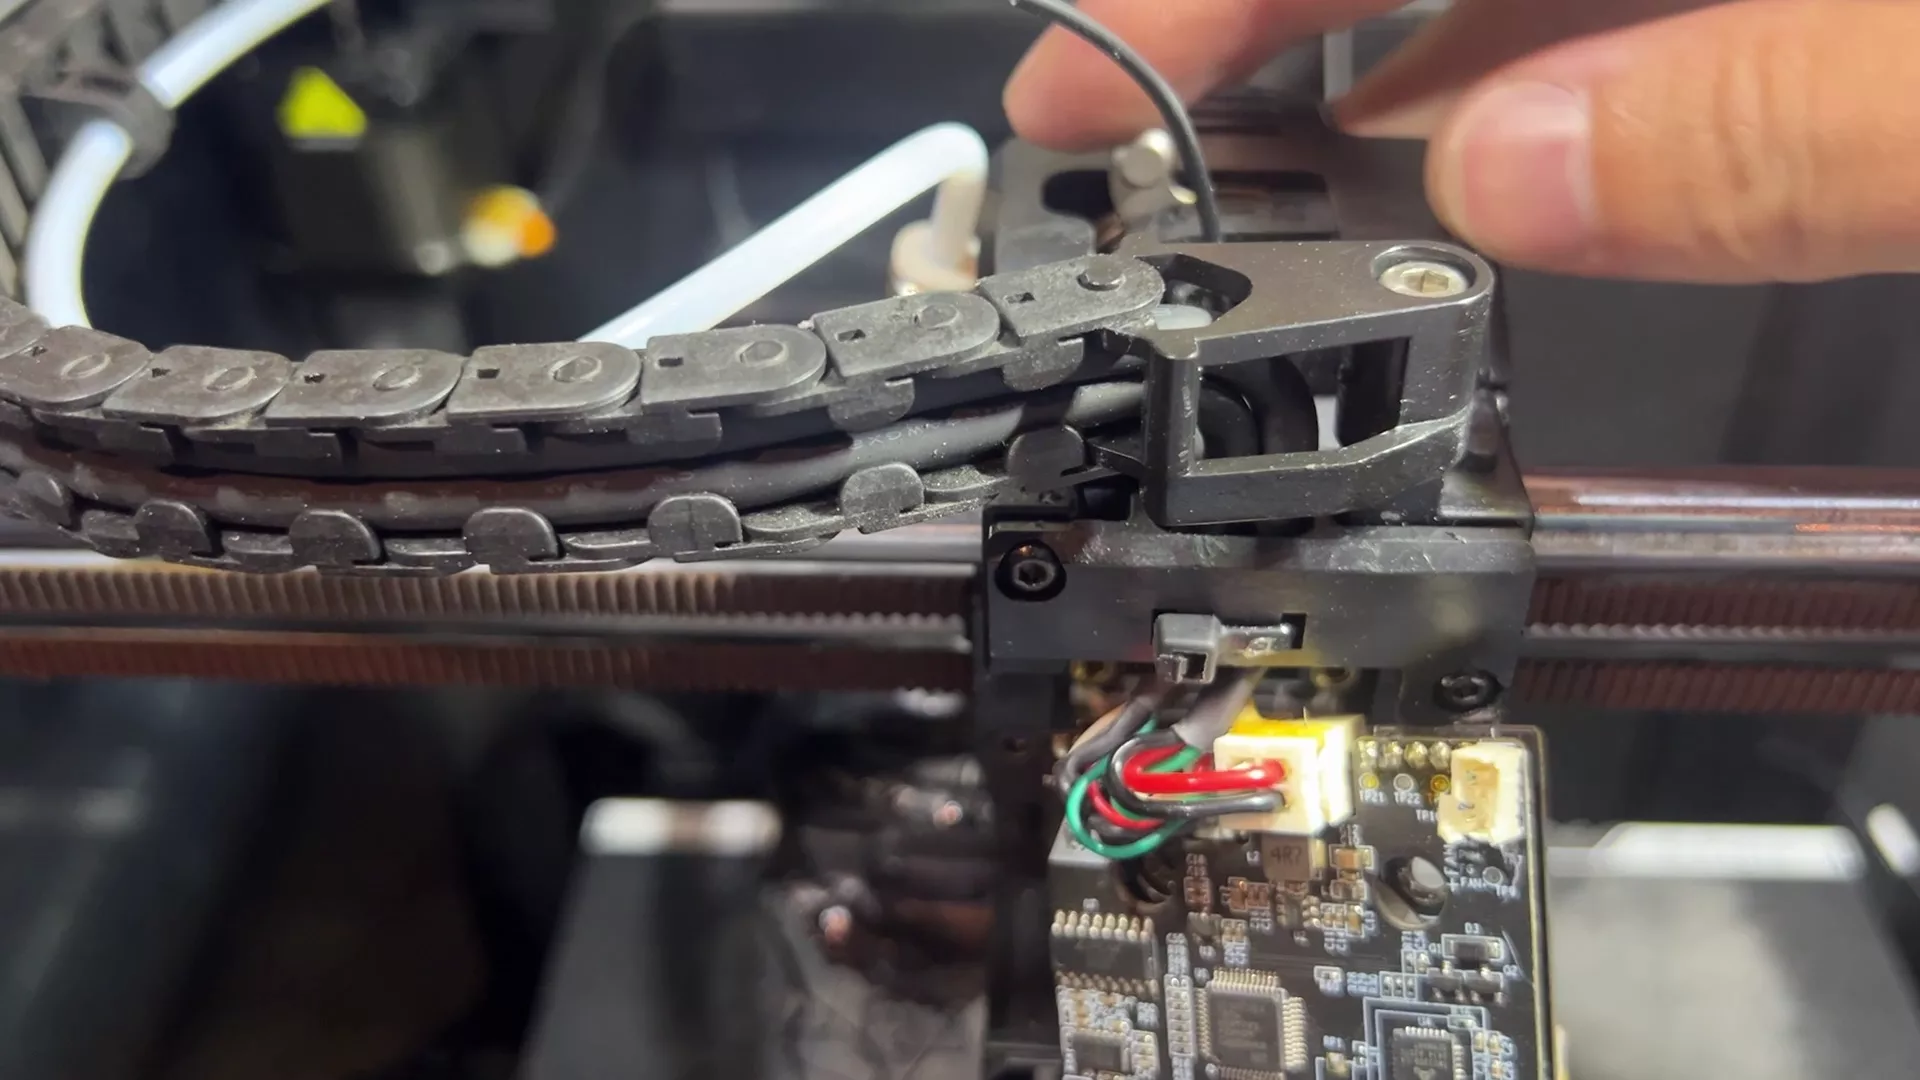
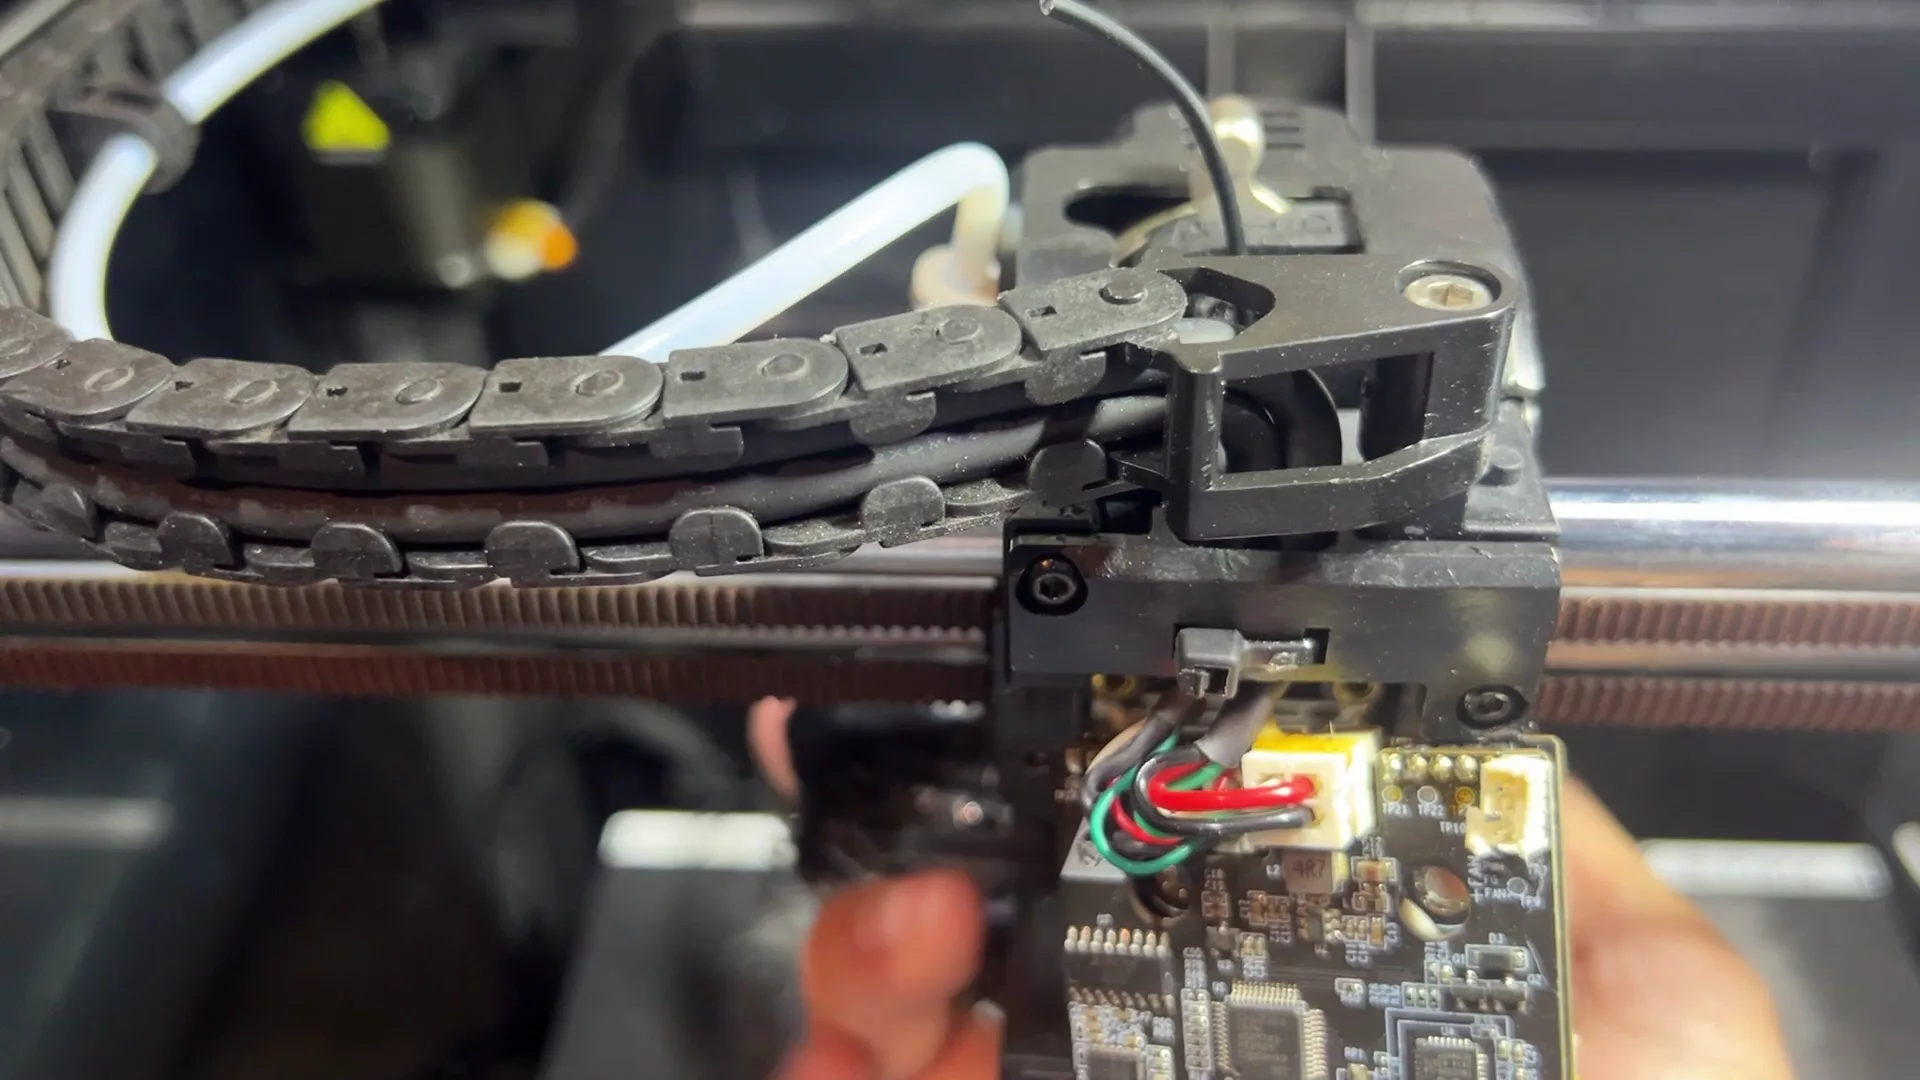
- Remove the circuit board. This requires taking out two upper screws and one lower screw on the front face of the board. Removing the board is essential because it will clear the access to the screws that hold the heating element.
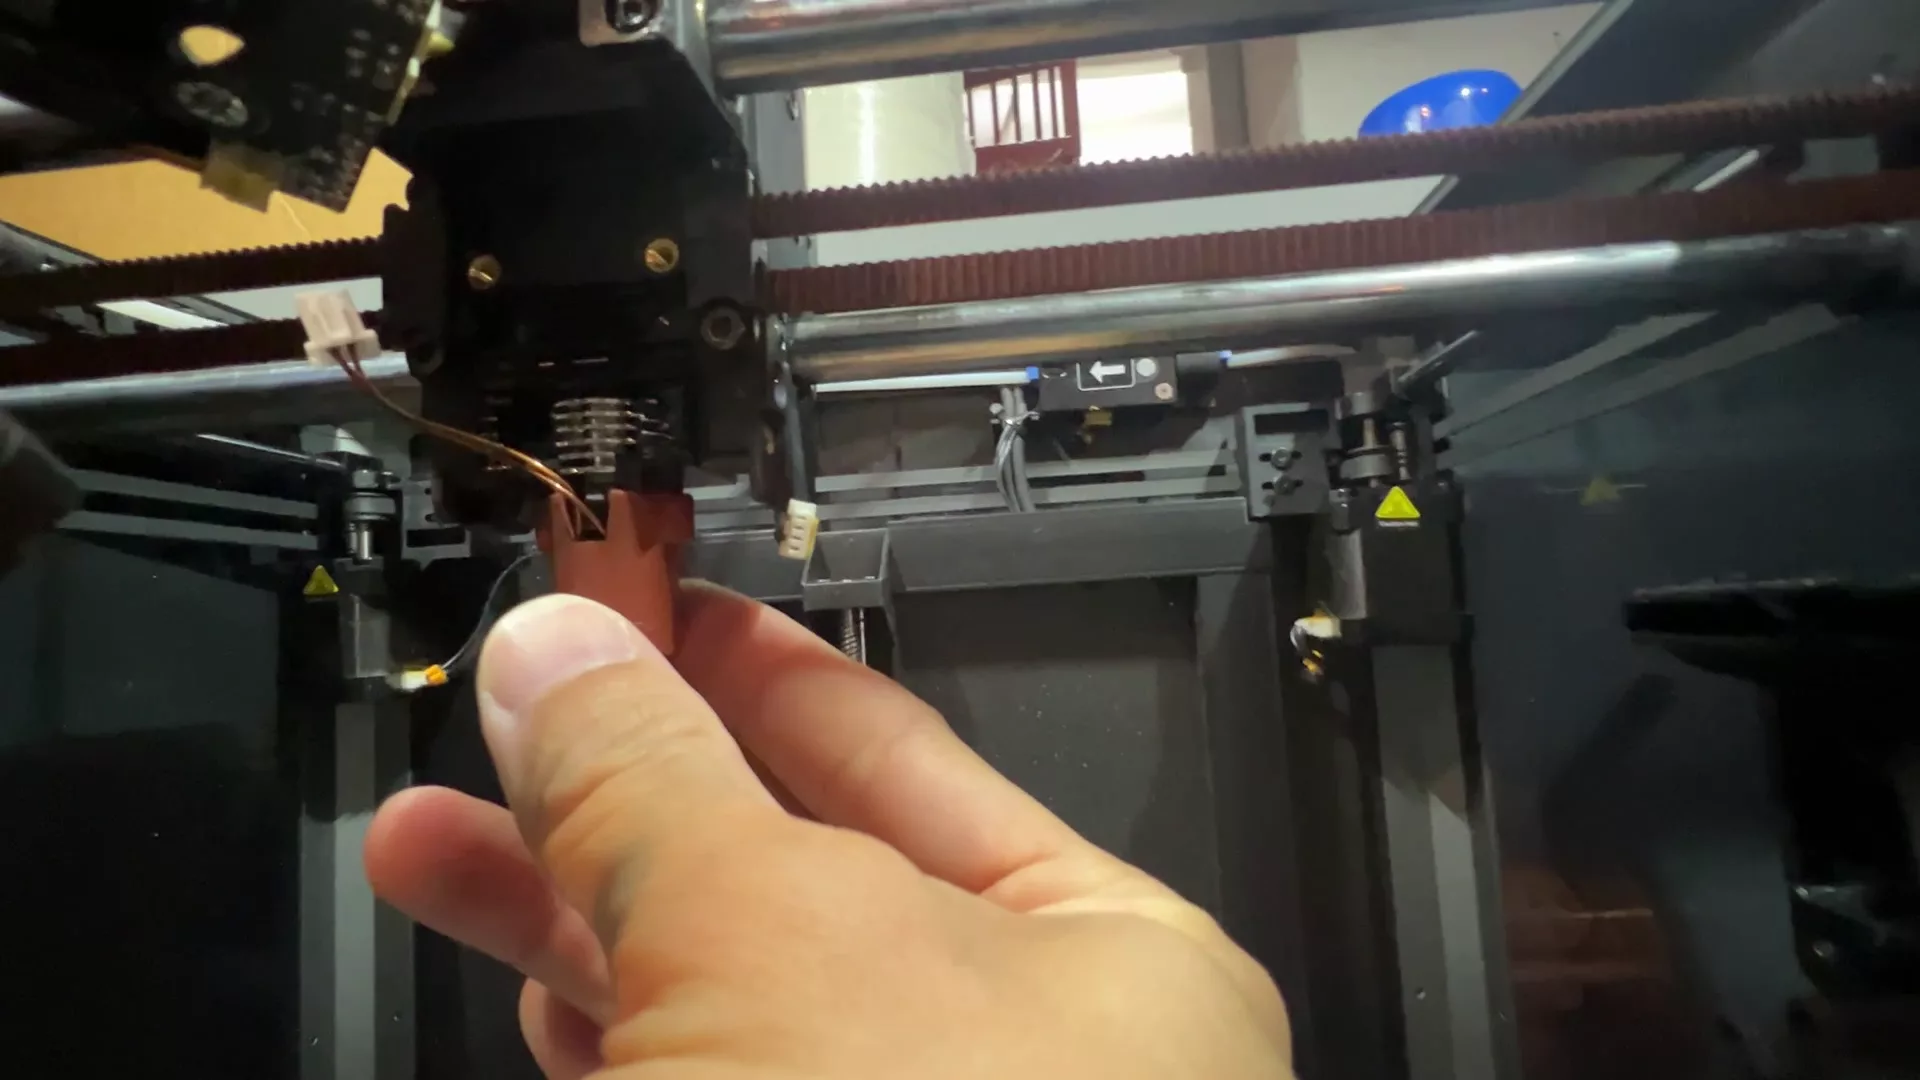
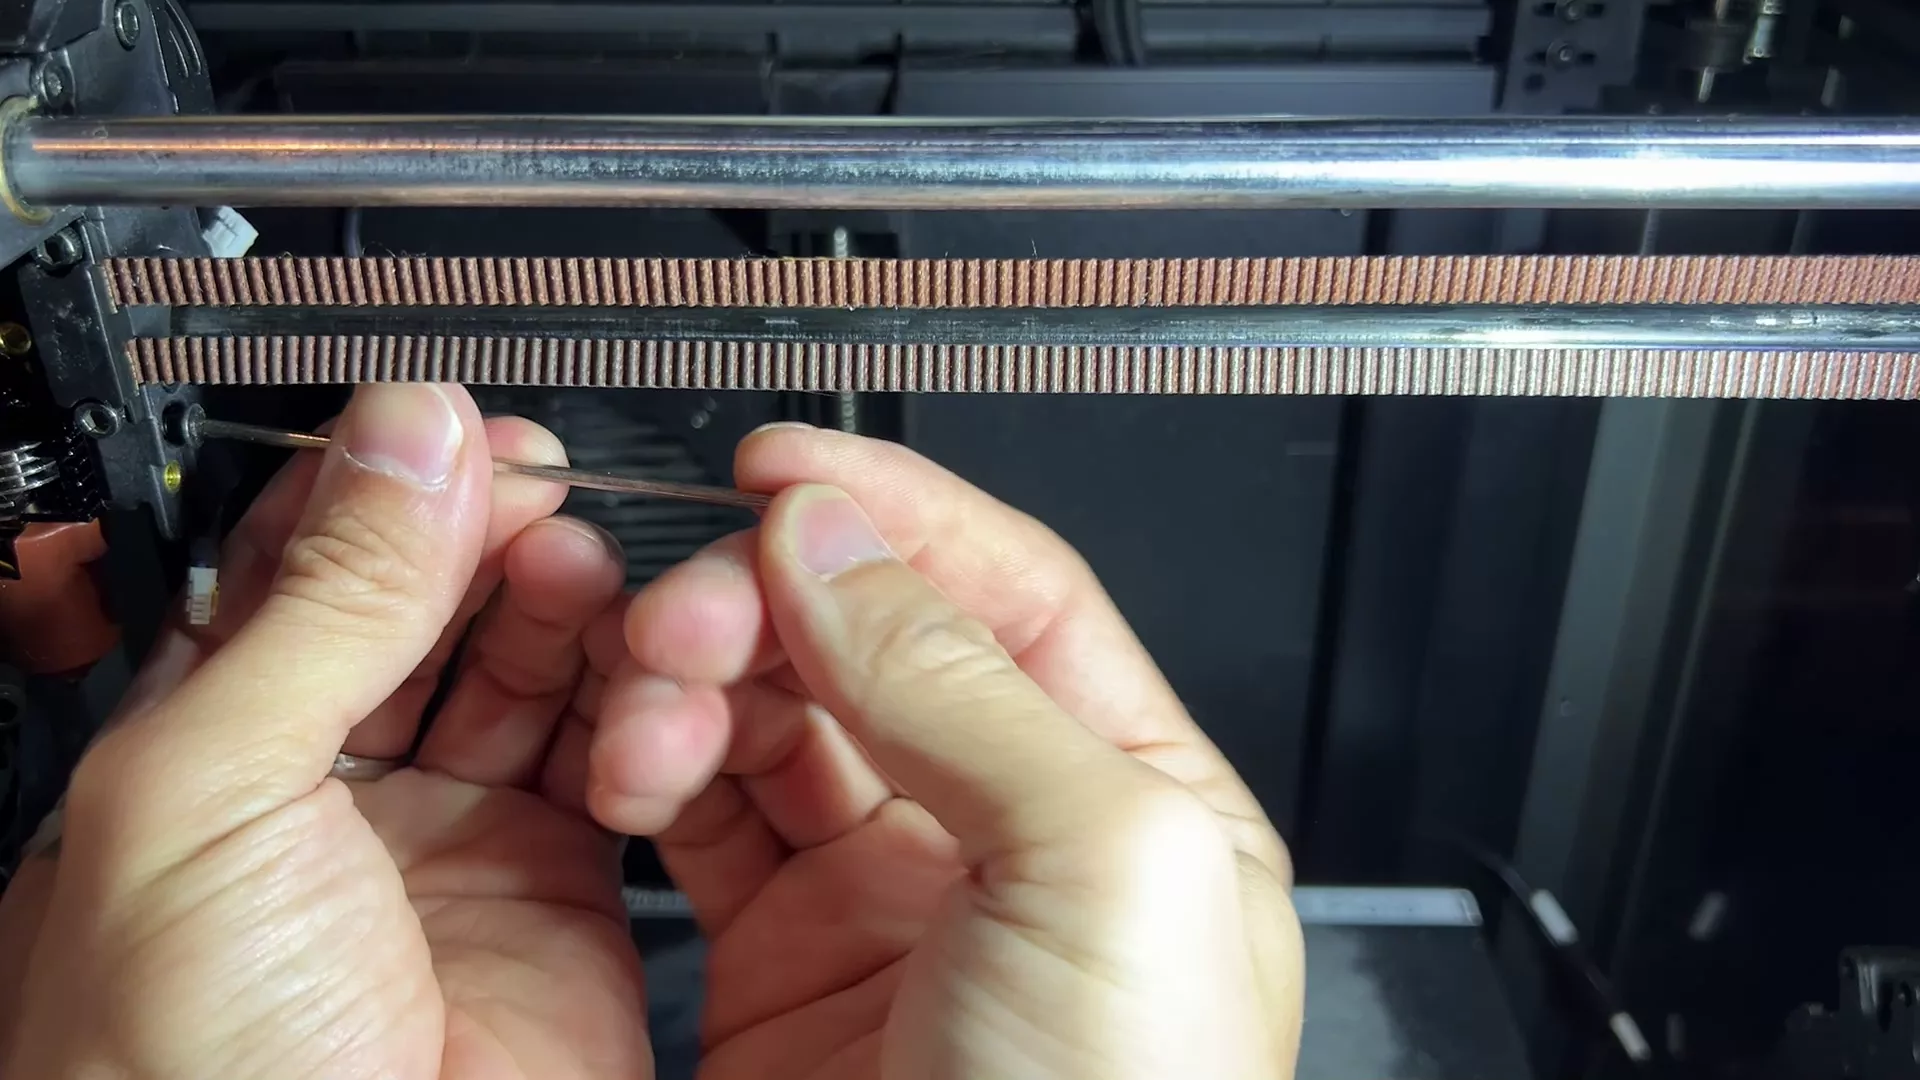
- Remove the old heating element and clear the filament. Access the frontal heating element screws (now exposed as the photo above) and remove them. Unlock the filament’s extruder and pull out the old heating element from the bottom of the printer’s head.
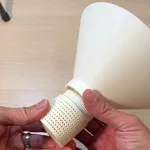
- Install the replacement heating element. I purchased this heating element for the Creality K1 series from Amazon for about $30. It came with all the necessary tools that you might need. Slide in the new heating element and secure it by the four screws — two on the front and two on the side.

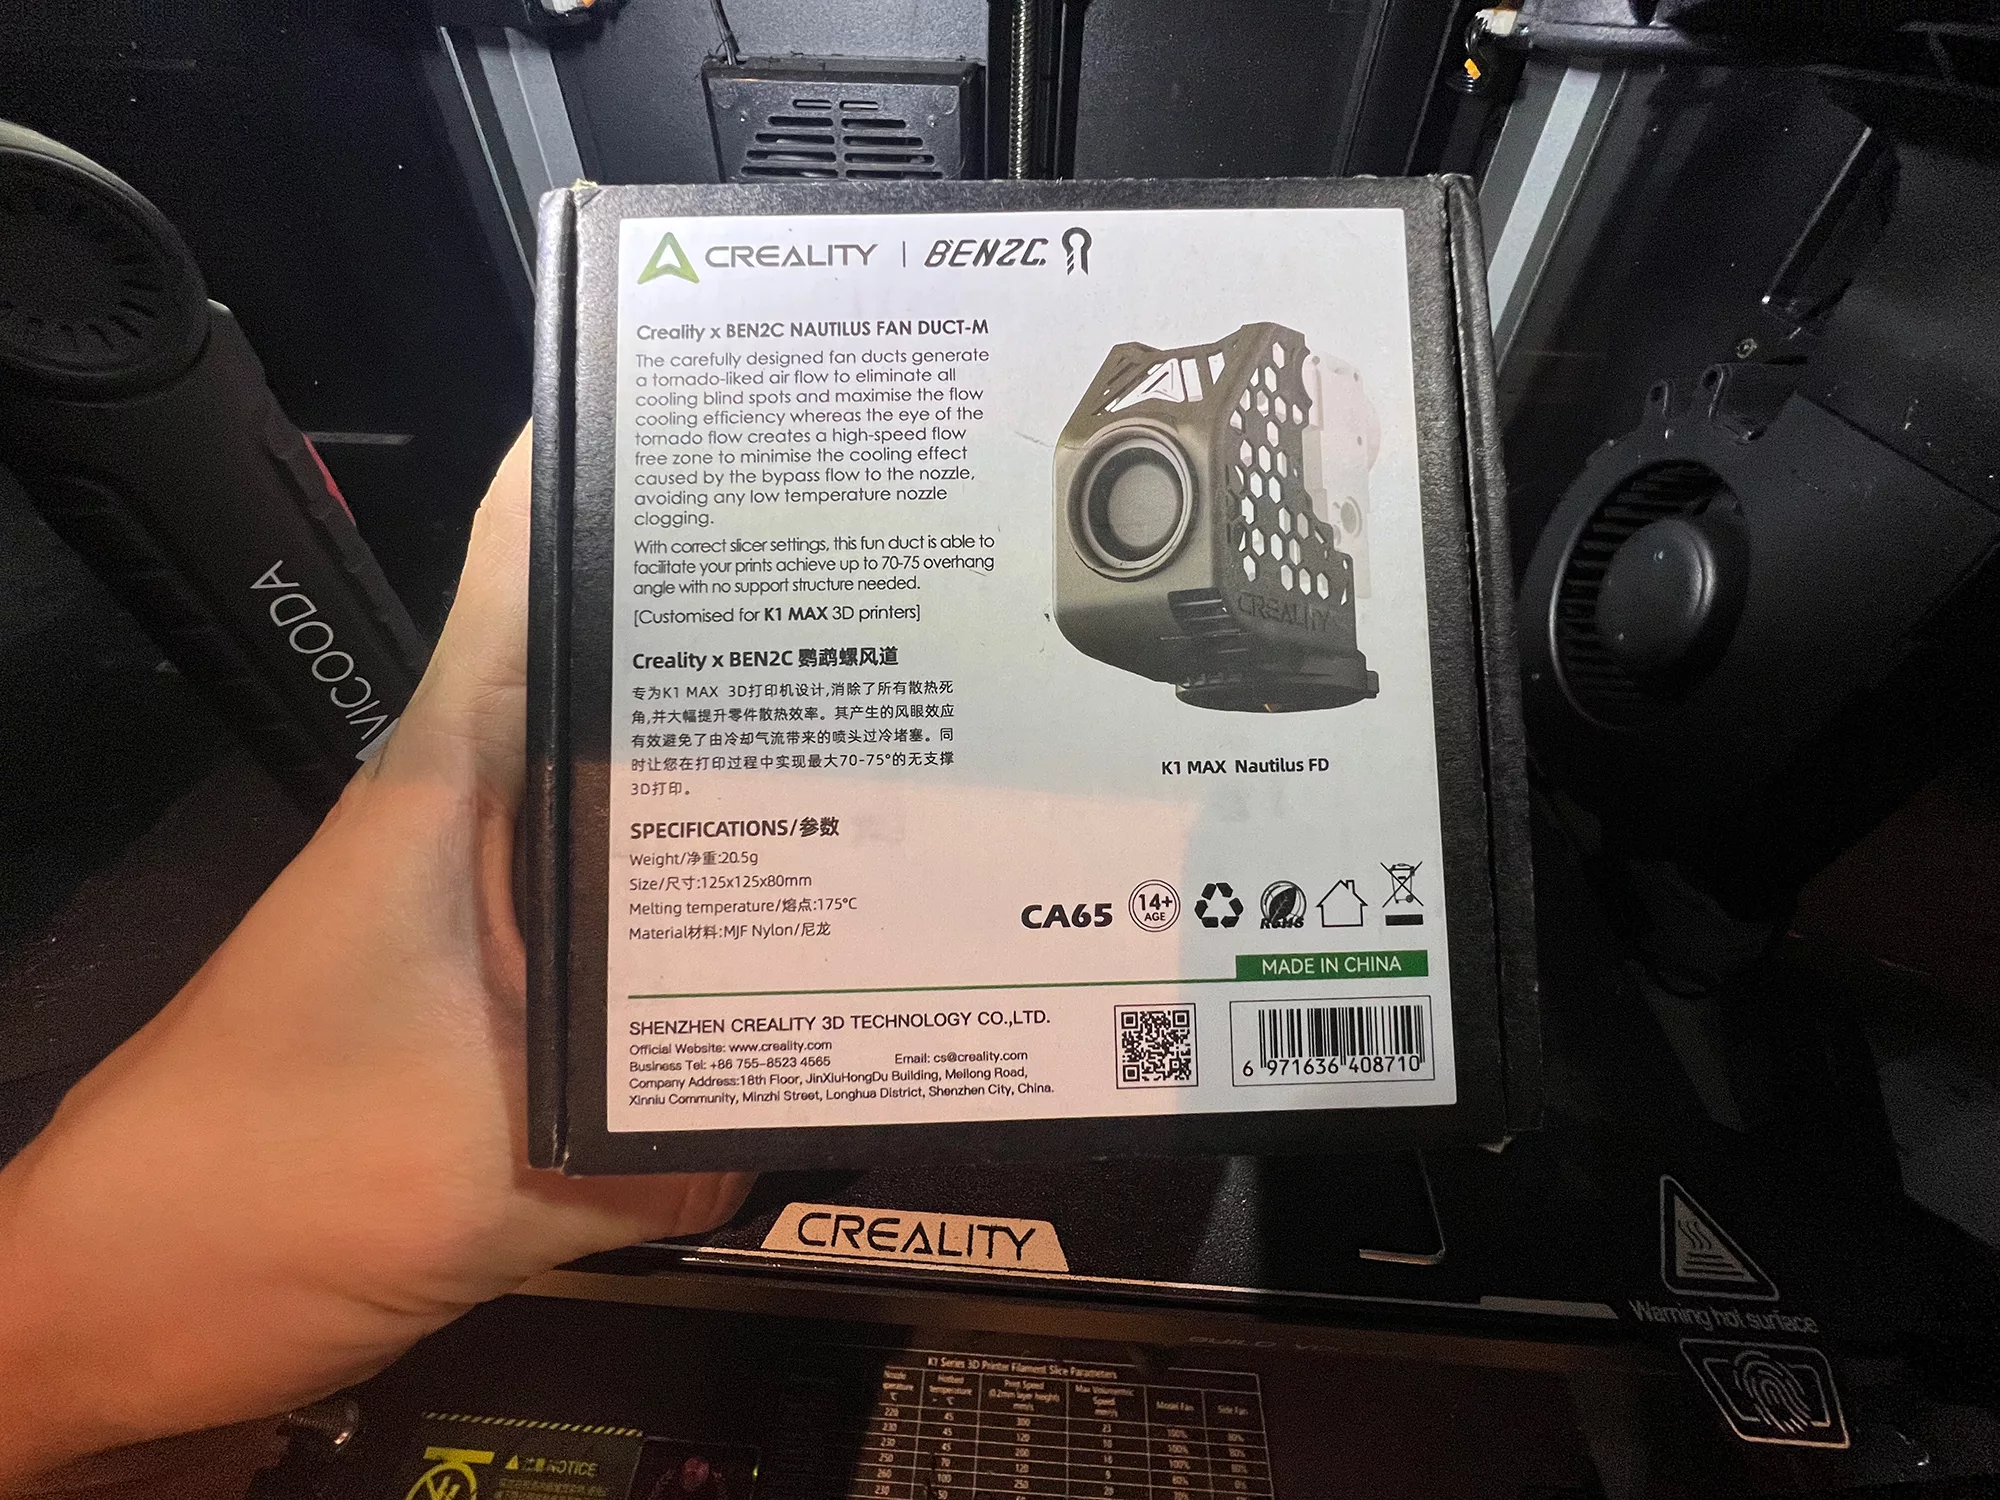
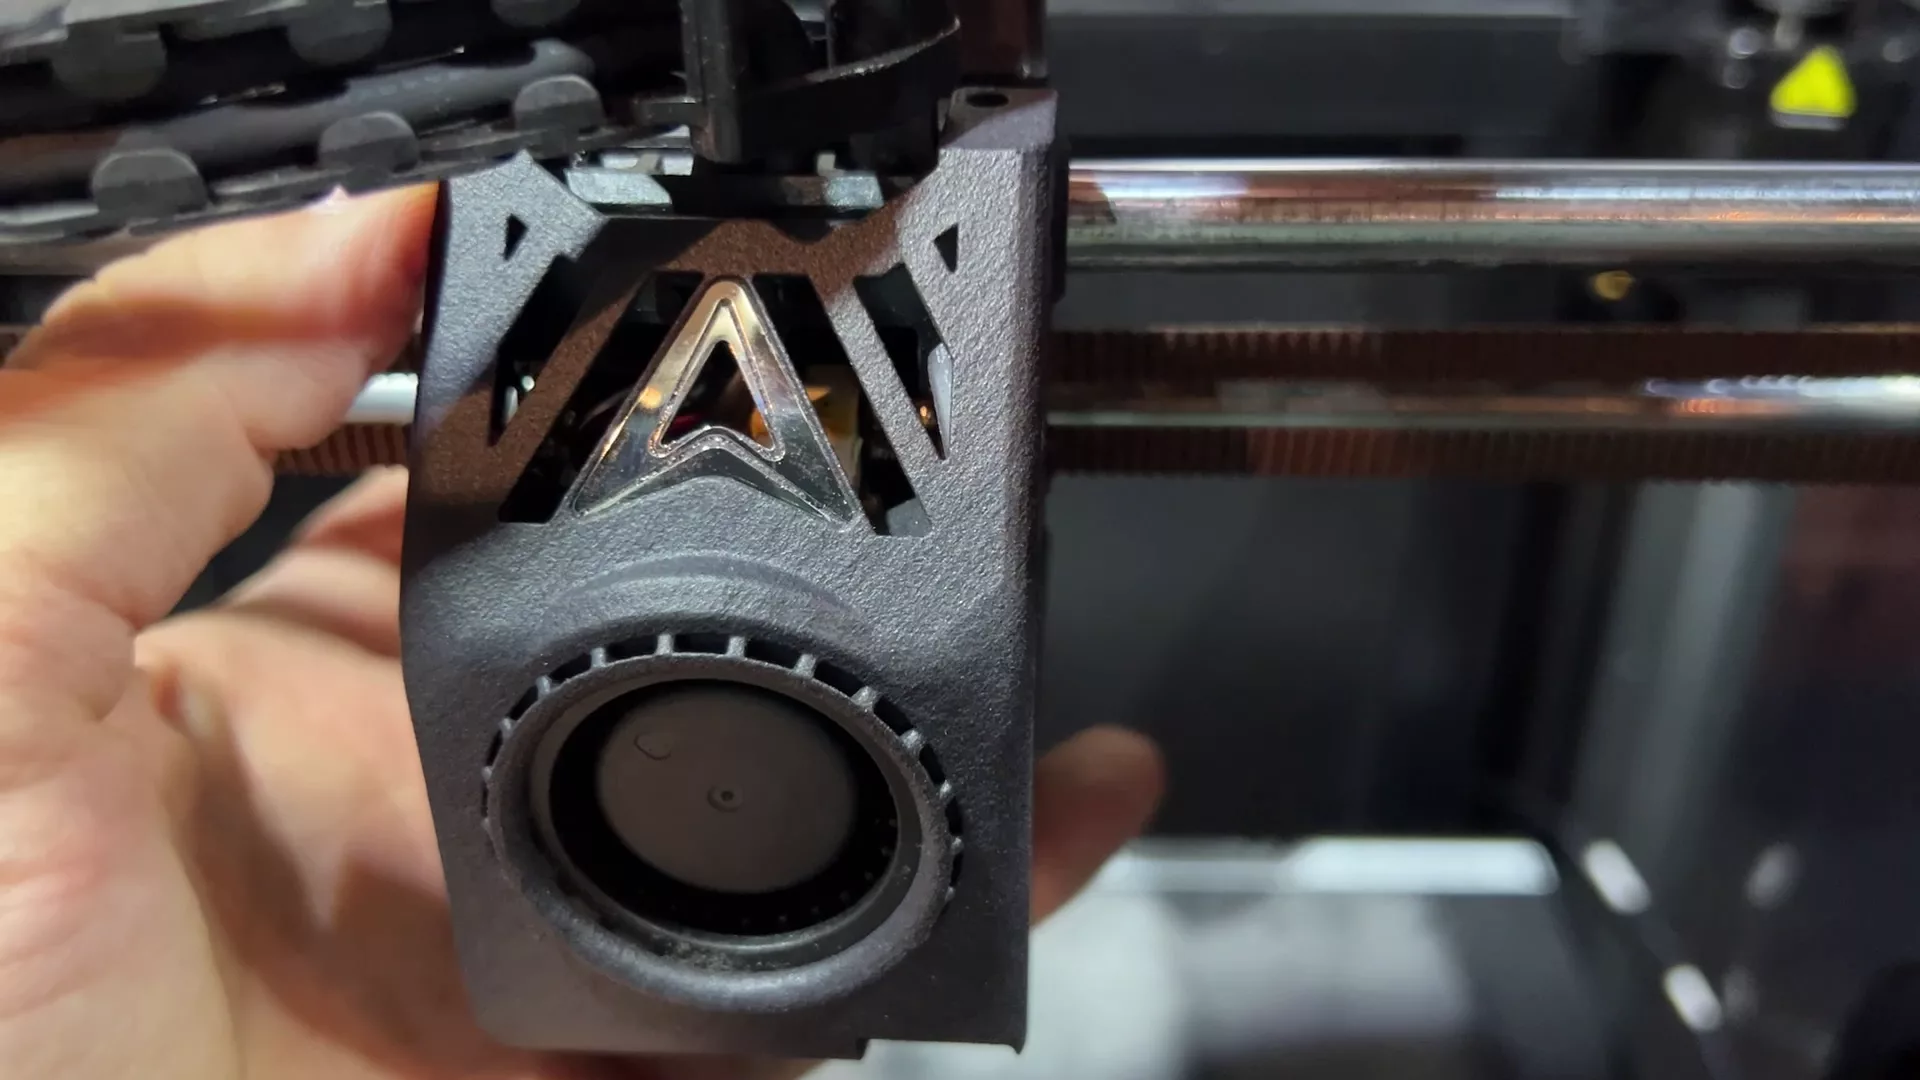
- Reinstall the circuit board and reconnect all the wires. In my case I accidentally destroyed the head cover during the disassembly process, I purchased this cover / fan duct replacement kit from Amazon for $30. With the last piece on, my 3D printer is back online again!
Relate posts:
Leave a Reply