With the tariffs on the horizon, I have been worrying that the trade war is going to rip me off for my new PCB projects, which heavily relies on outsource fabrication and assembly. On the other hand, I start to feel very motivated to try something new: DIY PCB Assembly. For sure it’s going to be a challenging task, but nothing could stop me if that helps to save the cost!
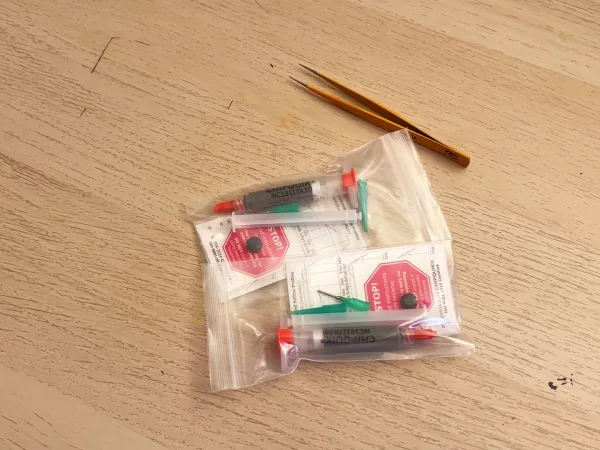
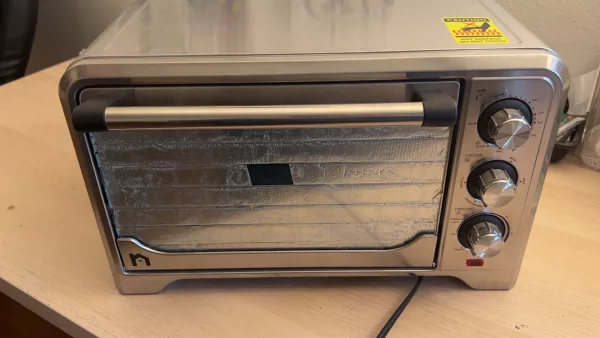
The tools you will need includes: a reflow oven if you don’t want to hand solder all the components; My reflow oven is converted from a kitchen oven, if you are interested, you can check out my previous video re: how to make your own reflow oven. Then a good pair of tweezers (my favorite from Digikey) and fresh solder paste (Digikey link).
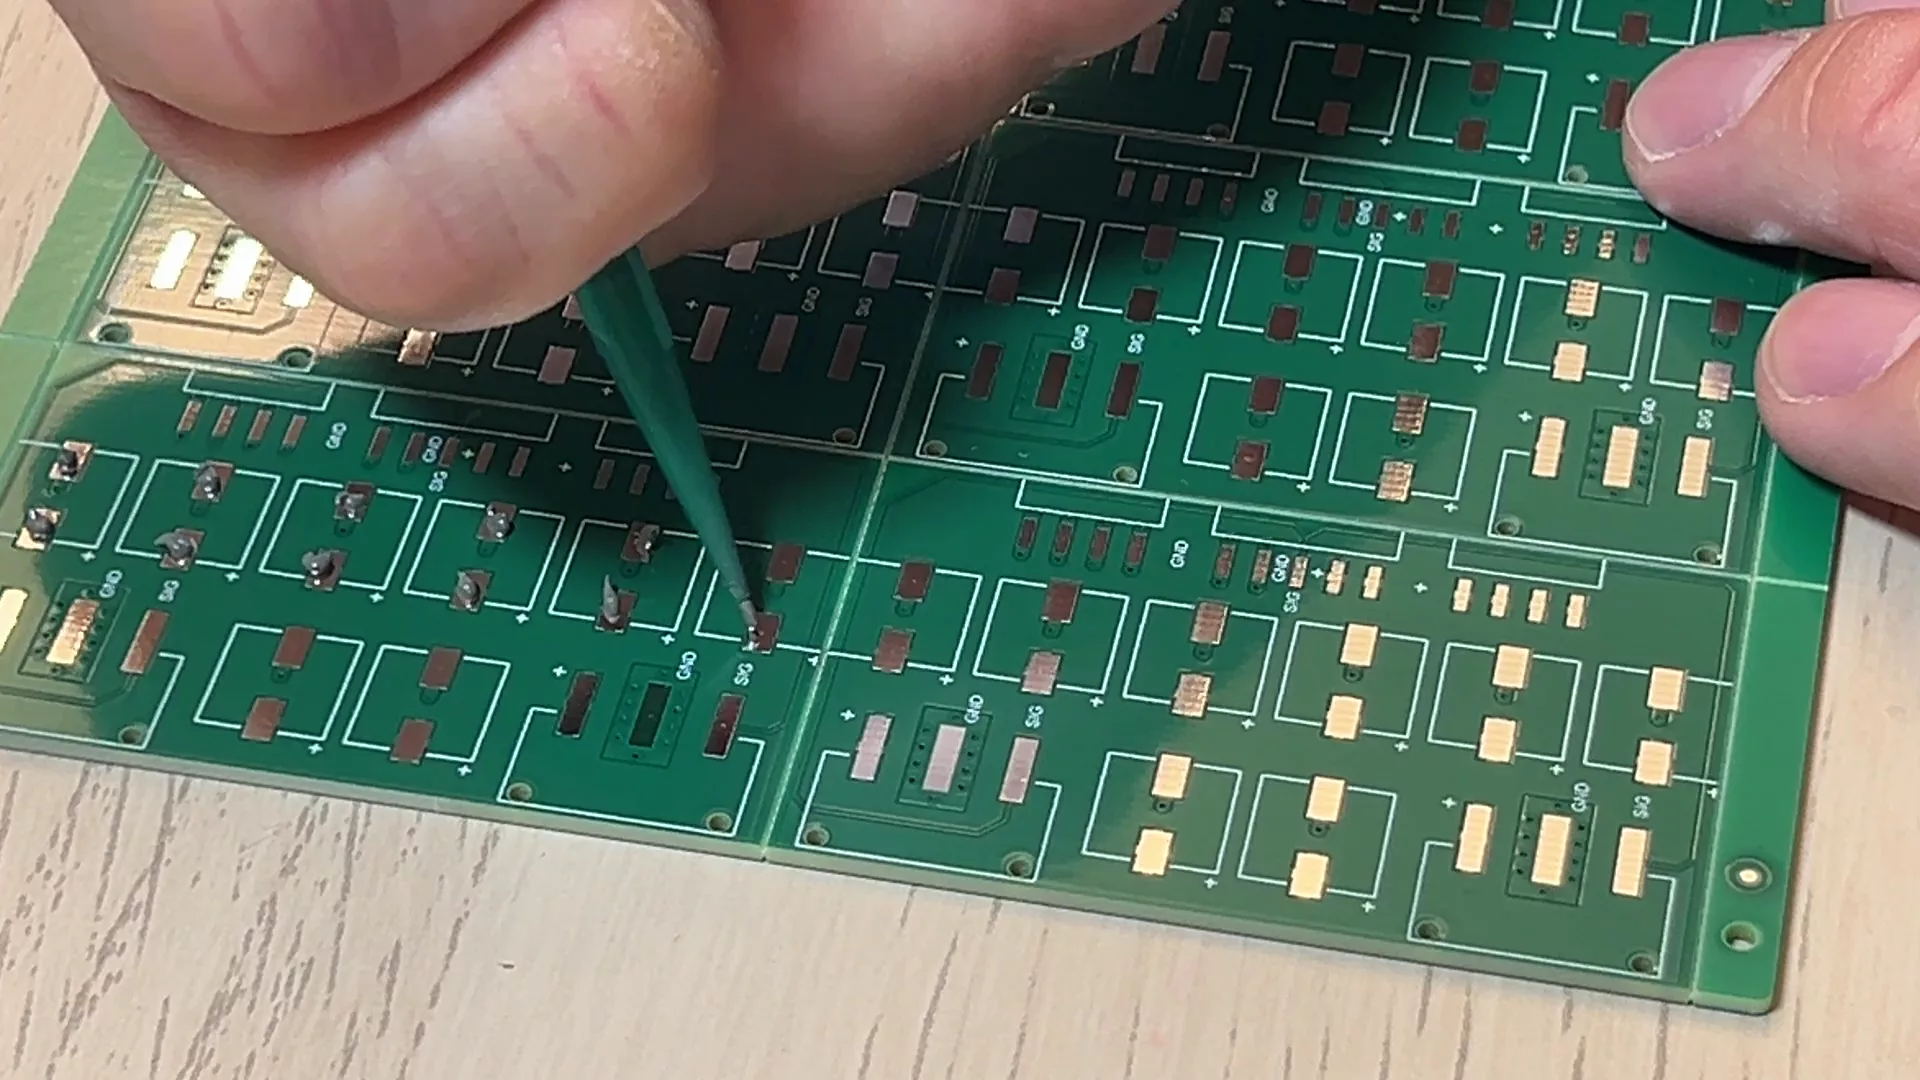
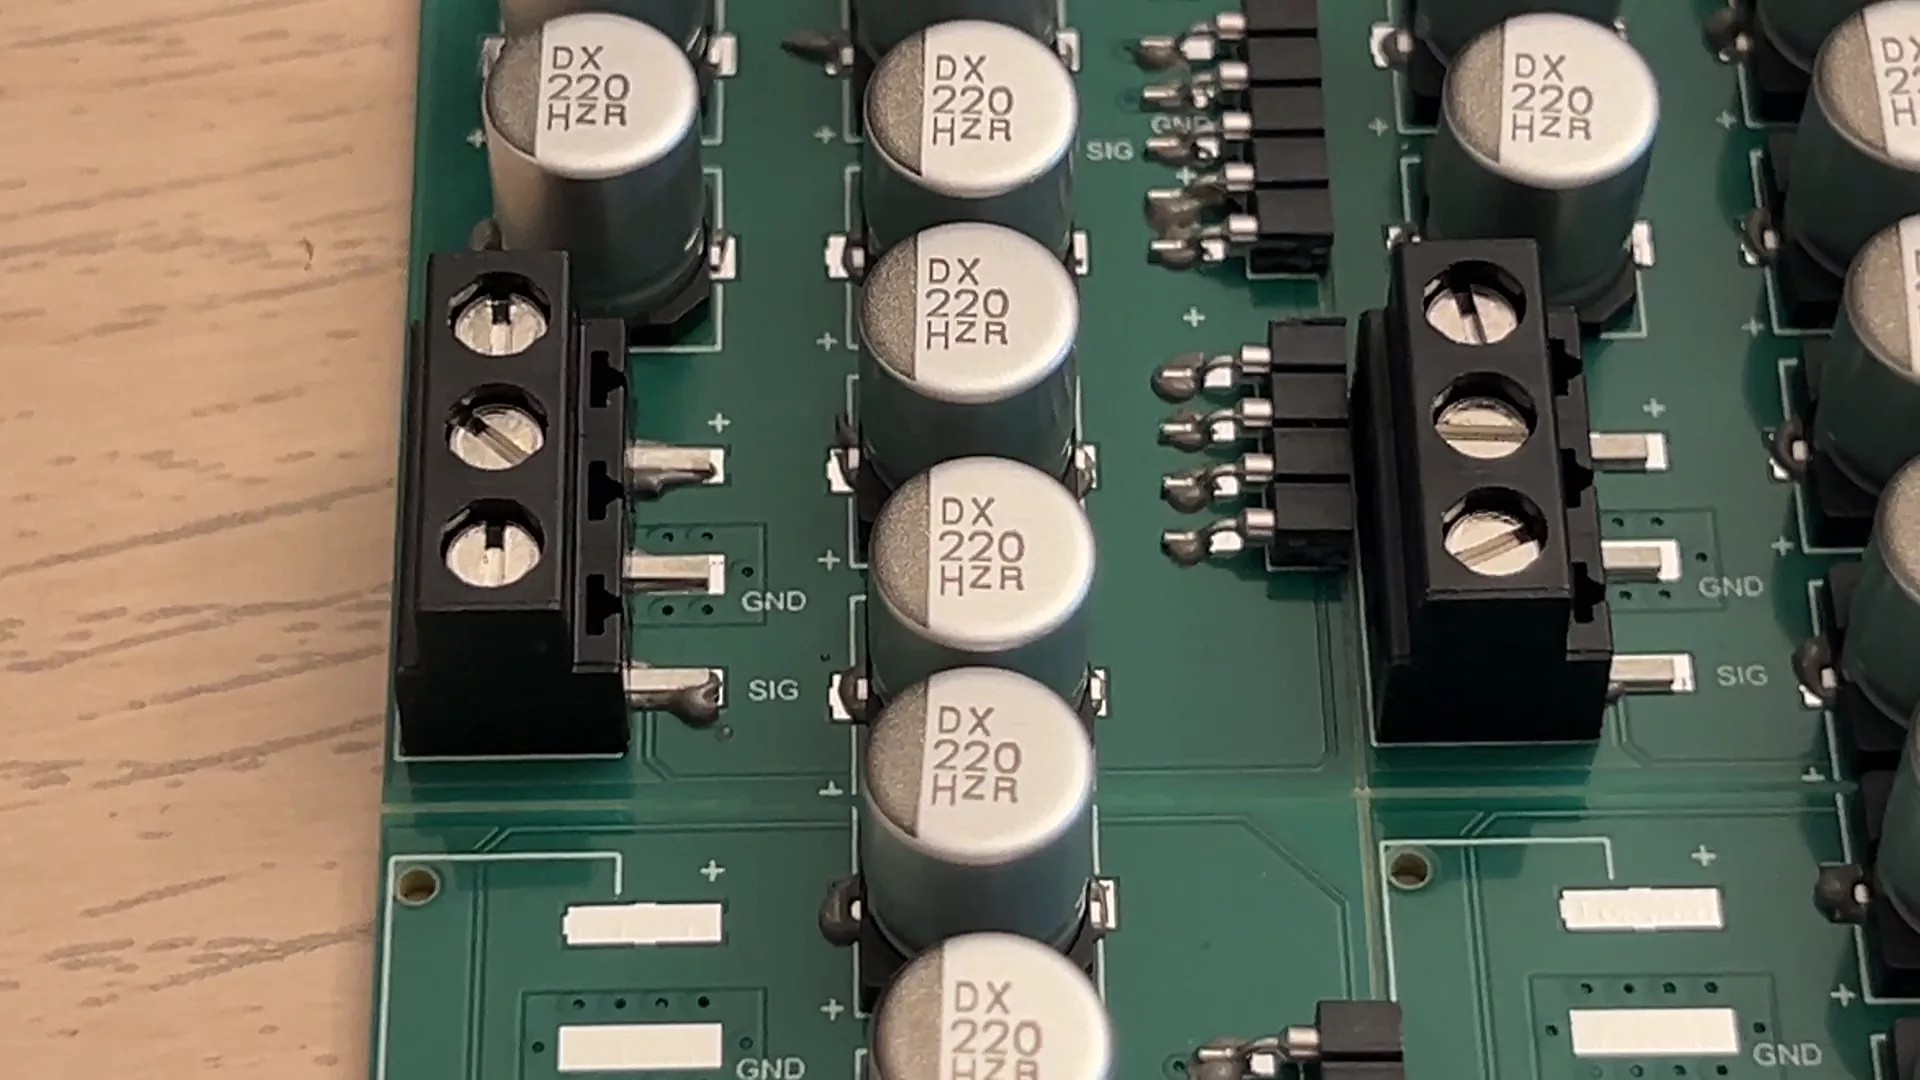
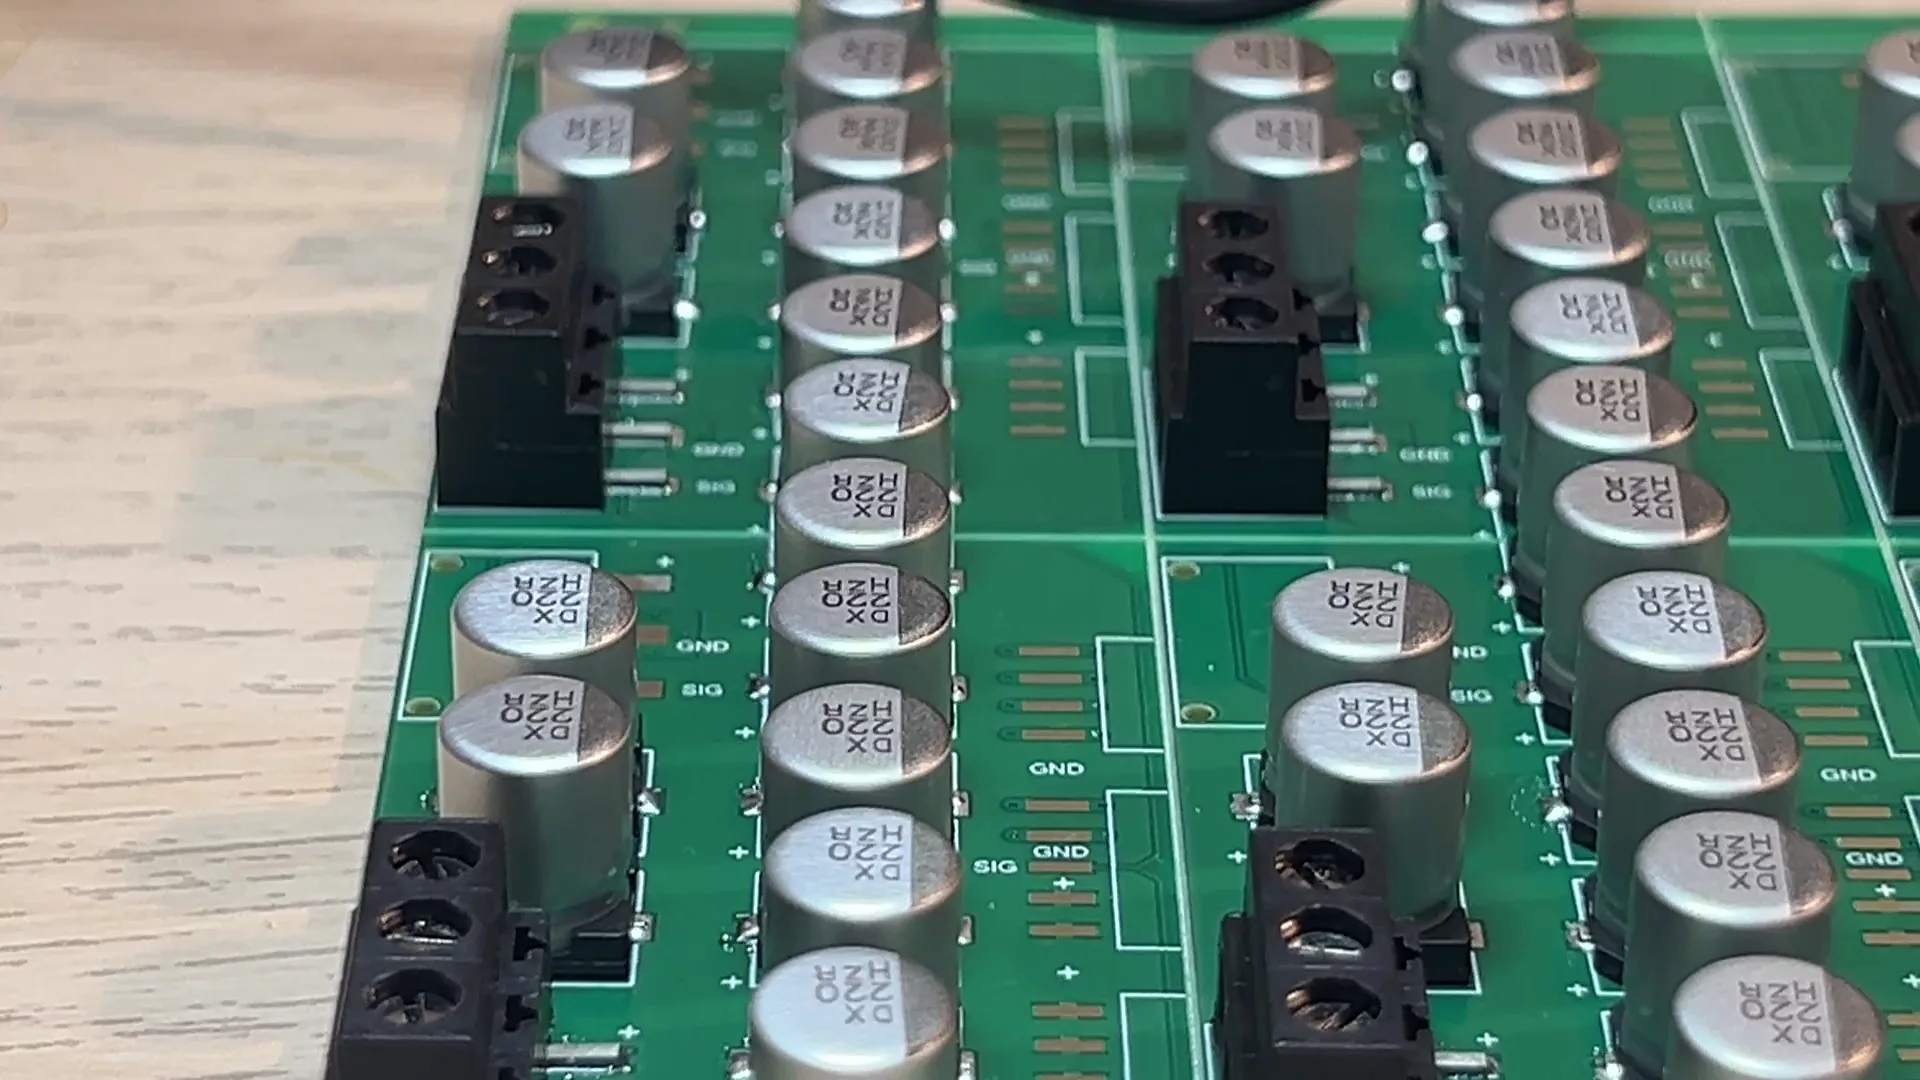
Now let’s start. First, we need to apply solder paste onto the pads. Usually, it is done with a piece of stencil for boards with a lot of small components. For the design that has low density and big-footprint components, I would just apply the solder paste using the freestyle. Another trick is to fabricate the PCBs in an array, so I can parallelize my work on multiple boards at once, definitely more efficient.
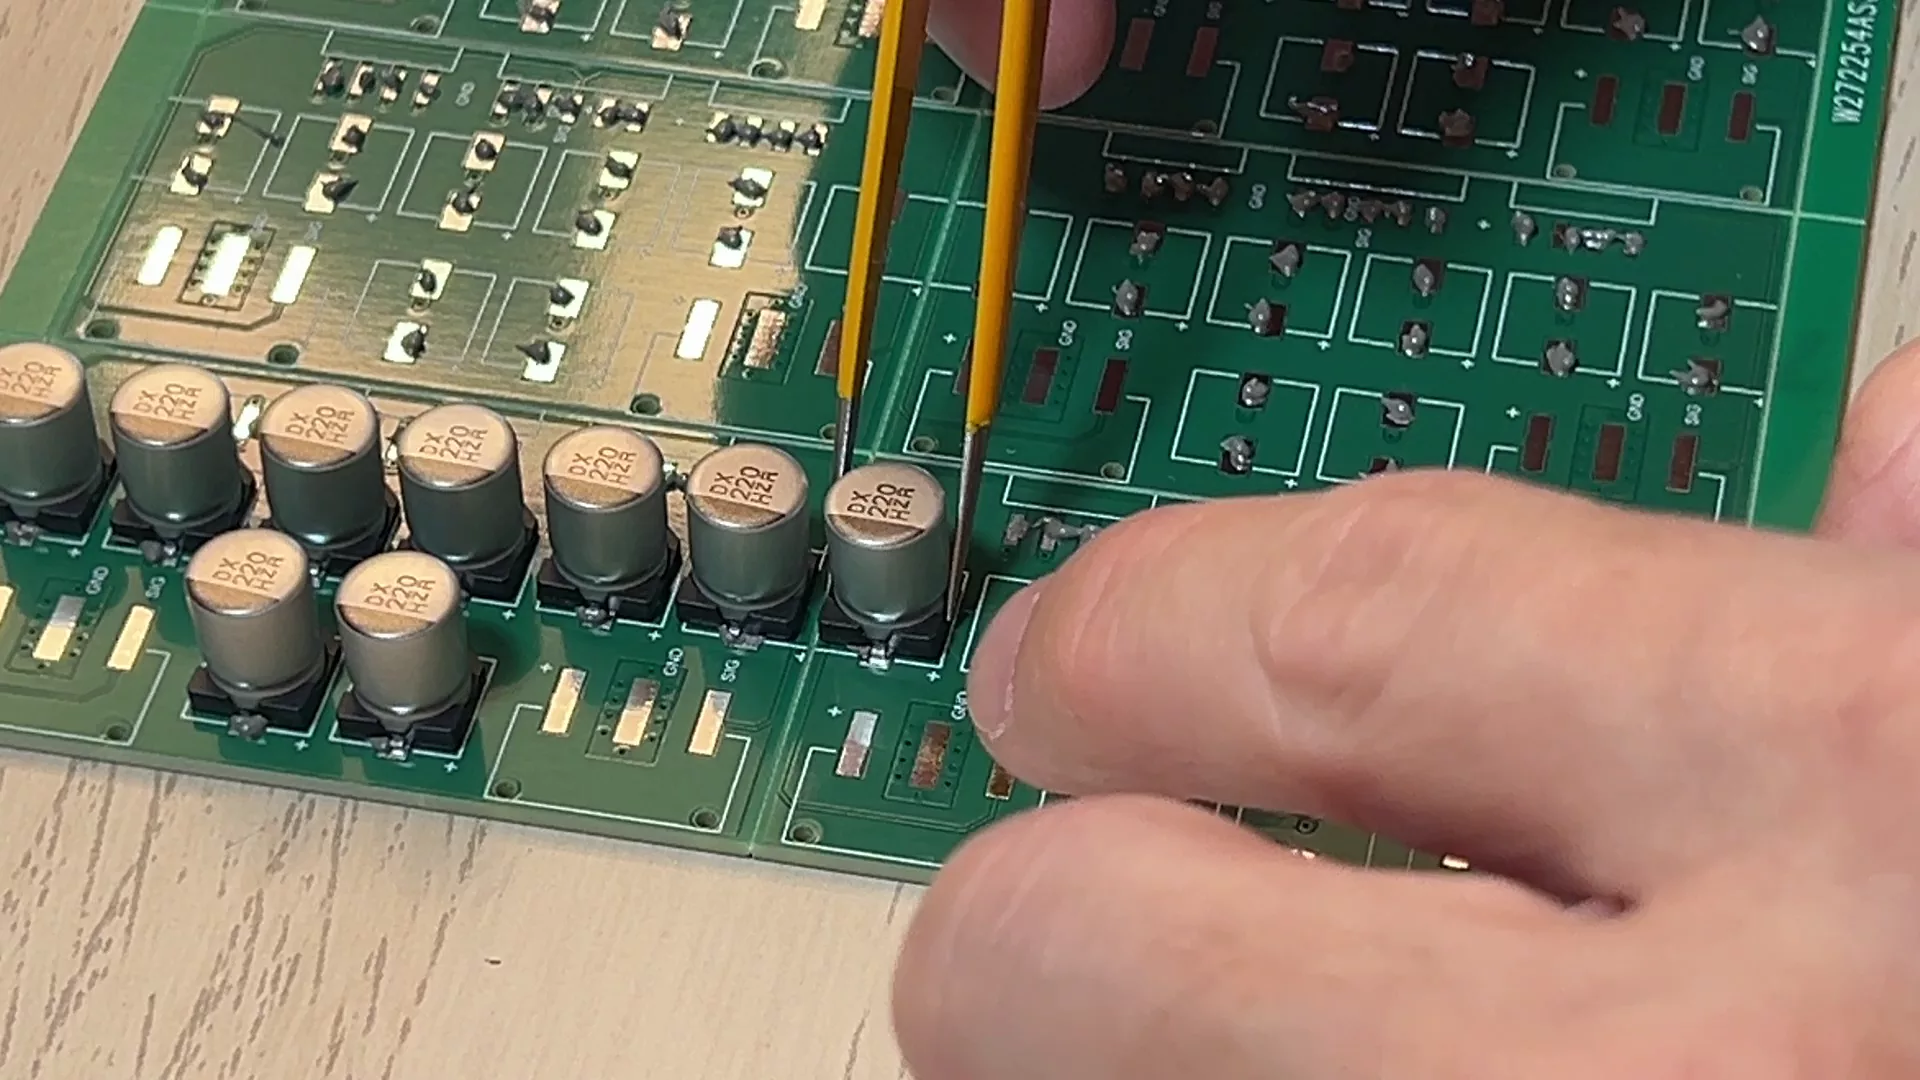
Once the solder paste has been applied, I use tweezers to pick and place the components. This step requires a steady hand and a lot of patience. Don’t worry if a component is slightly off, the surface tension from the molten solder during the reflow process will magically make it spot on!
Once the components are sitting on their pads, it’s time to transport the board into the oven. Make sure you move it slowly and smoothly, not to shake any of the components off. Then you just leave the job to the oven for the final finish!
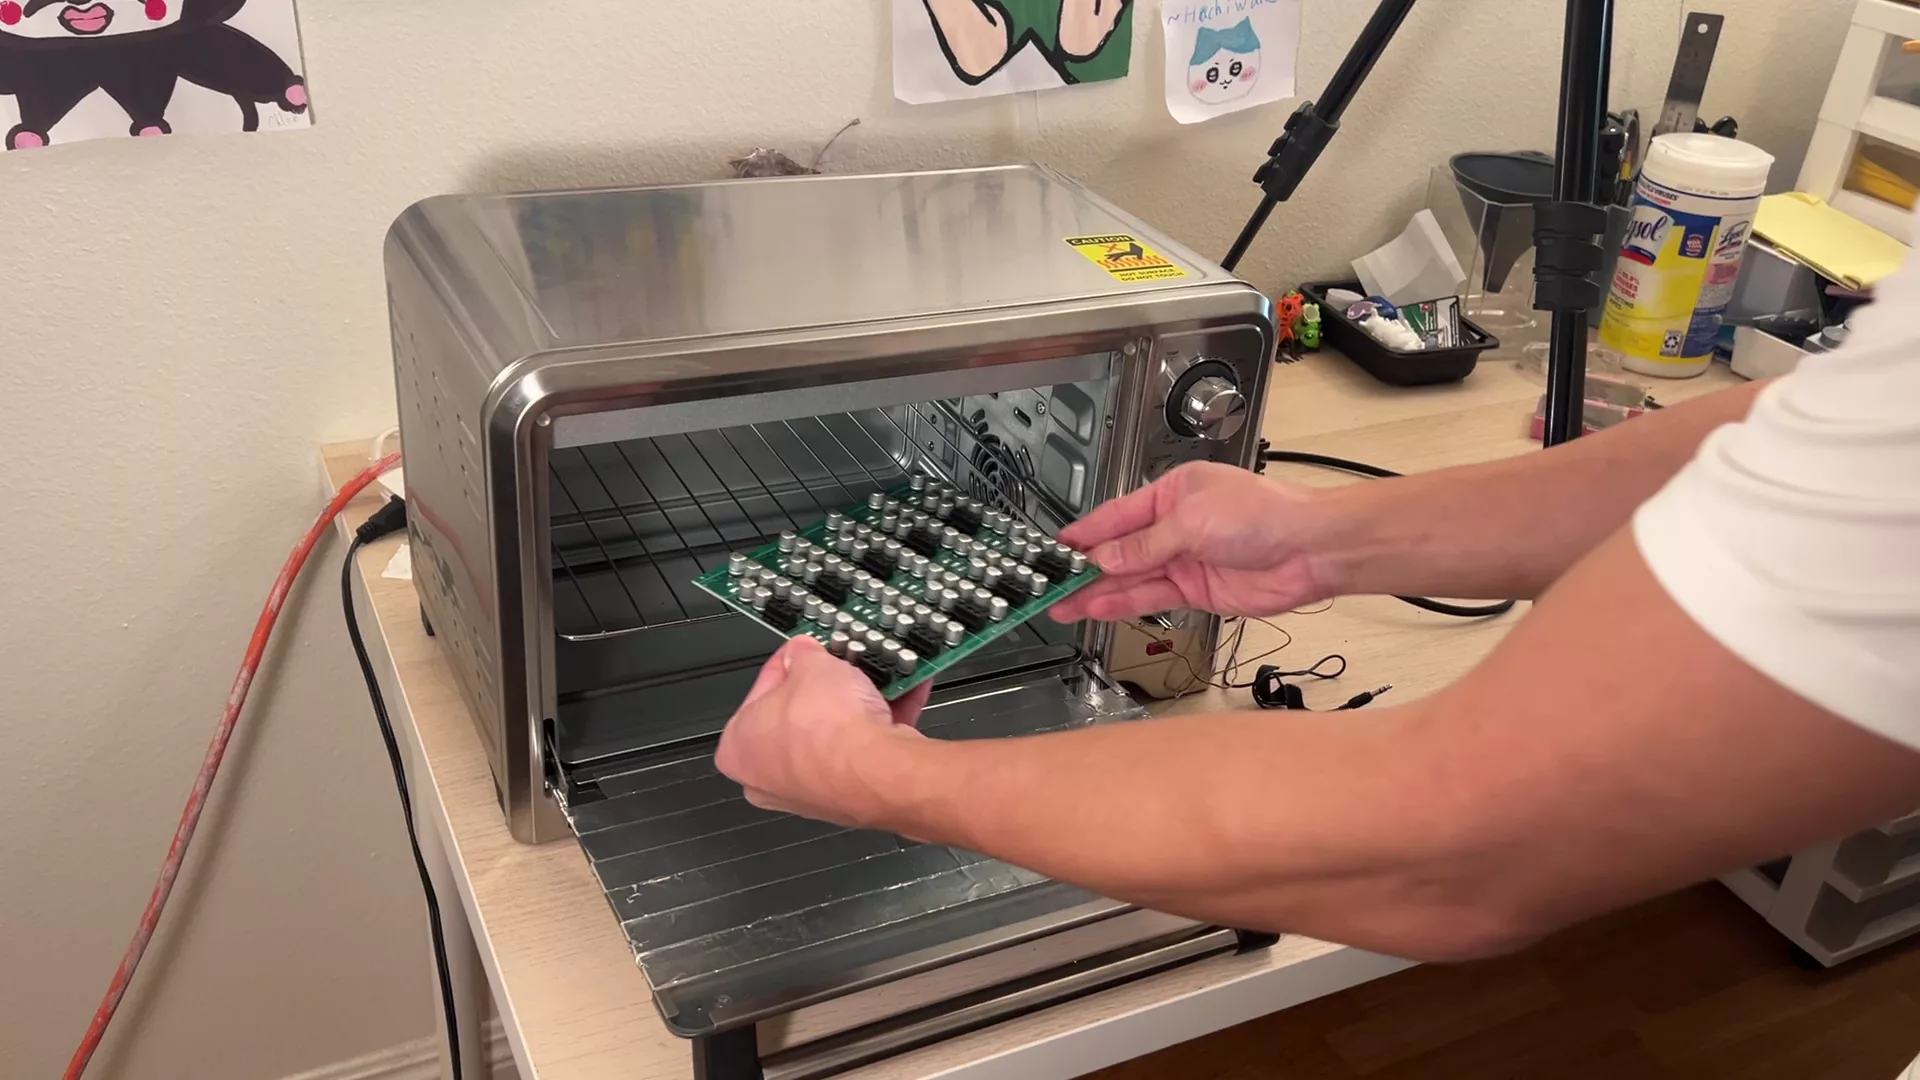
I was able to finish 3 bakes within an hour, that was 30 boards per hour, or 2 minutes per board. Not bad at all for a one-man assembly line. It took about 3 minutes for my oven to rise all the way to about 220°C. After that, I just had to wait until it cooled down. While, of course, no time was actually wasted because I was already on the next one when the oven was baking the previous board.
Leave a Reply