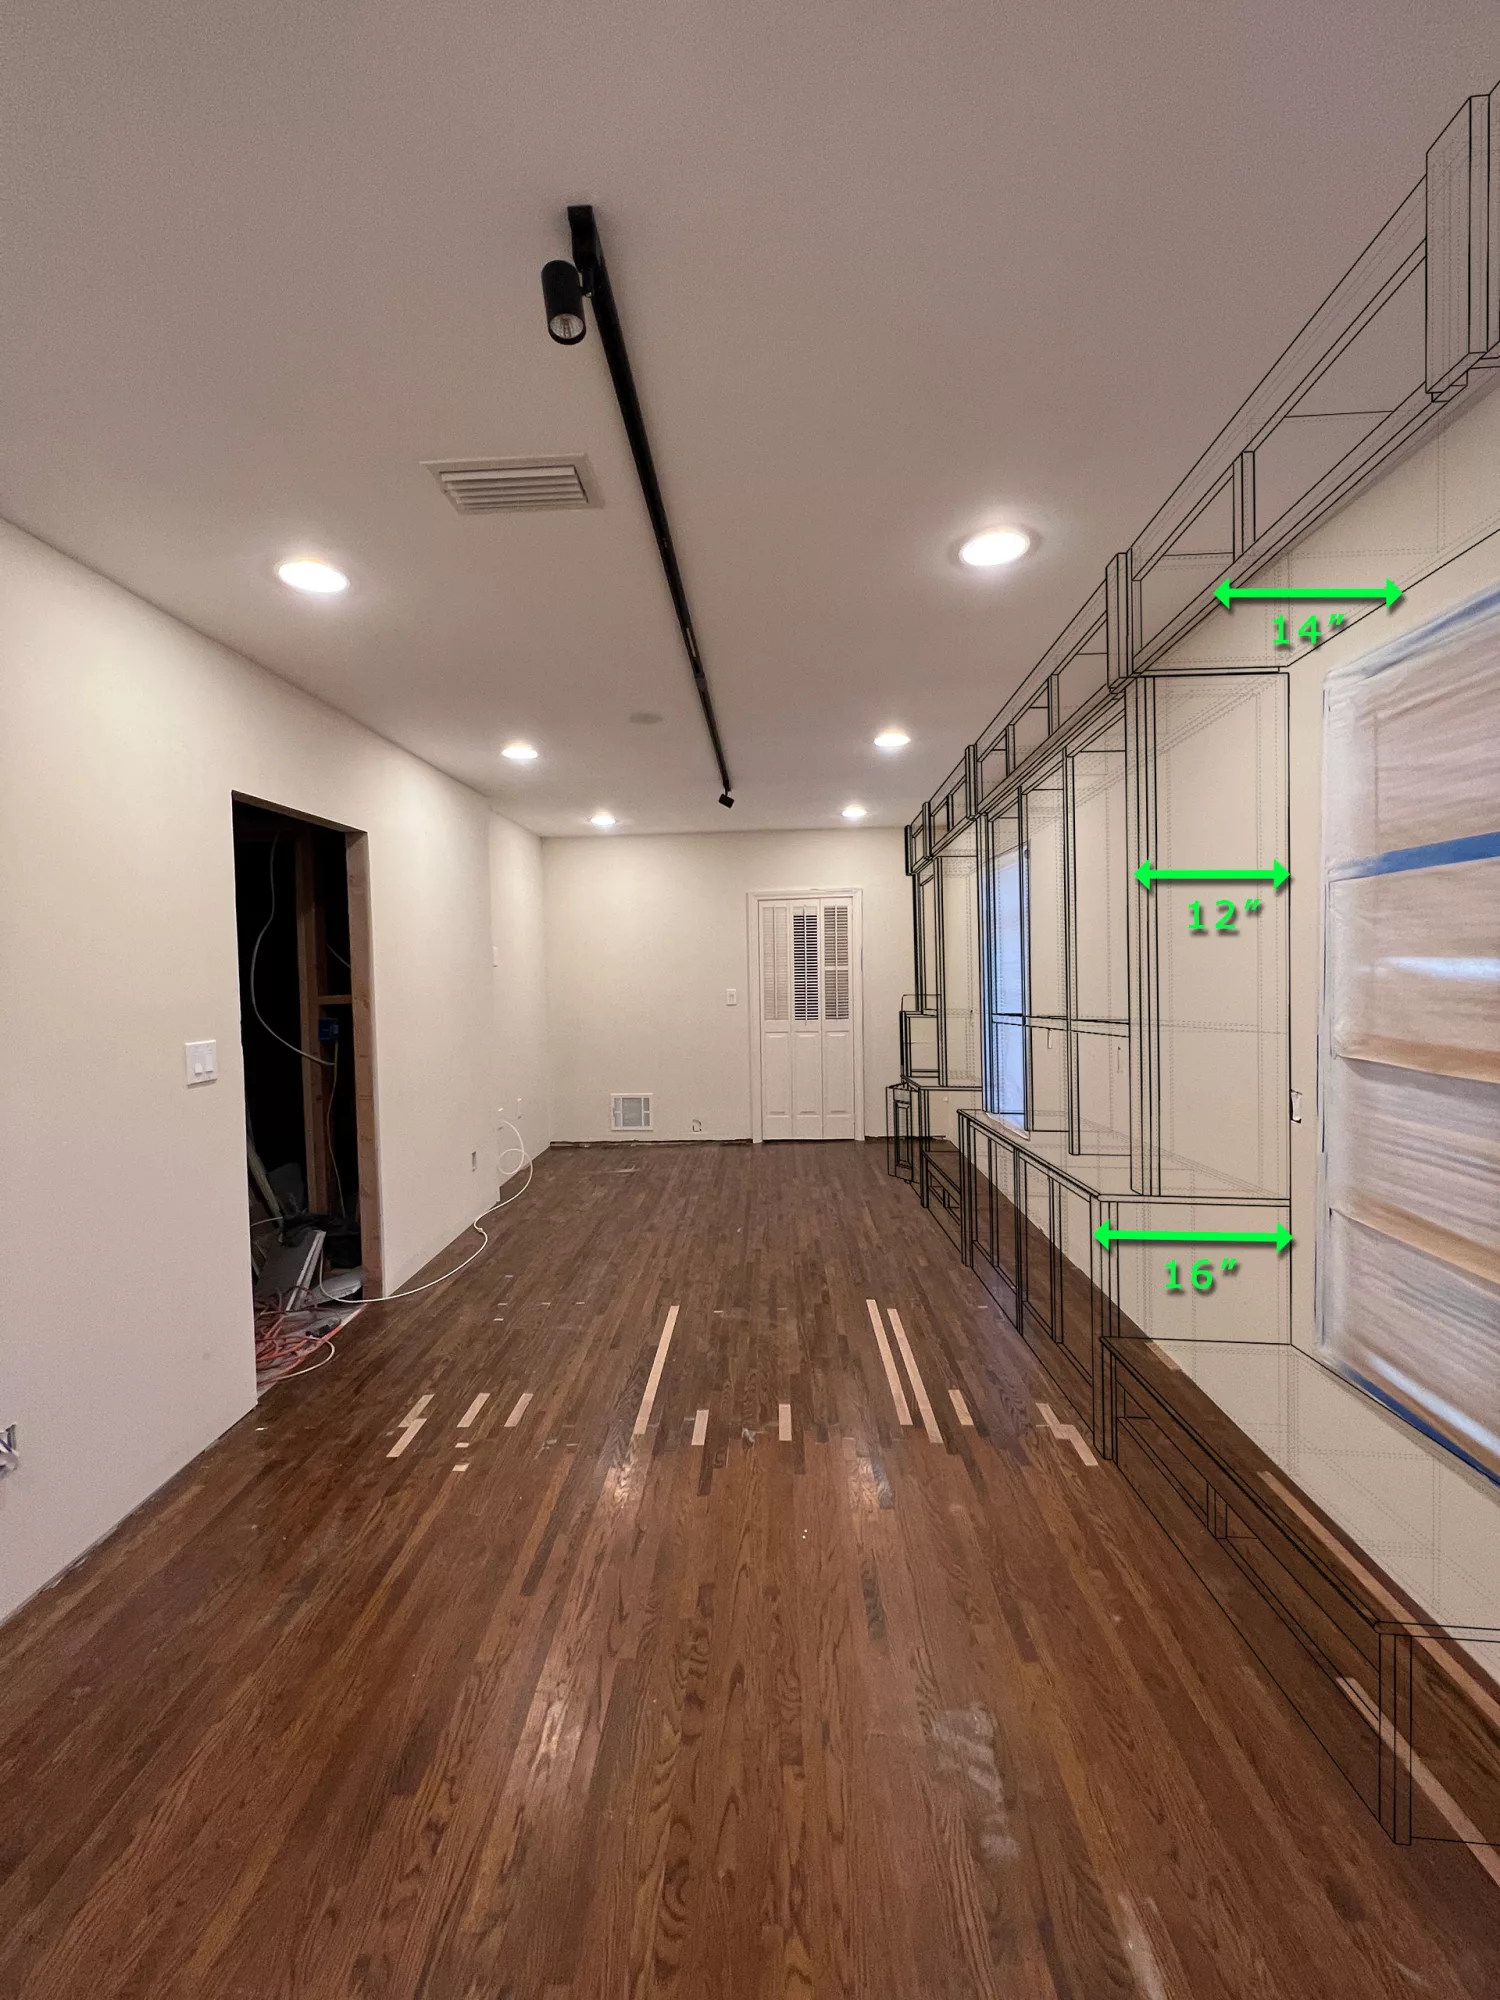
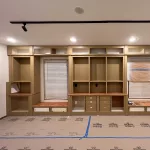
Since the cabinets are designed to be used as library bookshelves, the depth of them should be shallower than the standard kitchen cabinets, which are usually 24″ deep for the lower ones. I designed the cabinets in three tiers:
- 16″ deep for lower cabinets, to be used as book & gears’ storage
- 12″ deep for middle cabinets, to be used as book only
- 14″ deep for upper cabinets, to be used as low-frequency supplies storage
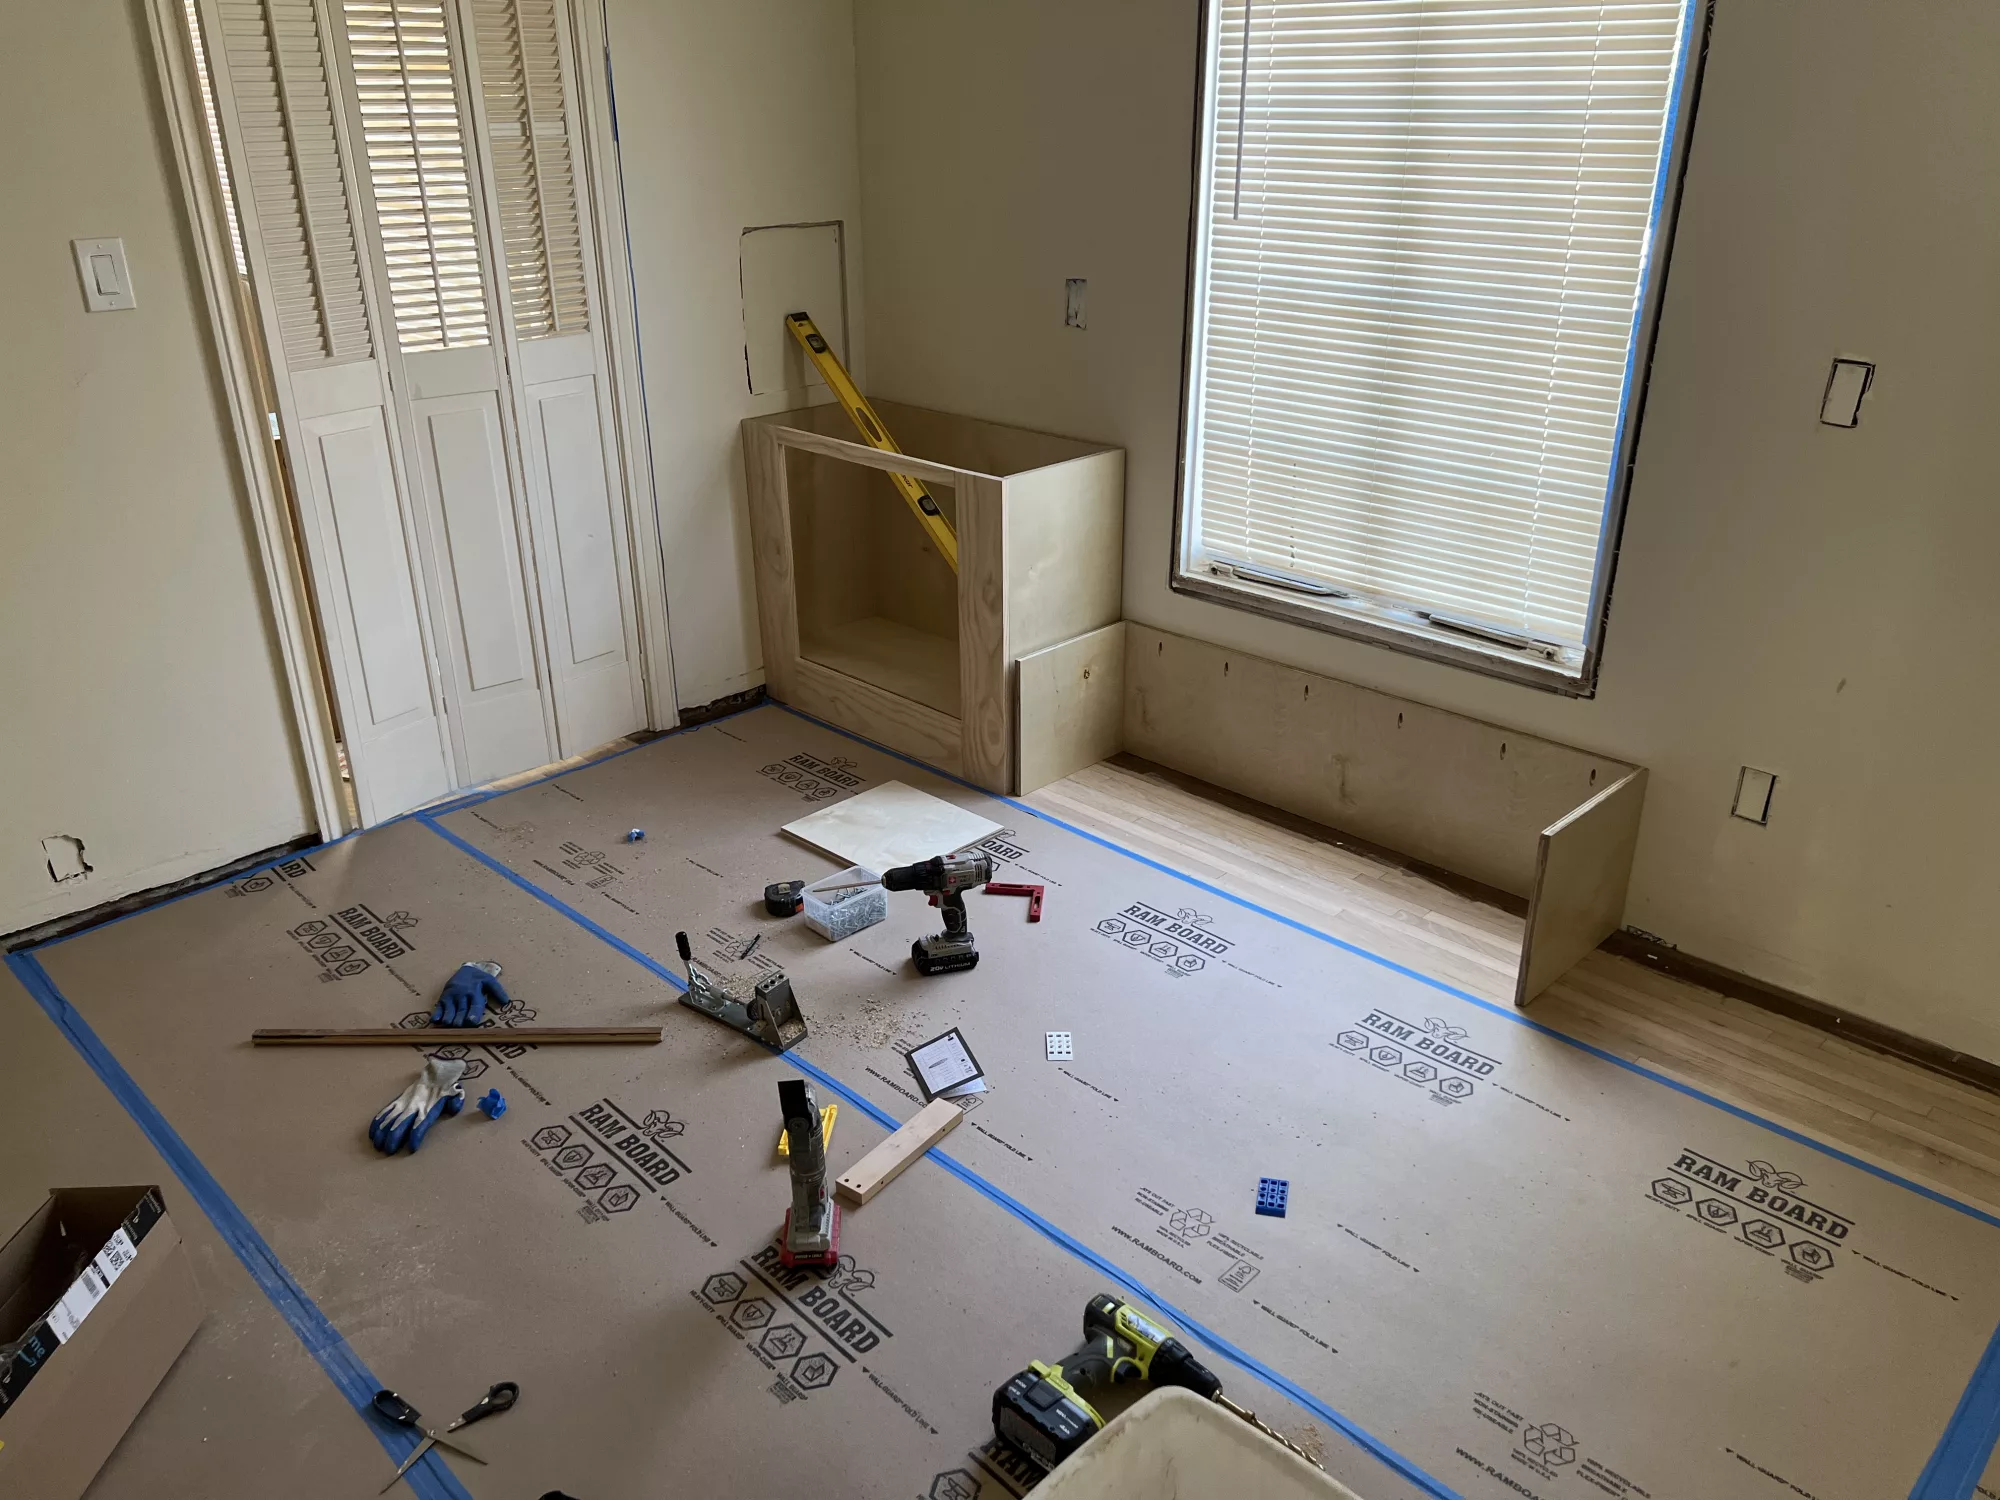
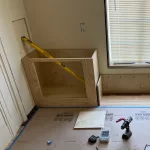
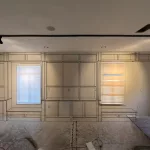
After electrical work, drywall installation, sanding, painting, hardware wood floor installation, sanding and finishing, the library room was finally getting ready to receive the bookshelves. I first pre-built the cabinet boxes using new and old plywood. That’s why you can see color variance among the images below. The old plywood was recycled from the demolishing of the old rooms. A lot of them were in very good shape, totally meeting the requirements of the material for cabinets inner structure. Frankly speaking, this is one of my favorite parts of the DIY projects — saving a lot of money and the environment!
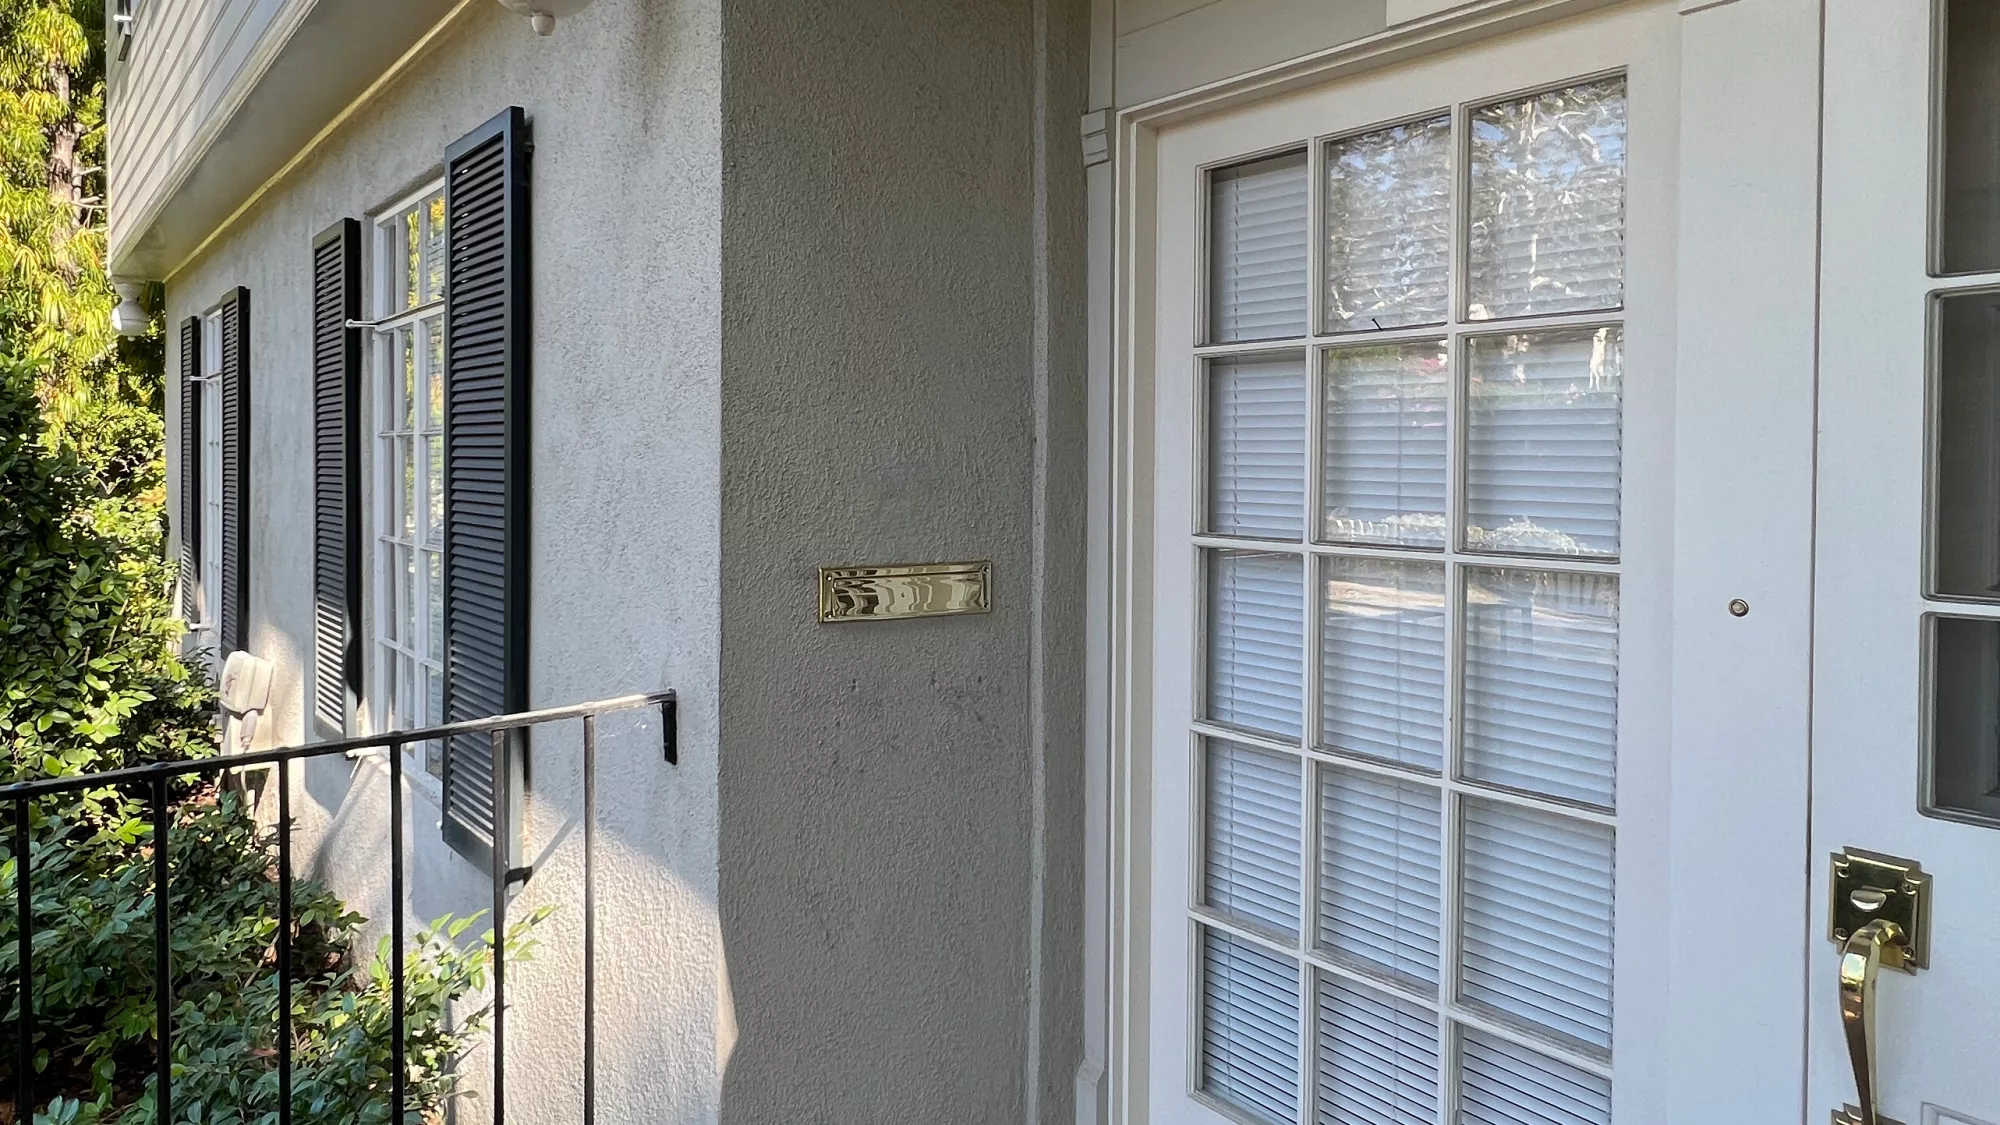
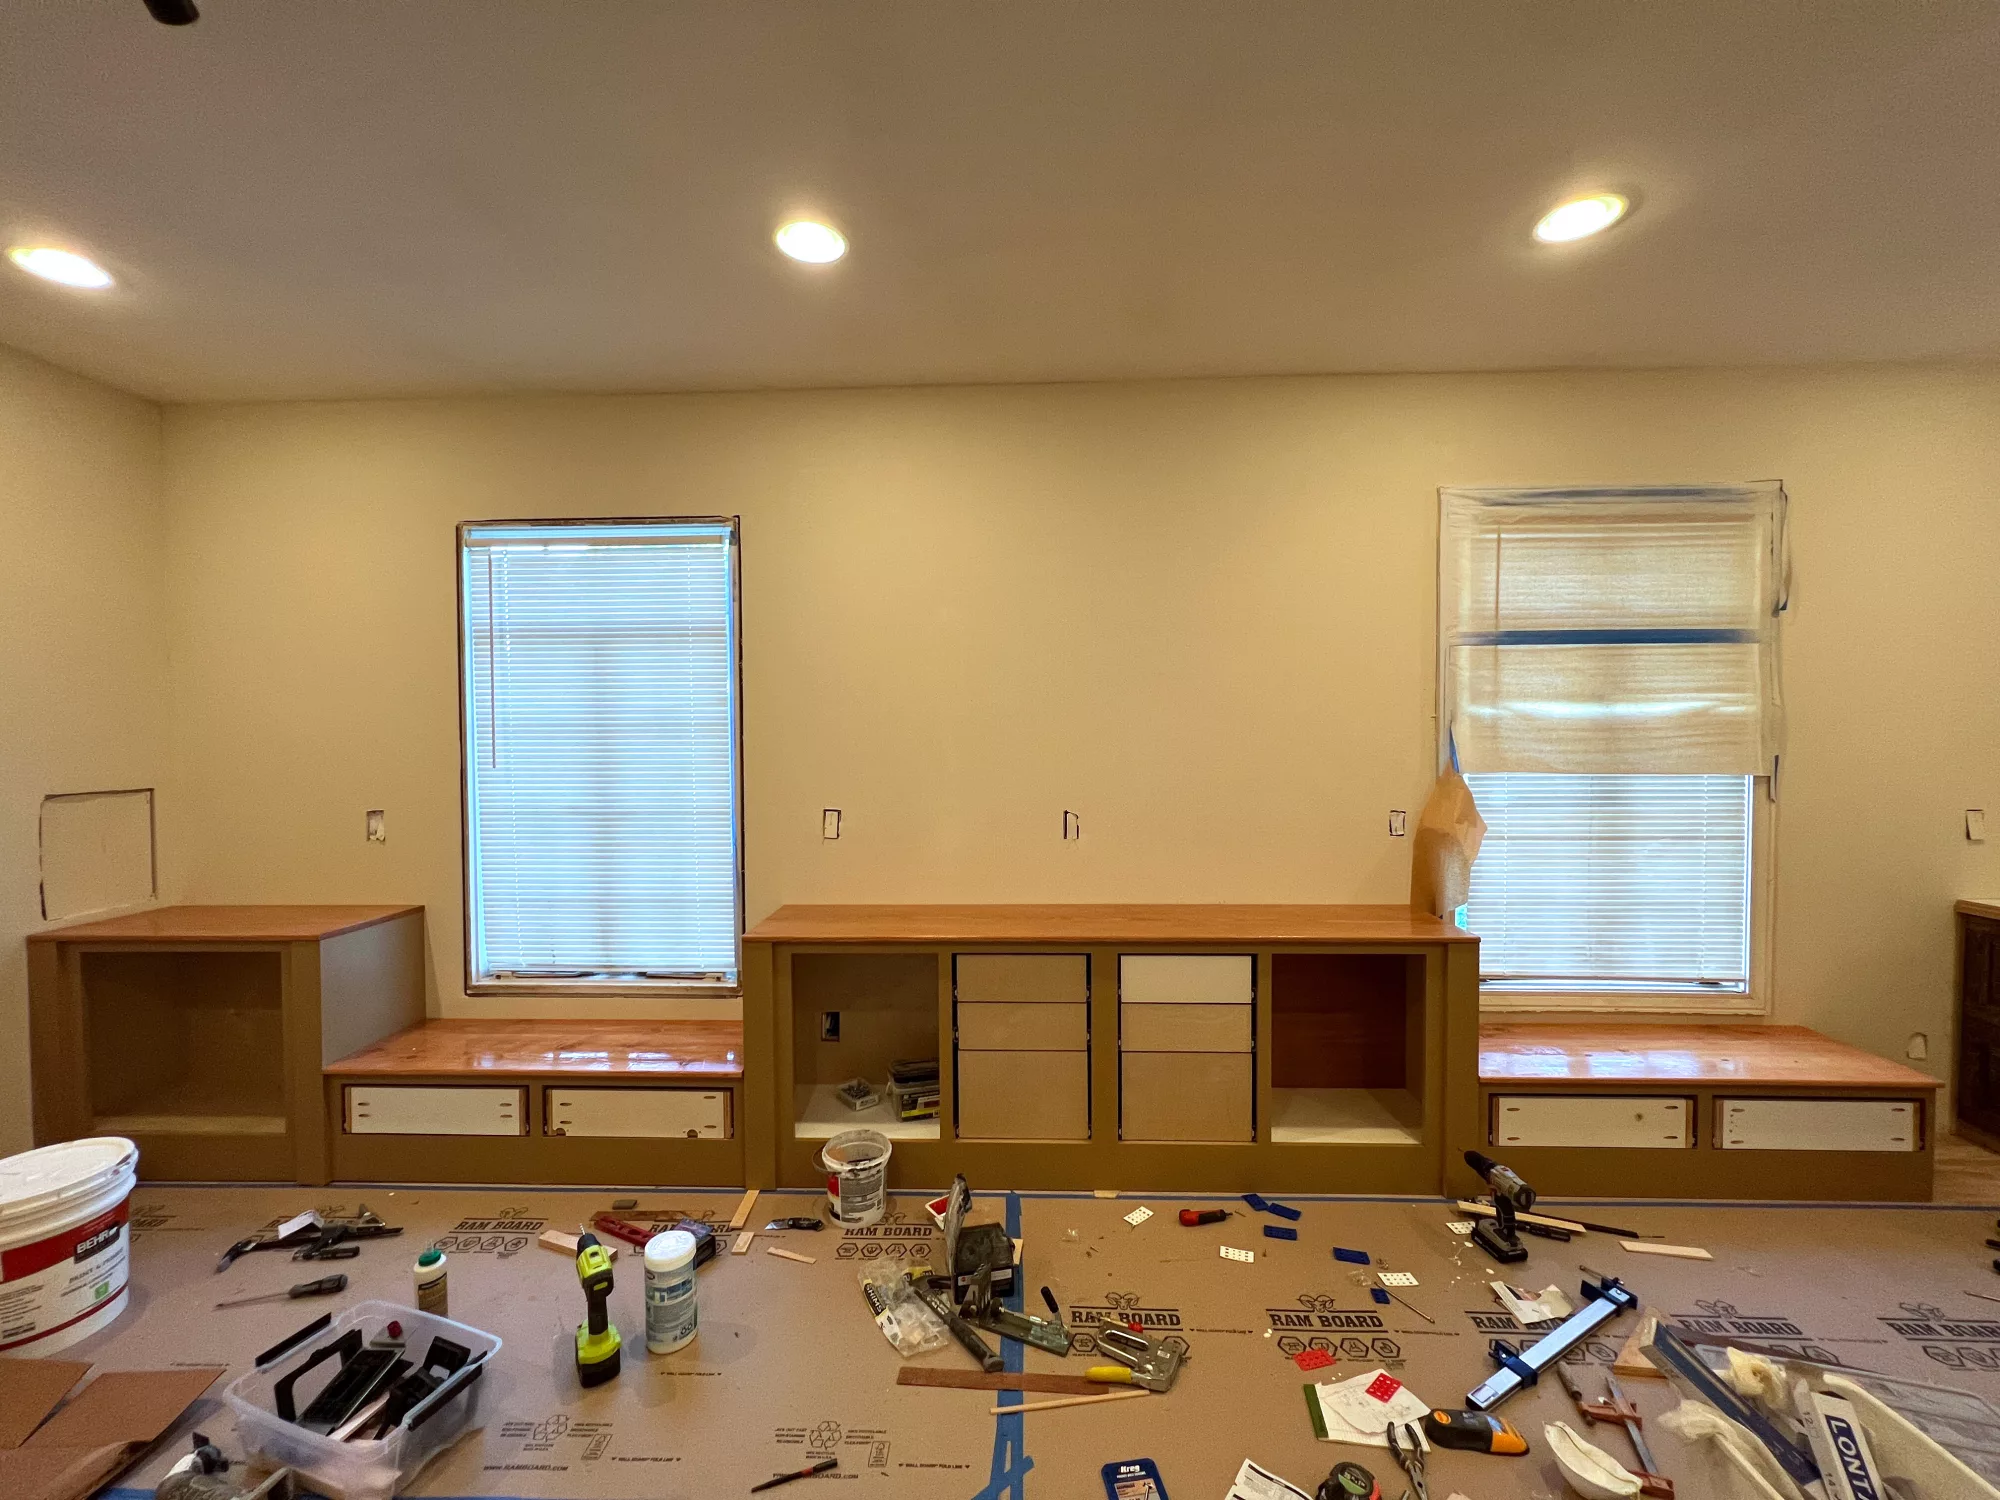
If you take a closer look at the above image, there is a drywall cut-out above the first lower cabinet. This is for the mailbox. I’m planning to integrate the mailbox into the bookshelf. Mail will be delivered through a slot that has already been mounted on the other side of the wall, which is exterior.
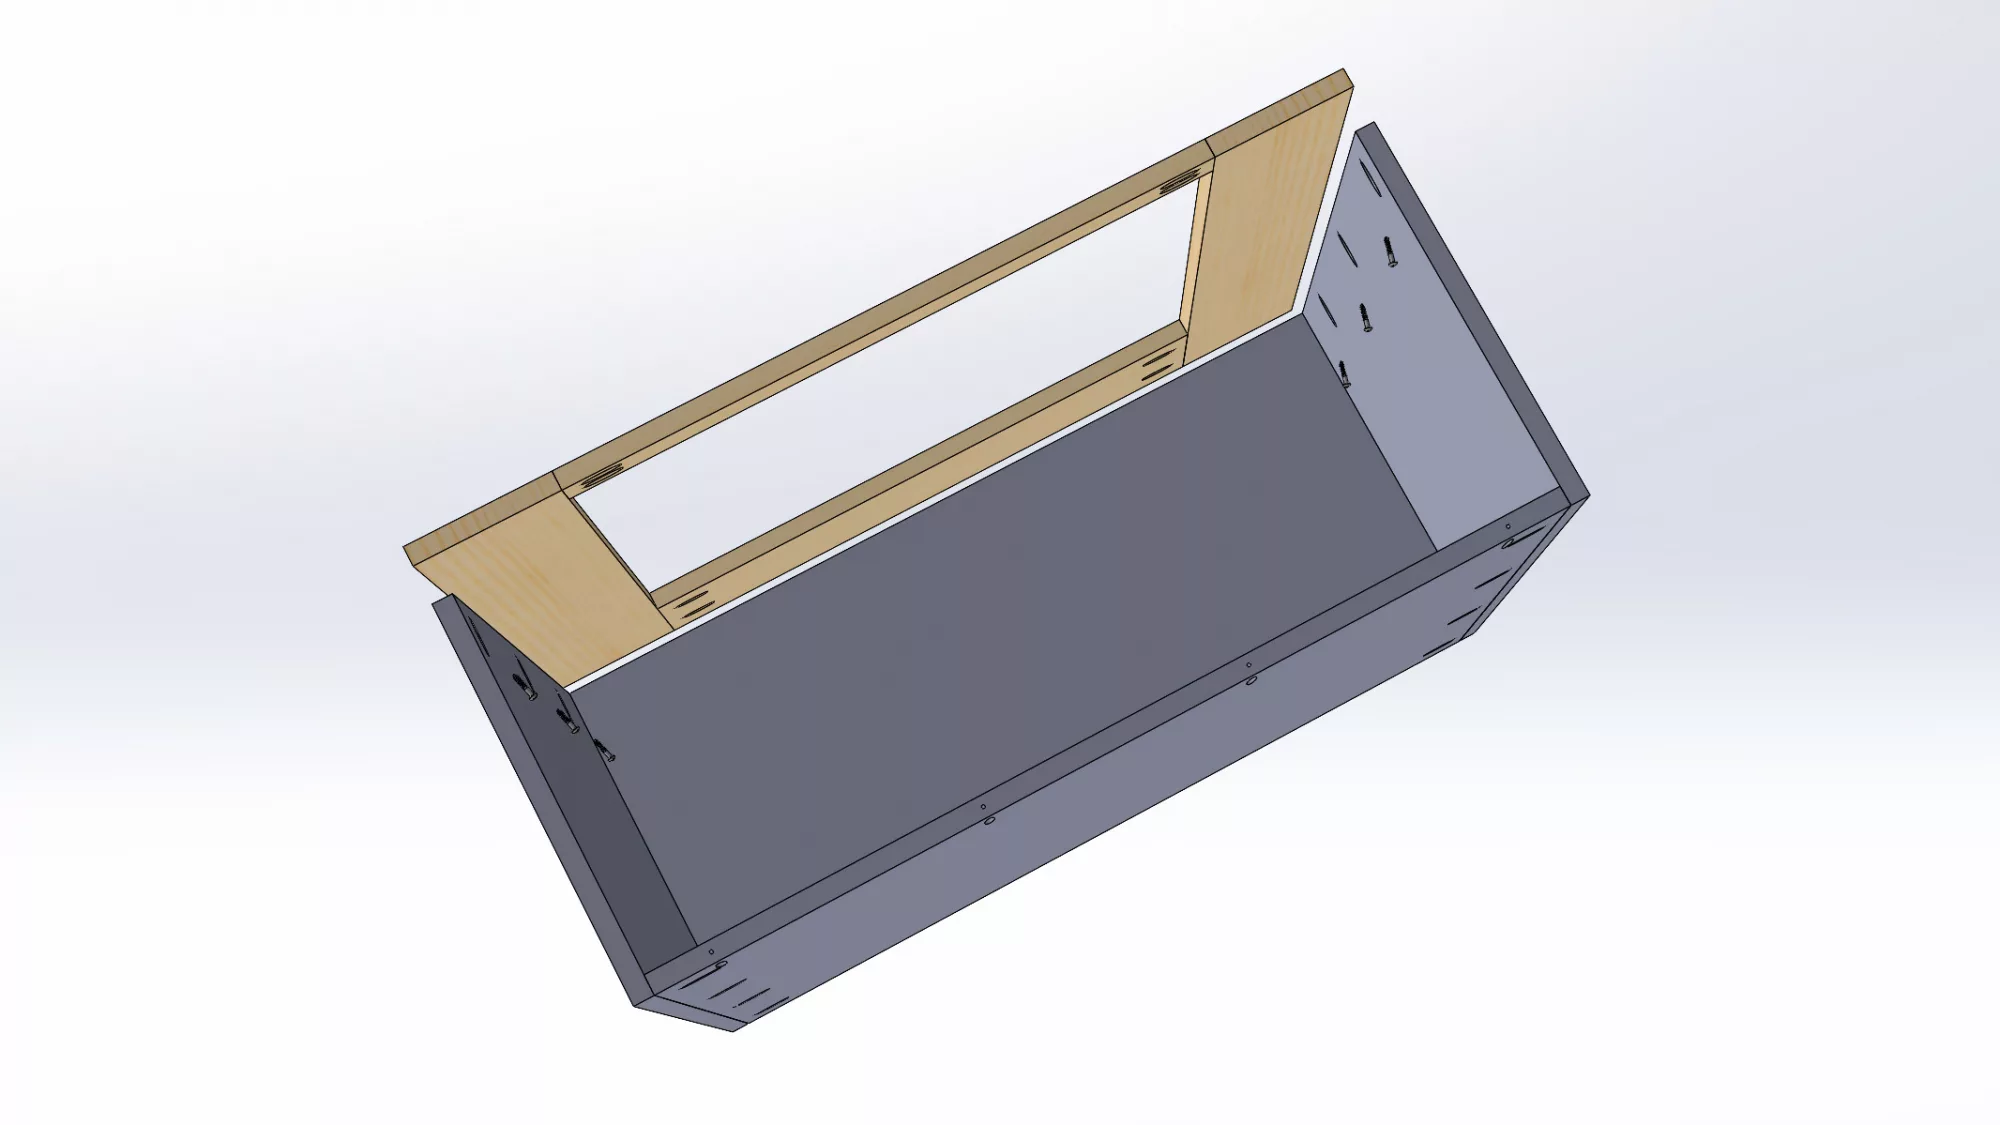
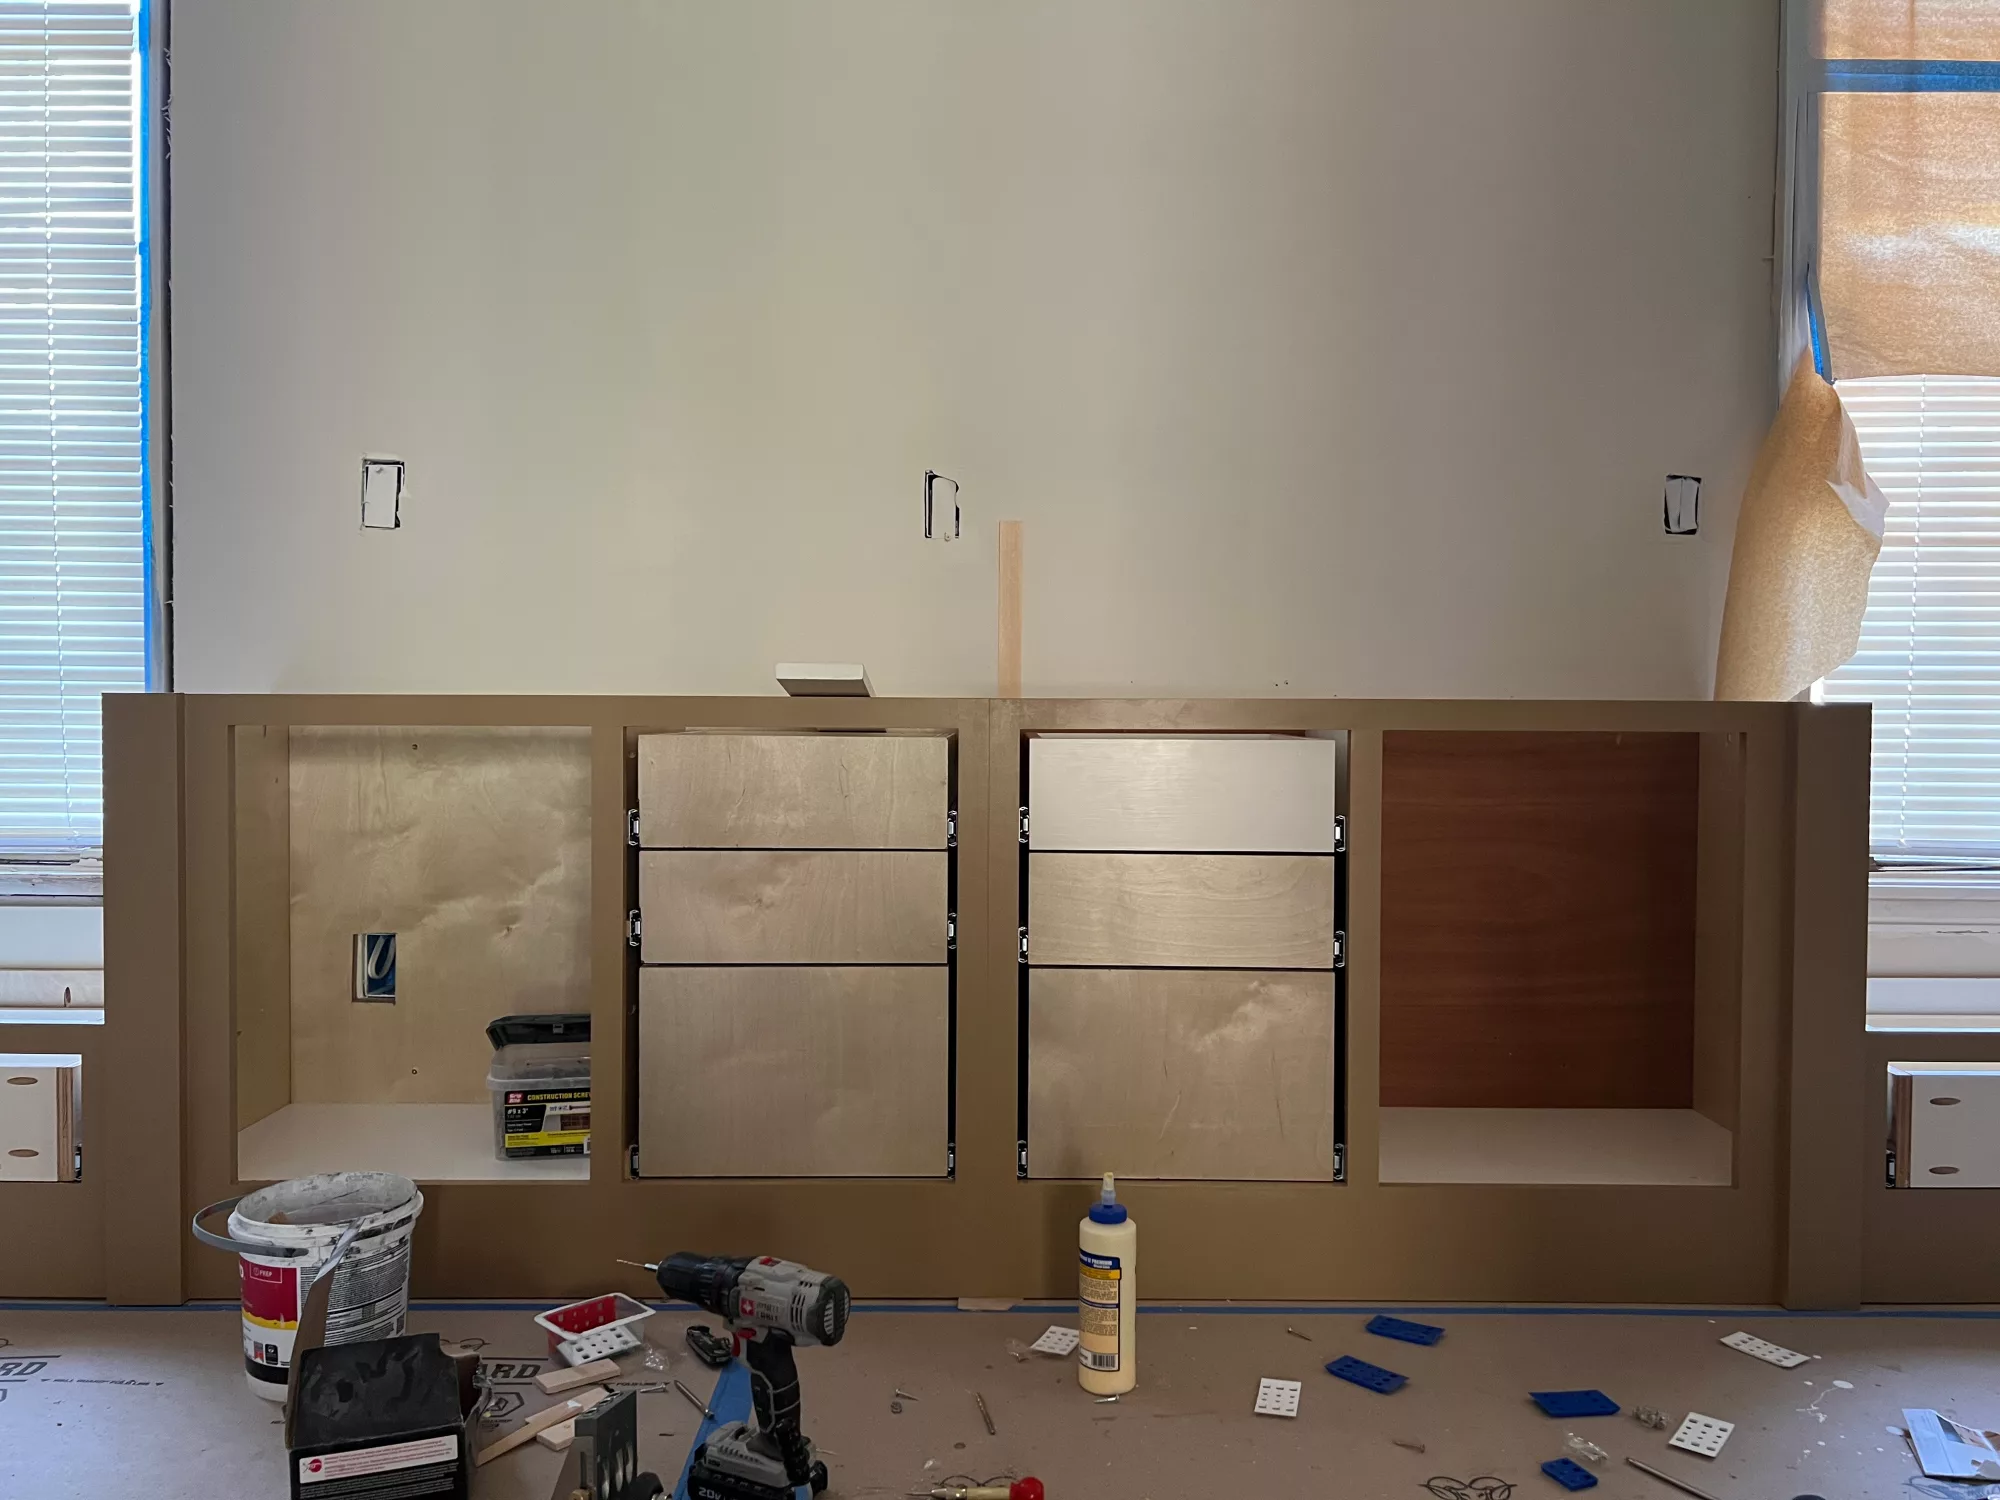
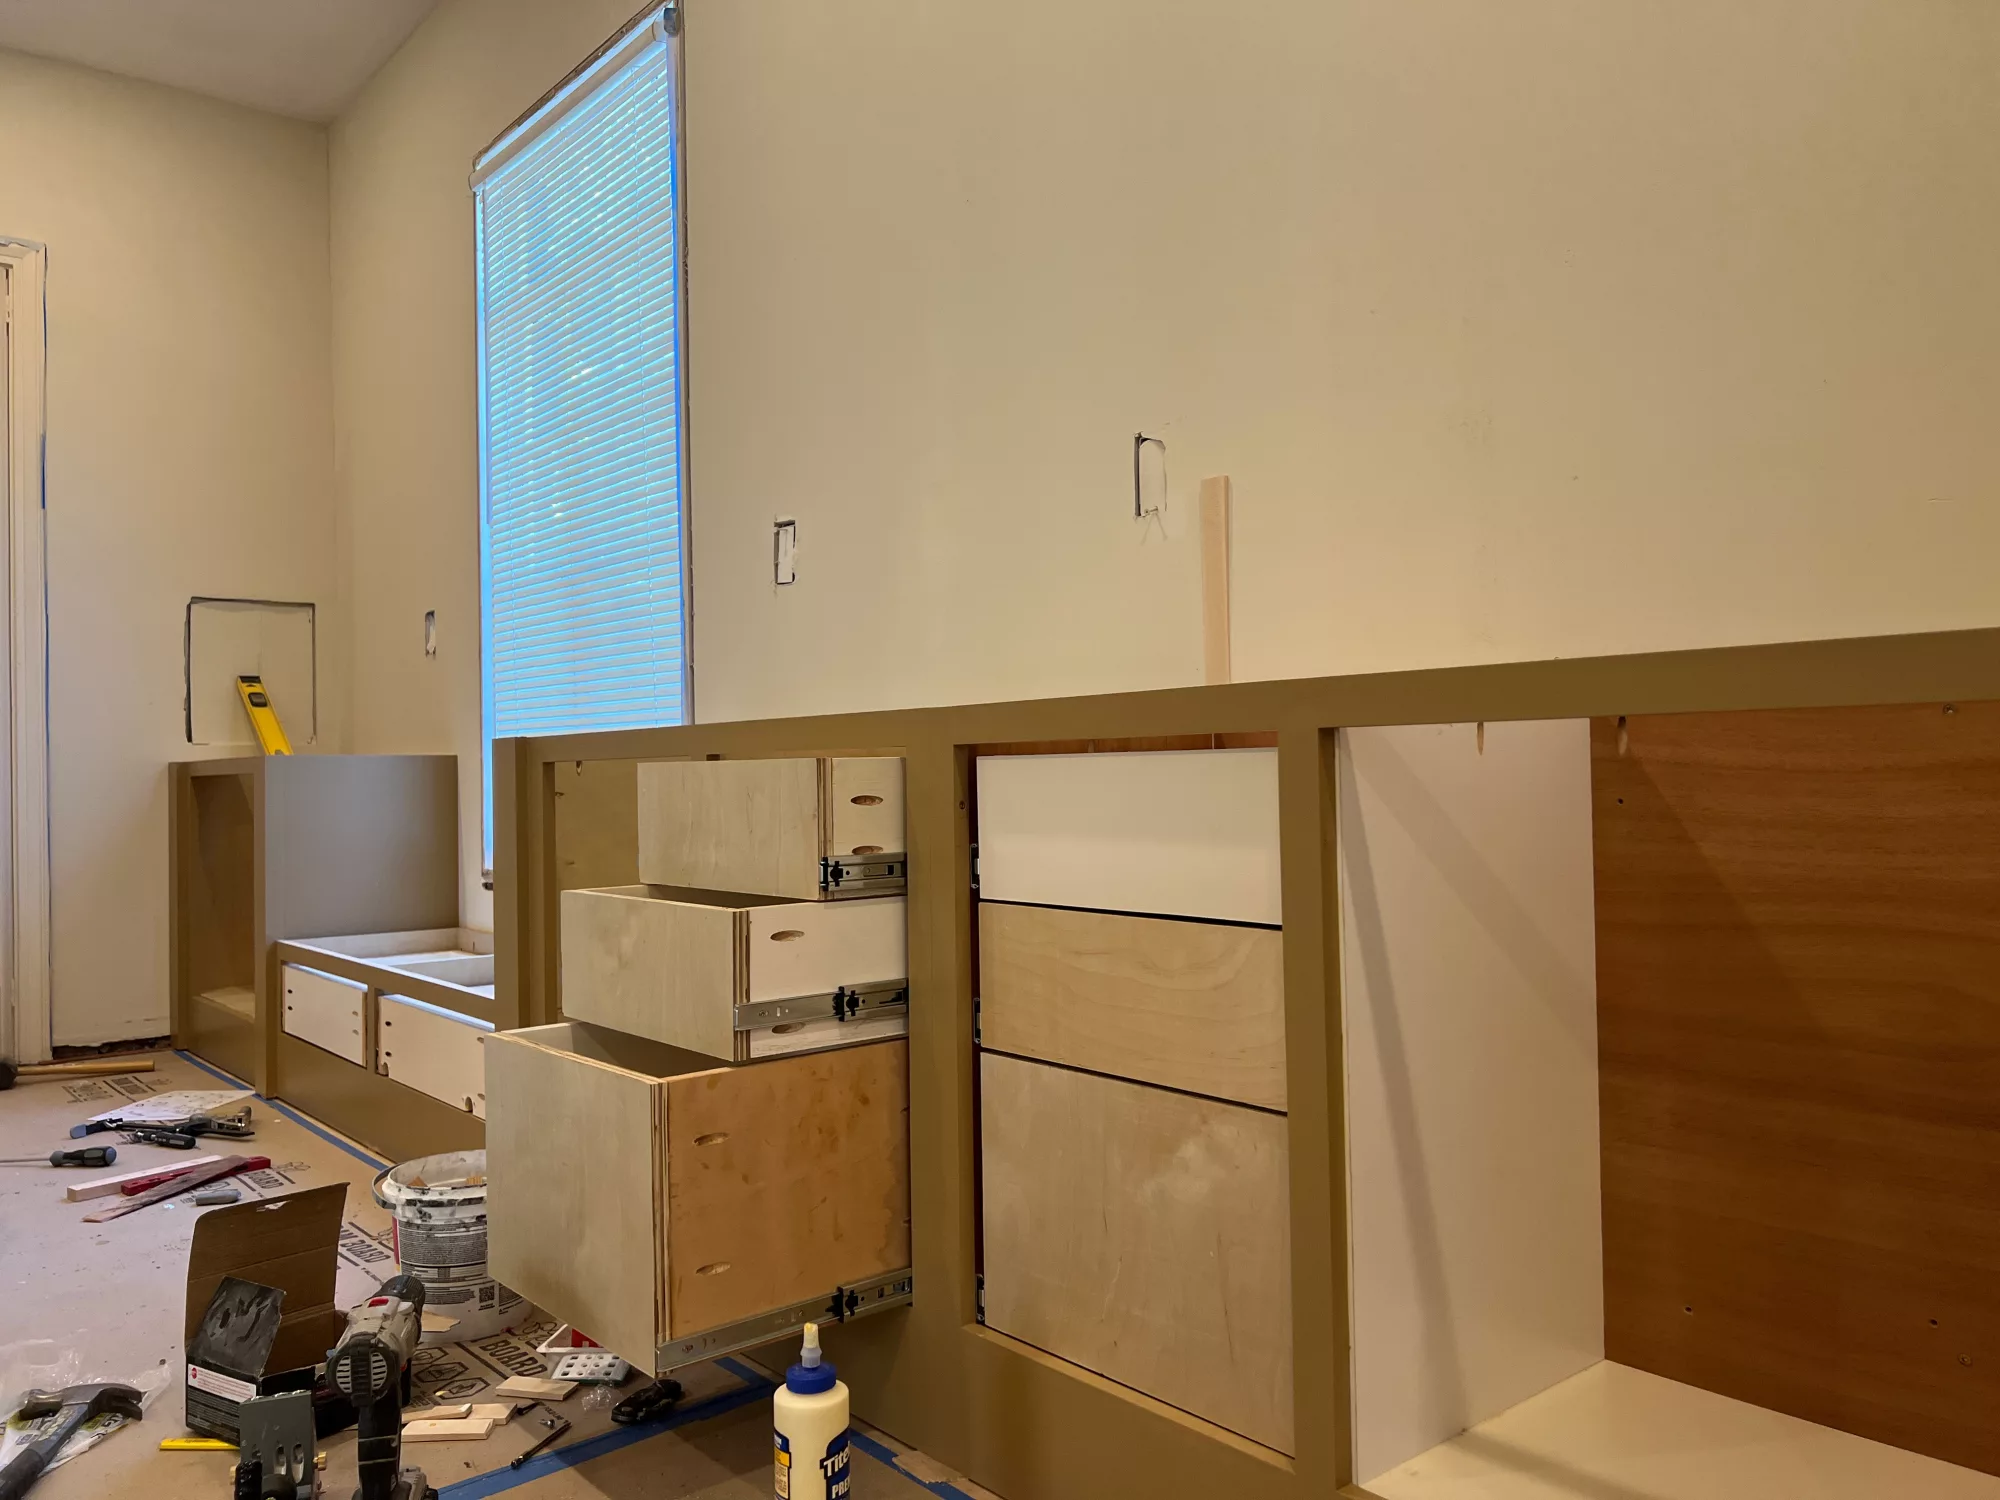
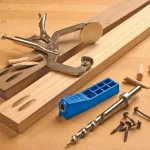
Once all the lower cabinet boxes were bolted down, I had the bookshelf approximation laid out. The next steps would be simply adding more and more stuffs on top of it. But first of all, I needed to give all the lower cabinets their “faces” — the face panels. As I mentioned in my first post, I used pine boards as the face panel material and the pocket hole method for construction. And again, pocket holes were drilled on the inside of the cabinet box to attach their face panels. Since they are on the inside, they are invisible from outside.
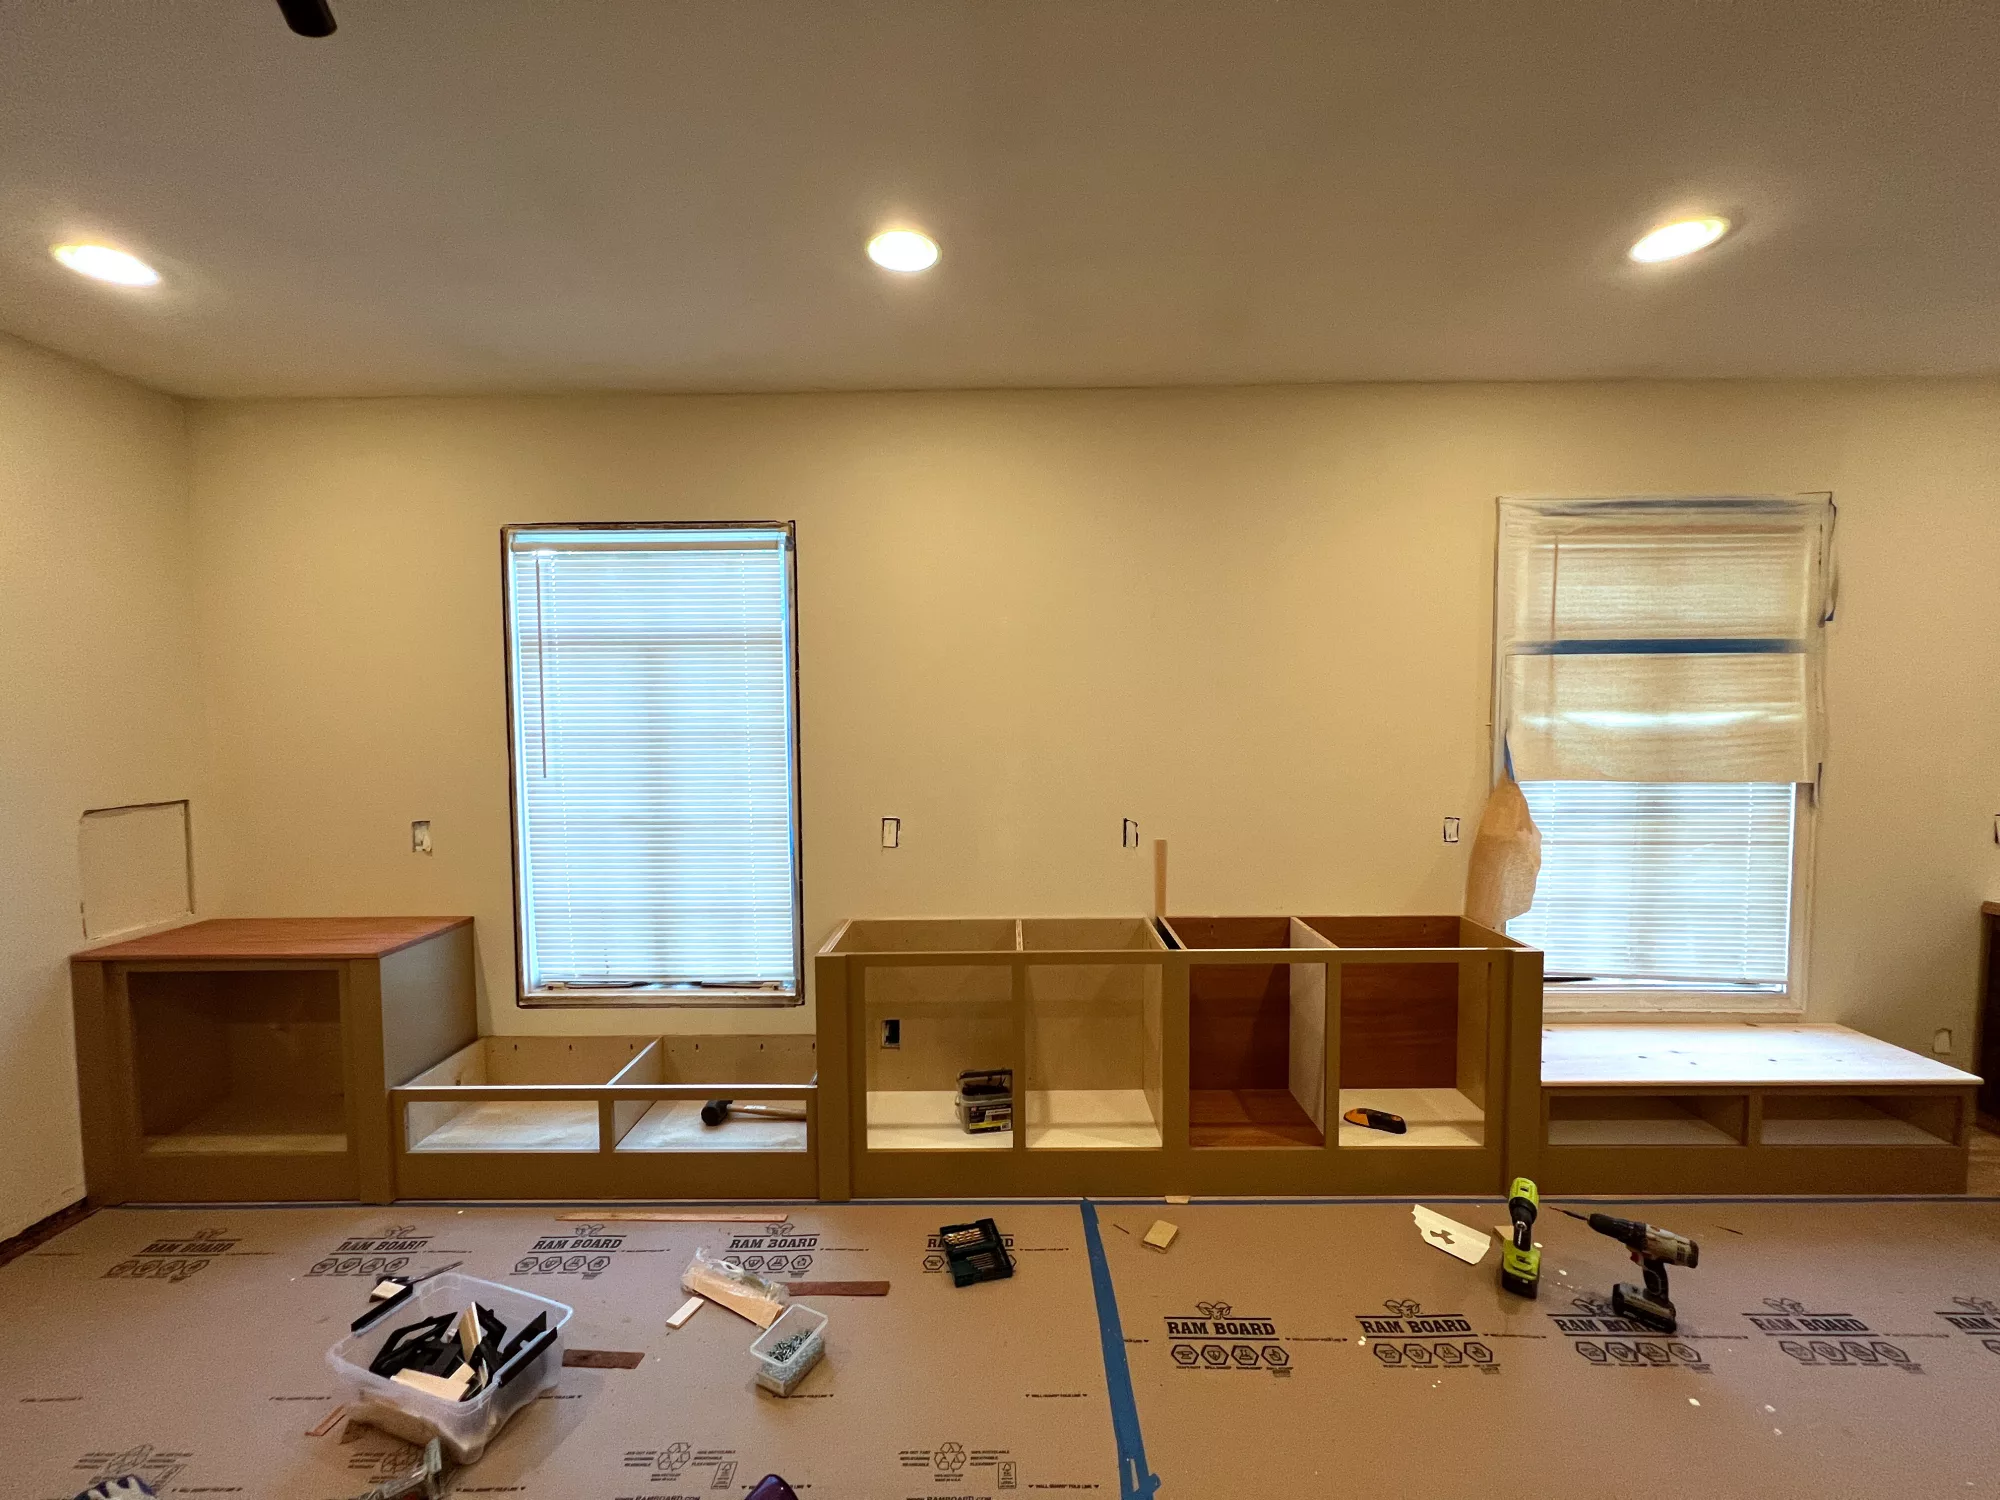
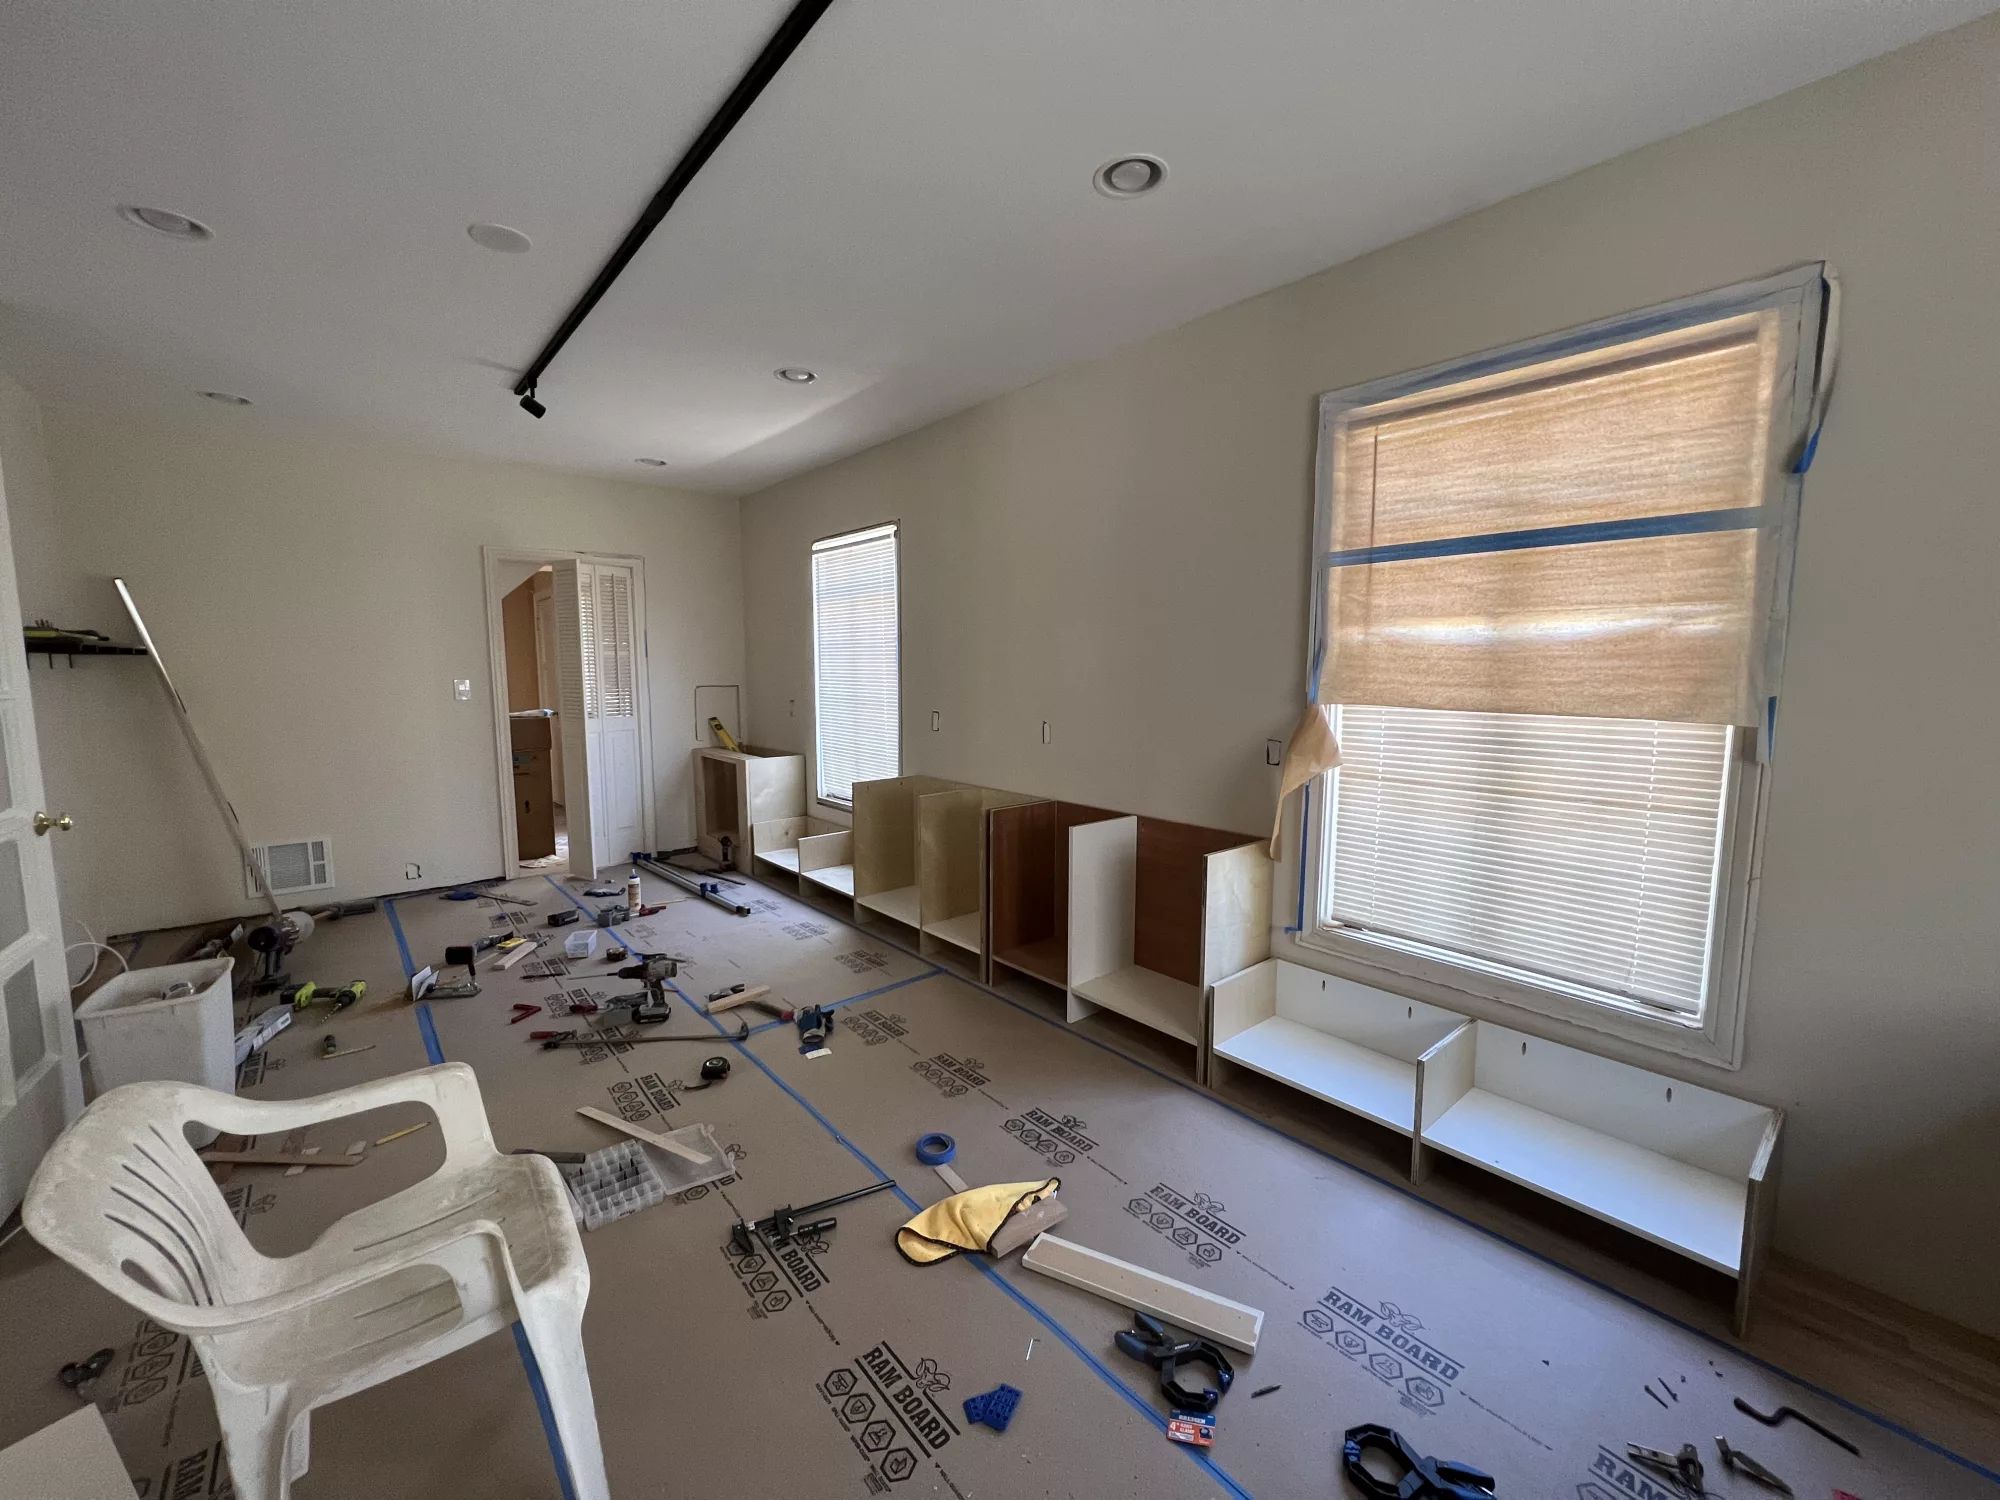
There were quite a few cutouts on the drywall, they were designed for the outlets through the bookshelves. It turned out be a great idea as you would never have too many outlets for the explosive amount of electronics — phone chargers, smart device, in-cabinet lighting to name a few.
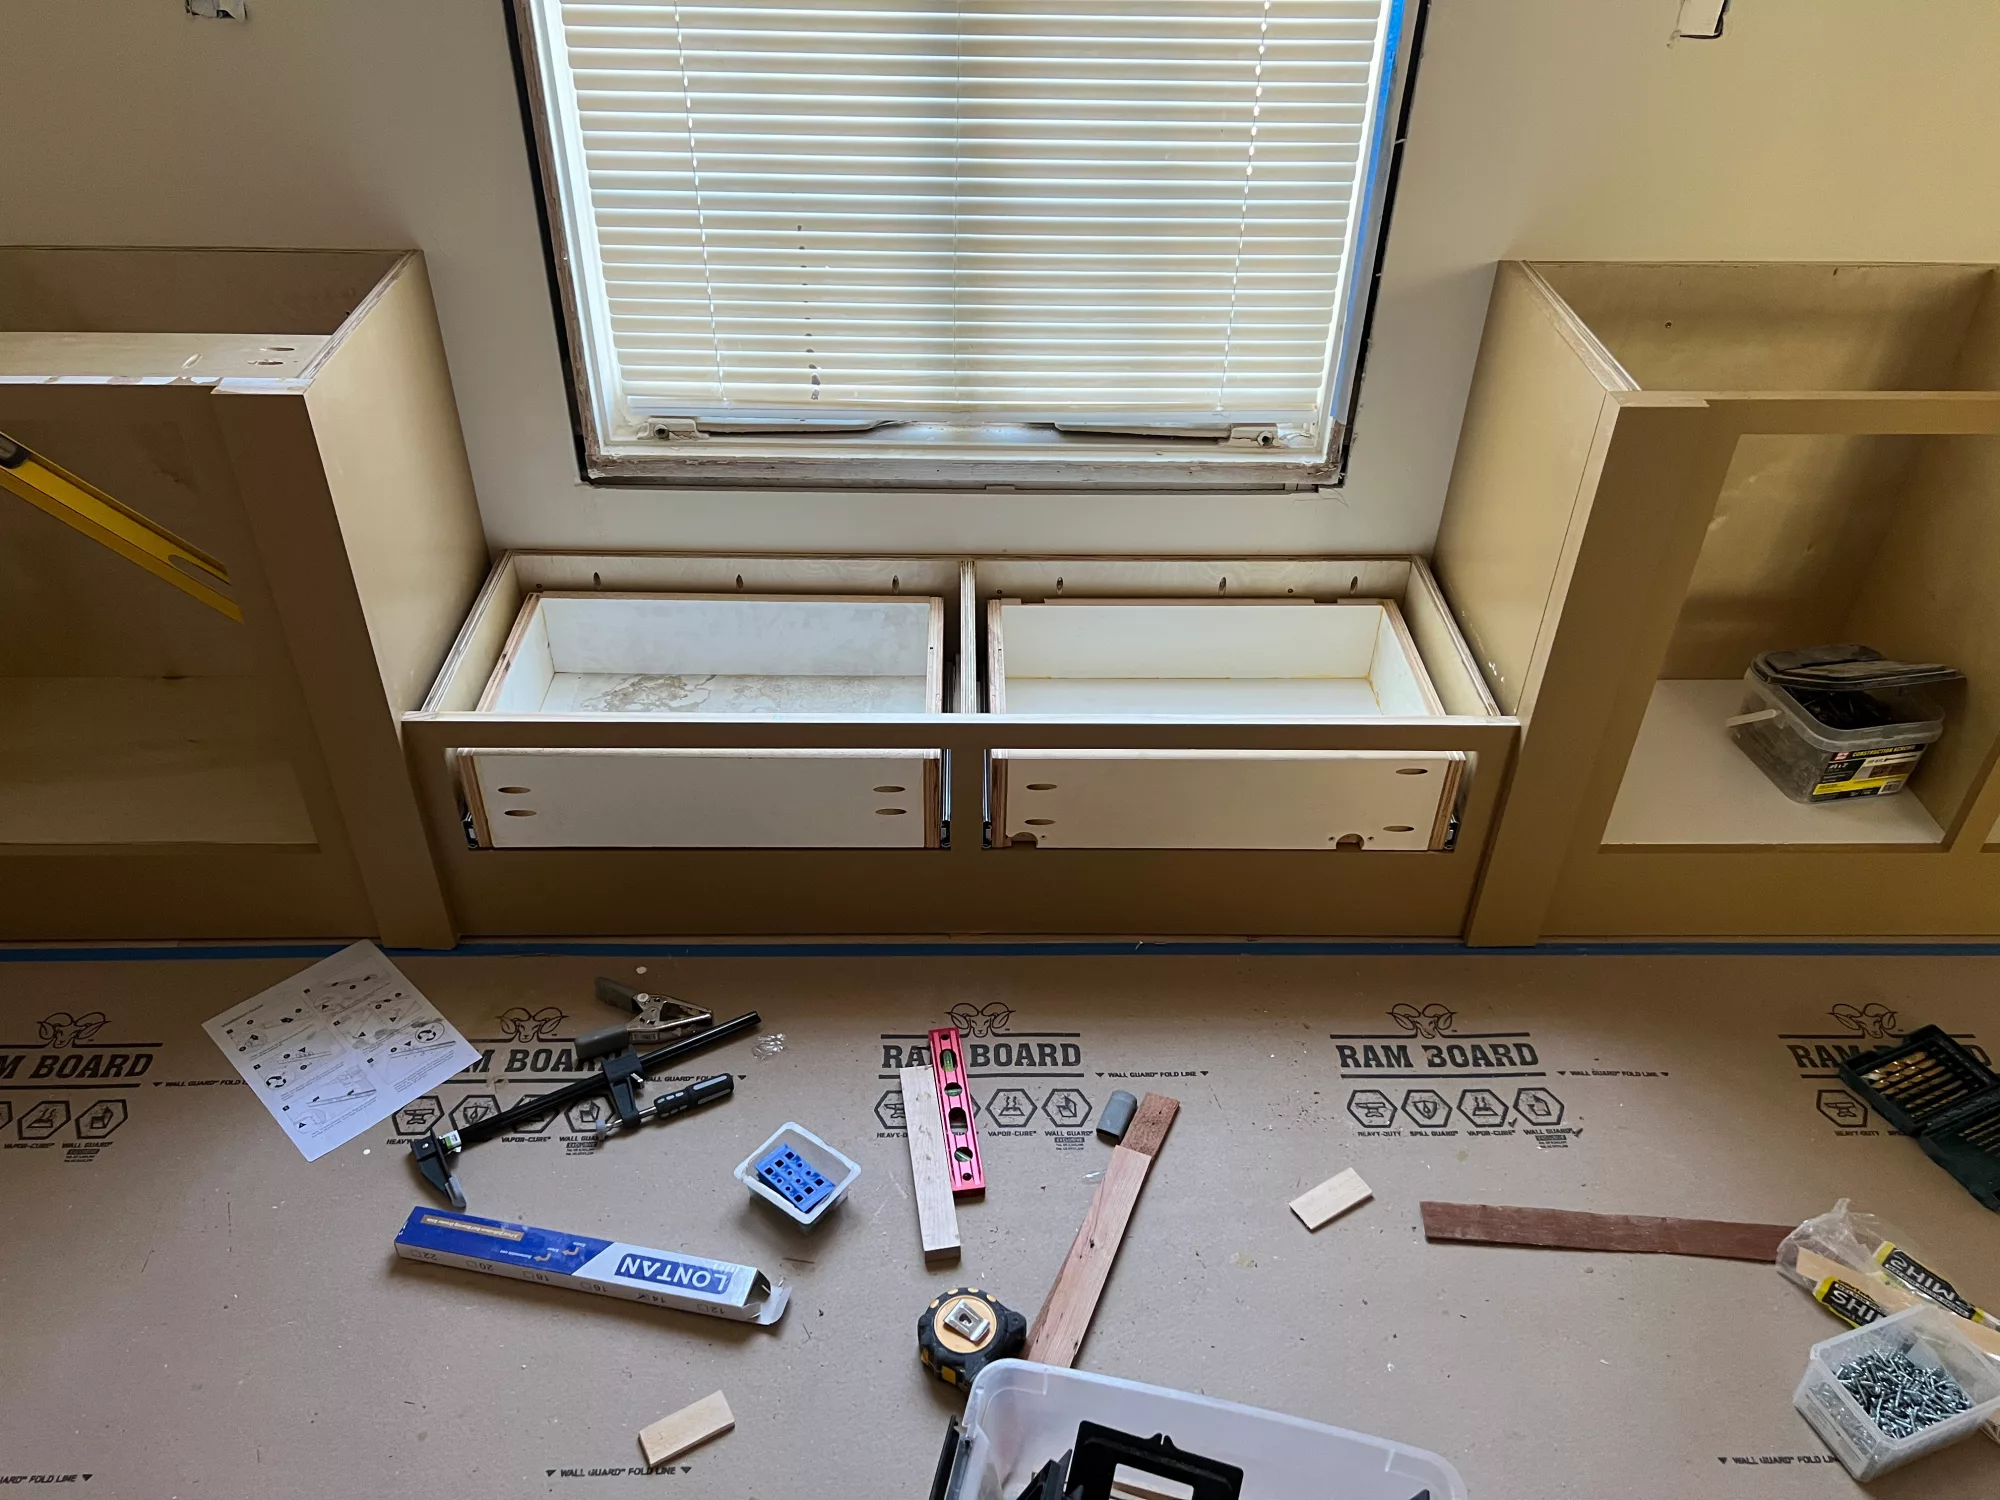
The cabinets below the windows were designed for the window seats. The space underneath the seat was very tight, only enough for low profile drawers. The drawer boxes were constructed using the same pocket hole methods. Leaving the holes visible in the front was ok because the front side would eventually be covered by a decorative door panel.
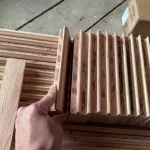
The Home depot doesn’t carry any boards wider than 12″. In order to prepare for the 17″ bench top (bench top was slightly wider than the cabinet box), I had to connect two pieces together in parallel. Again, I used the pocket hole method to connect them side by side and it worked very well. Cheaper hobby board was used to make the seat bench because it will eventually be covered by the seat cushion. More expensive oak board was used to form the higher bench work to show off its beautiful grains.

Related posts:
Leave a Reply