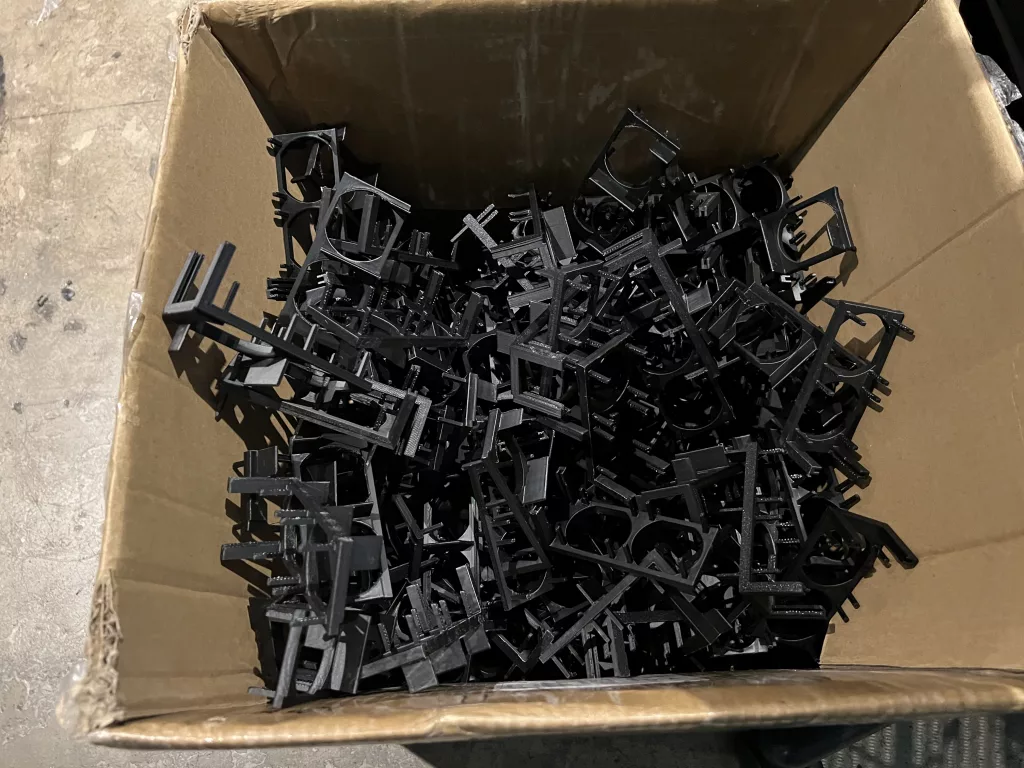
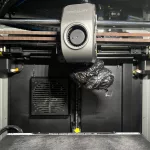
If you are also a 3D printing enthusiast like me, the scene below is probably not new to you. It is truly frustrating to see your print ended up in a mess of spaghetti, especially after long hours of anxious waiting.
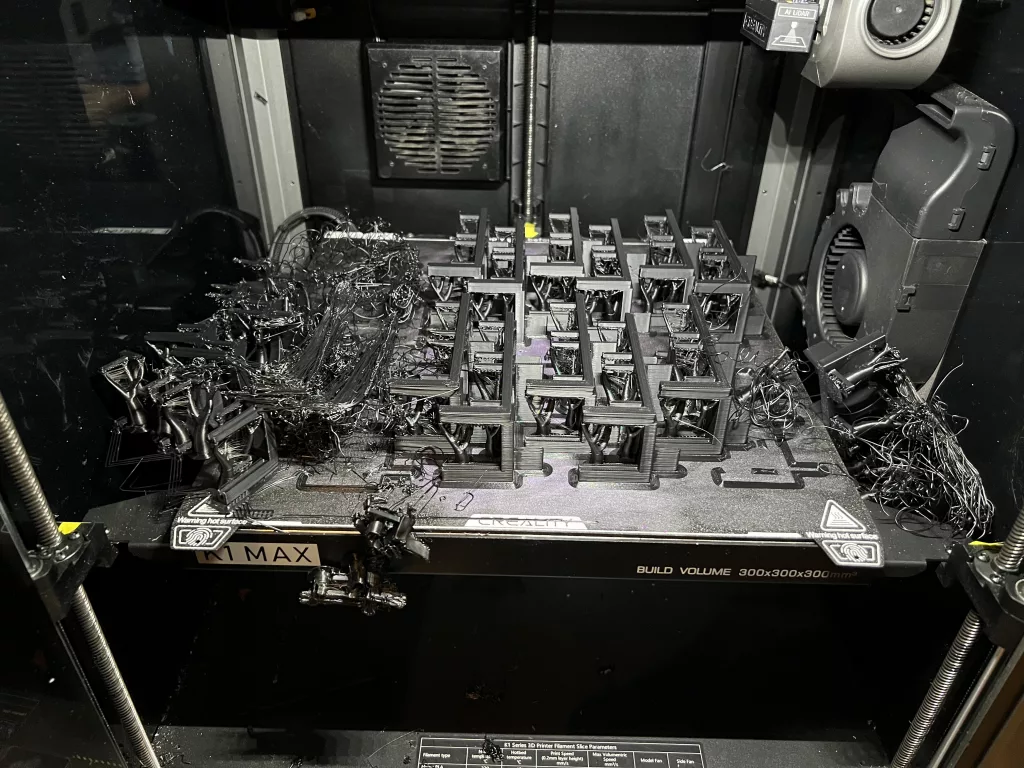
Most of the print failures are caused by one issue: the print doesn’t stick to the build bed. Here are 5 effective tips to make your 3d print stick to the bed better, and eventually to improve your 3d print success rate.
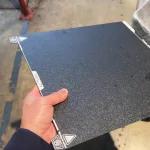
Tip 1: Use Textured Surface Plate
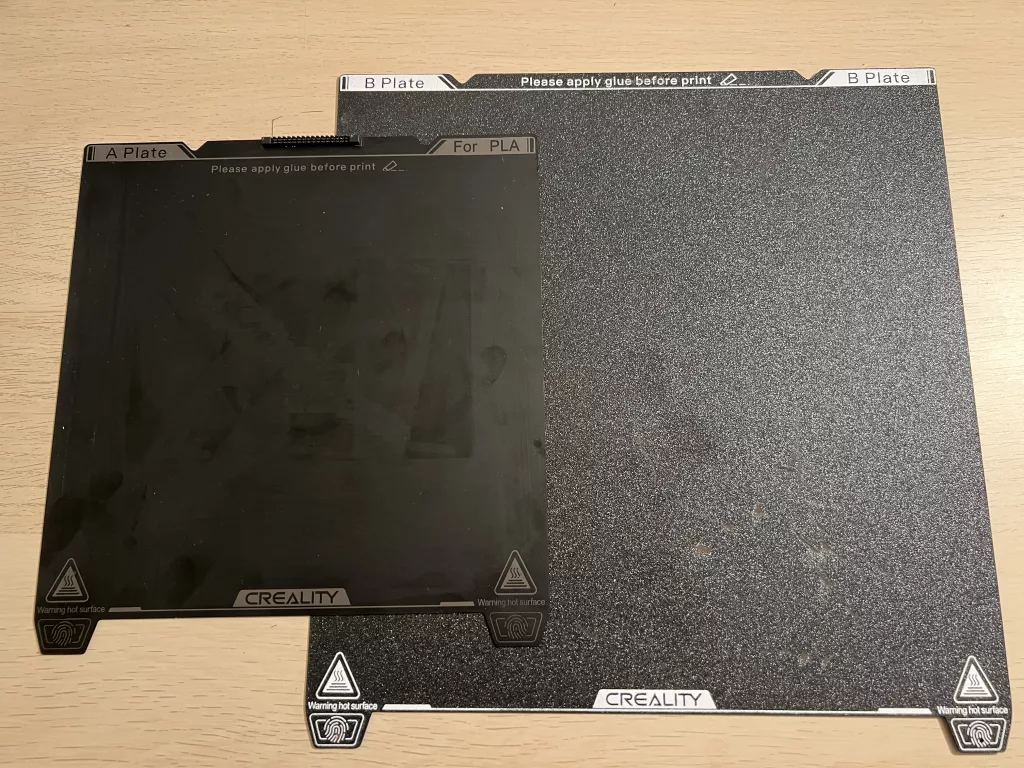
The sandblasted texture has a lot of micro grooves and bumps that help grip the bottom of your print more firmly than the smooth surface. Although the smooth surface often delivers fair results, the texture surface stands out for bigger print jobs that usually take very long time. I guess the smooth surface eventually loses its attraction after hours of shaking and vibration.
Tip 2: Apply glue to the surface

I’ve tried various methods to improve the bed adhesion: spray paint, acrylic paint, painter’s tape to name a few. But none stands out beyond the glue sticks. They are very available, budget friendly and easy to apply. Most importantly, they just WORK! Simply apply the glue on the build bed before the job, and your print will stay on it like a ROCK!
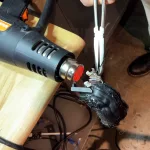
Tip 3: Clean your plate before printing
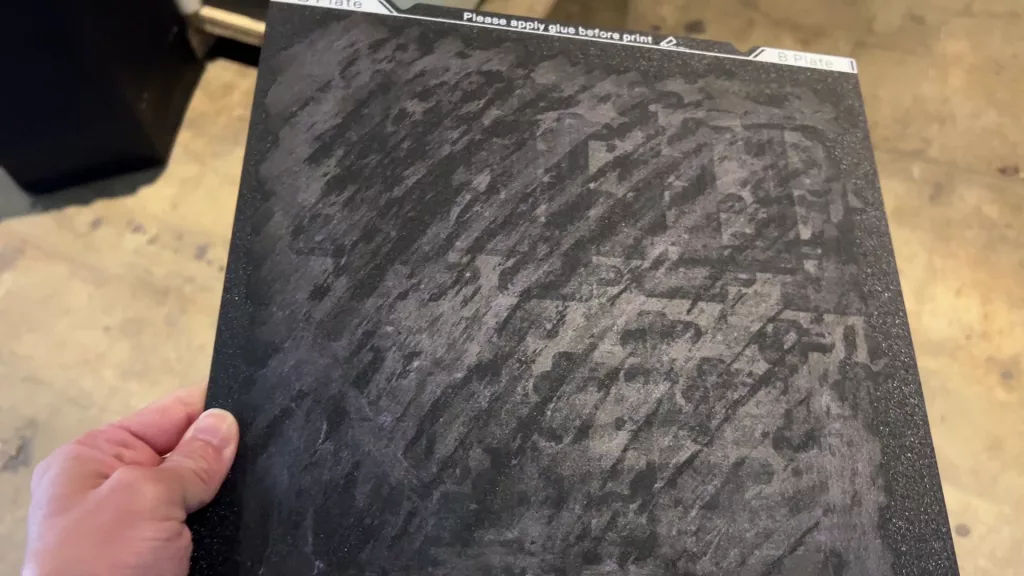
When people talk about painting (not printing), it is always recommended that a light sand of the surface to be performed at first, and a thorough cleanup to remove any greases or dust is necessary. Why? Because a clean surface will yield a better adhesion. This also applies to the 3d printing! Completely rinse the build bed with water to remove any residual, including the old glue you applied for your last job. I promise you the clean plate will never disappoint you.
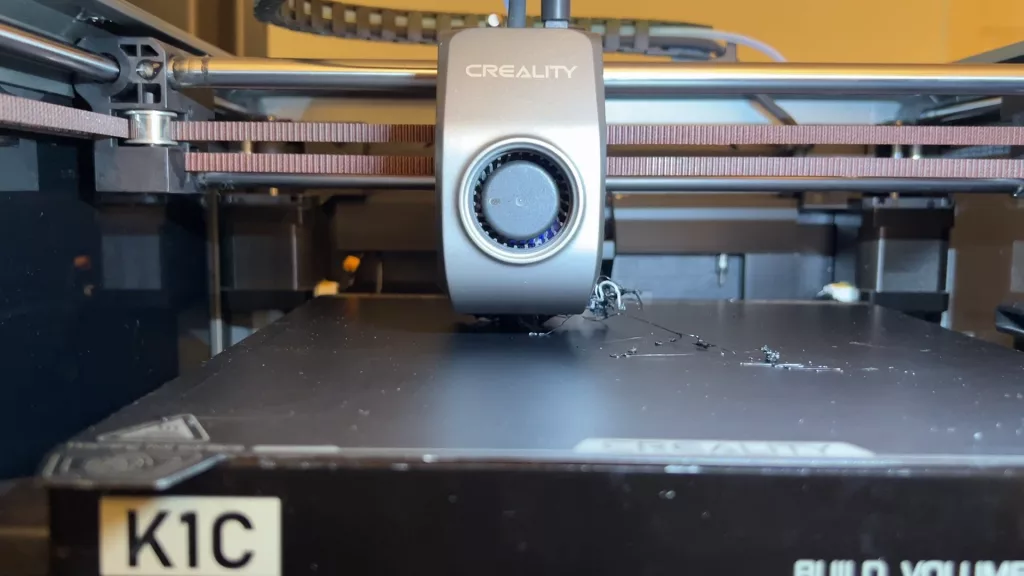
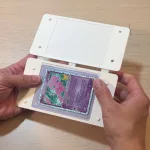
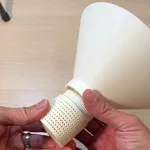
Tip 4: Enable brim

You may have already noticed the thin, flat layer of material that’s printed around the base of the object. This is not part of my design, but a mechanism introduced by the slicer software called brim. Brim increases the surface area of your print that touches the build plate in order to enhance the adhesion. Brim is especially useful when the print object is tall and thin.
Tip 5: Use dry filament
Last but not least, always use fresh new filaments. If you have to store them, keep them in a dry location or use Ziploc bags. The filament tends to absorb moisture from the air, and unfortunately the higher moisture level will deteriorate the quality of the filaments, making them harder to stick to the build plate. If budget allows, I recommend using automatic filament dryer box. Please refer to my next post if you are interested.
Conclusion
Leave me a comment below if you have any other suggestions. I would love to learn from you. As for me, the above 5 tips were able to help me through a big print job of 2,000 ABS parts, each of which took about 40mins by average. I spent about a month accomplishing the task on three Creality K1 Max, who worked 24/7 without any maintenance. Pretty amazing!
Related posts:
Leave a Reply